
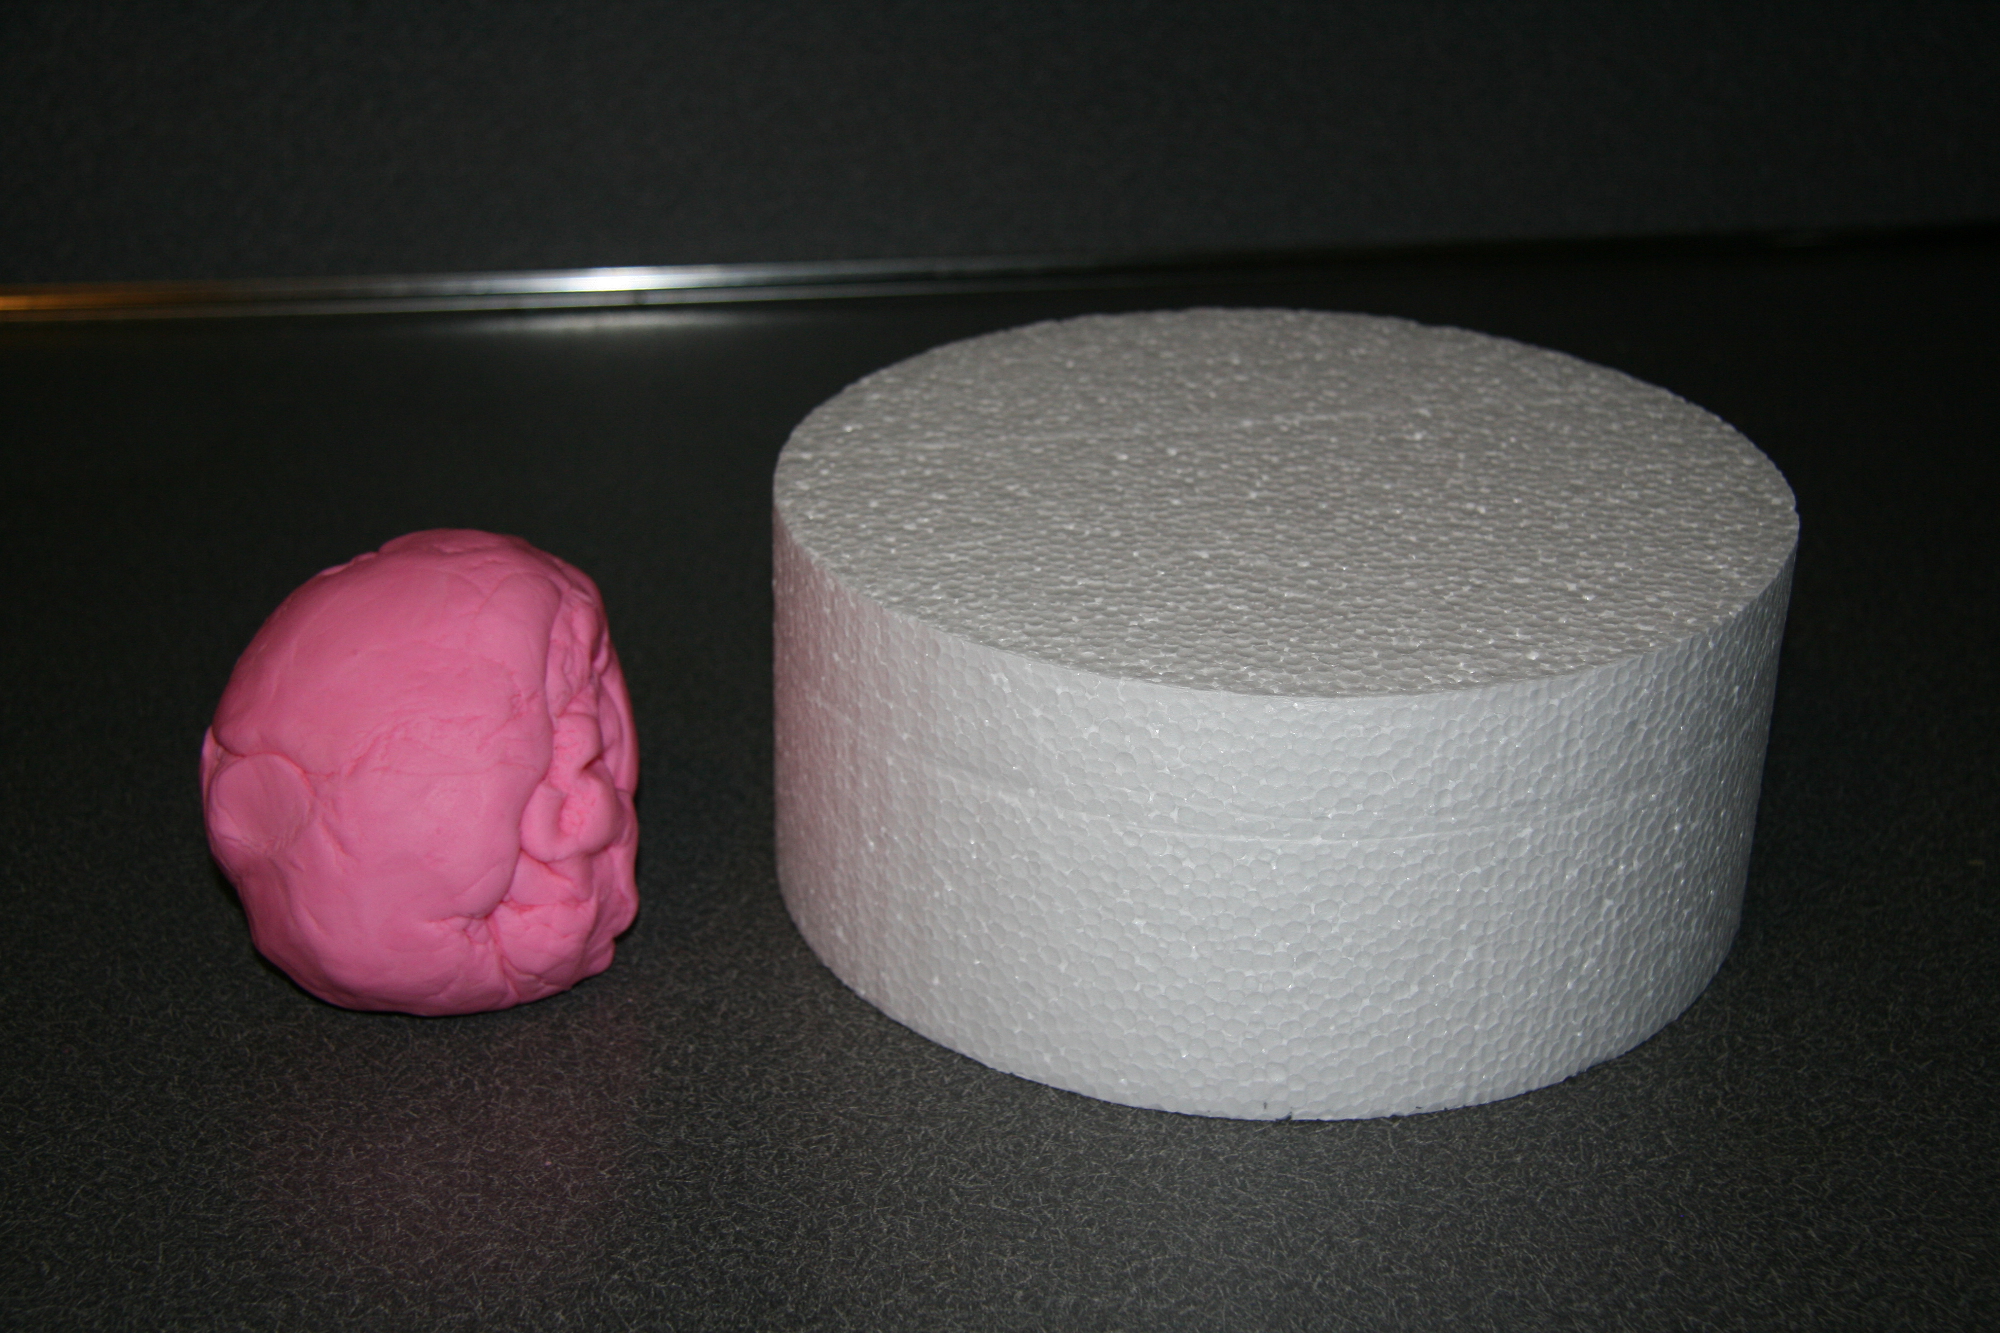
I’ve been working with fondant for about a year now, but since my use of it is sporadic, I still haven’t perfected getting it onto a cake without any tears or folds. You can’t really experiment or practice with fondant when the cake is for a paying customer. Family events aren’t any better…so I decided to take an afternoon and just practice using fondant where there was no risk of ruining a cake. So I made a batch of unflavored fondant and got myself a 9″ round Styrofoam cake dummy.
I had a suspicion that my main problem was that I was rolling out my fondant too thin, and this not only caused it to tear but also the excess fondant made it easier to get folds instead of a smooth, taut finish. But every time I make a cake, I have a crippling fear that I’ll roll out my fondant to be too short, and it won’t cover the entire cake. Depending on the humidity in the air, sometimes it is impossible to the the fondant off and try again because the frosting will stick to it.
So this was my main goal: to see exactly how much fondant I need to roll out for a 9″ round cake that is 4″ high.
I always start by referring to this chart to see how much fondant to make:
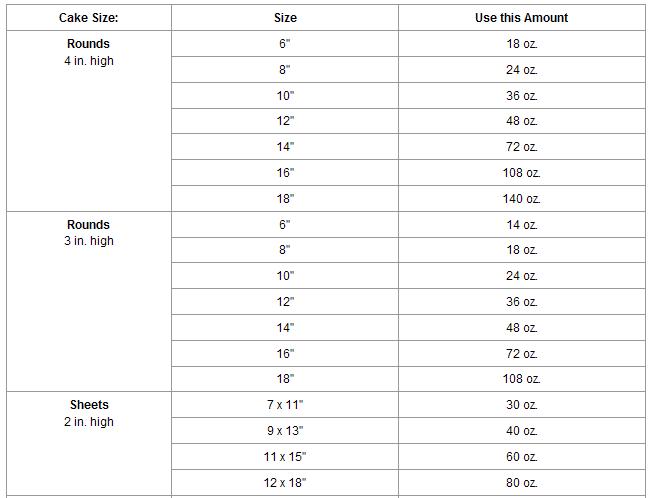
So for a 9″ cake, I made 30 oz of fondant, or just under 2 lbs. This recipe for marshmallow fondant makes 1.5 lbs, or 24 oz.
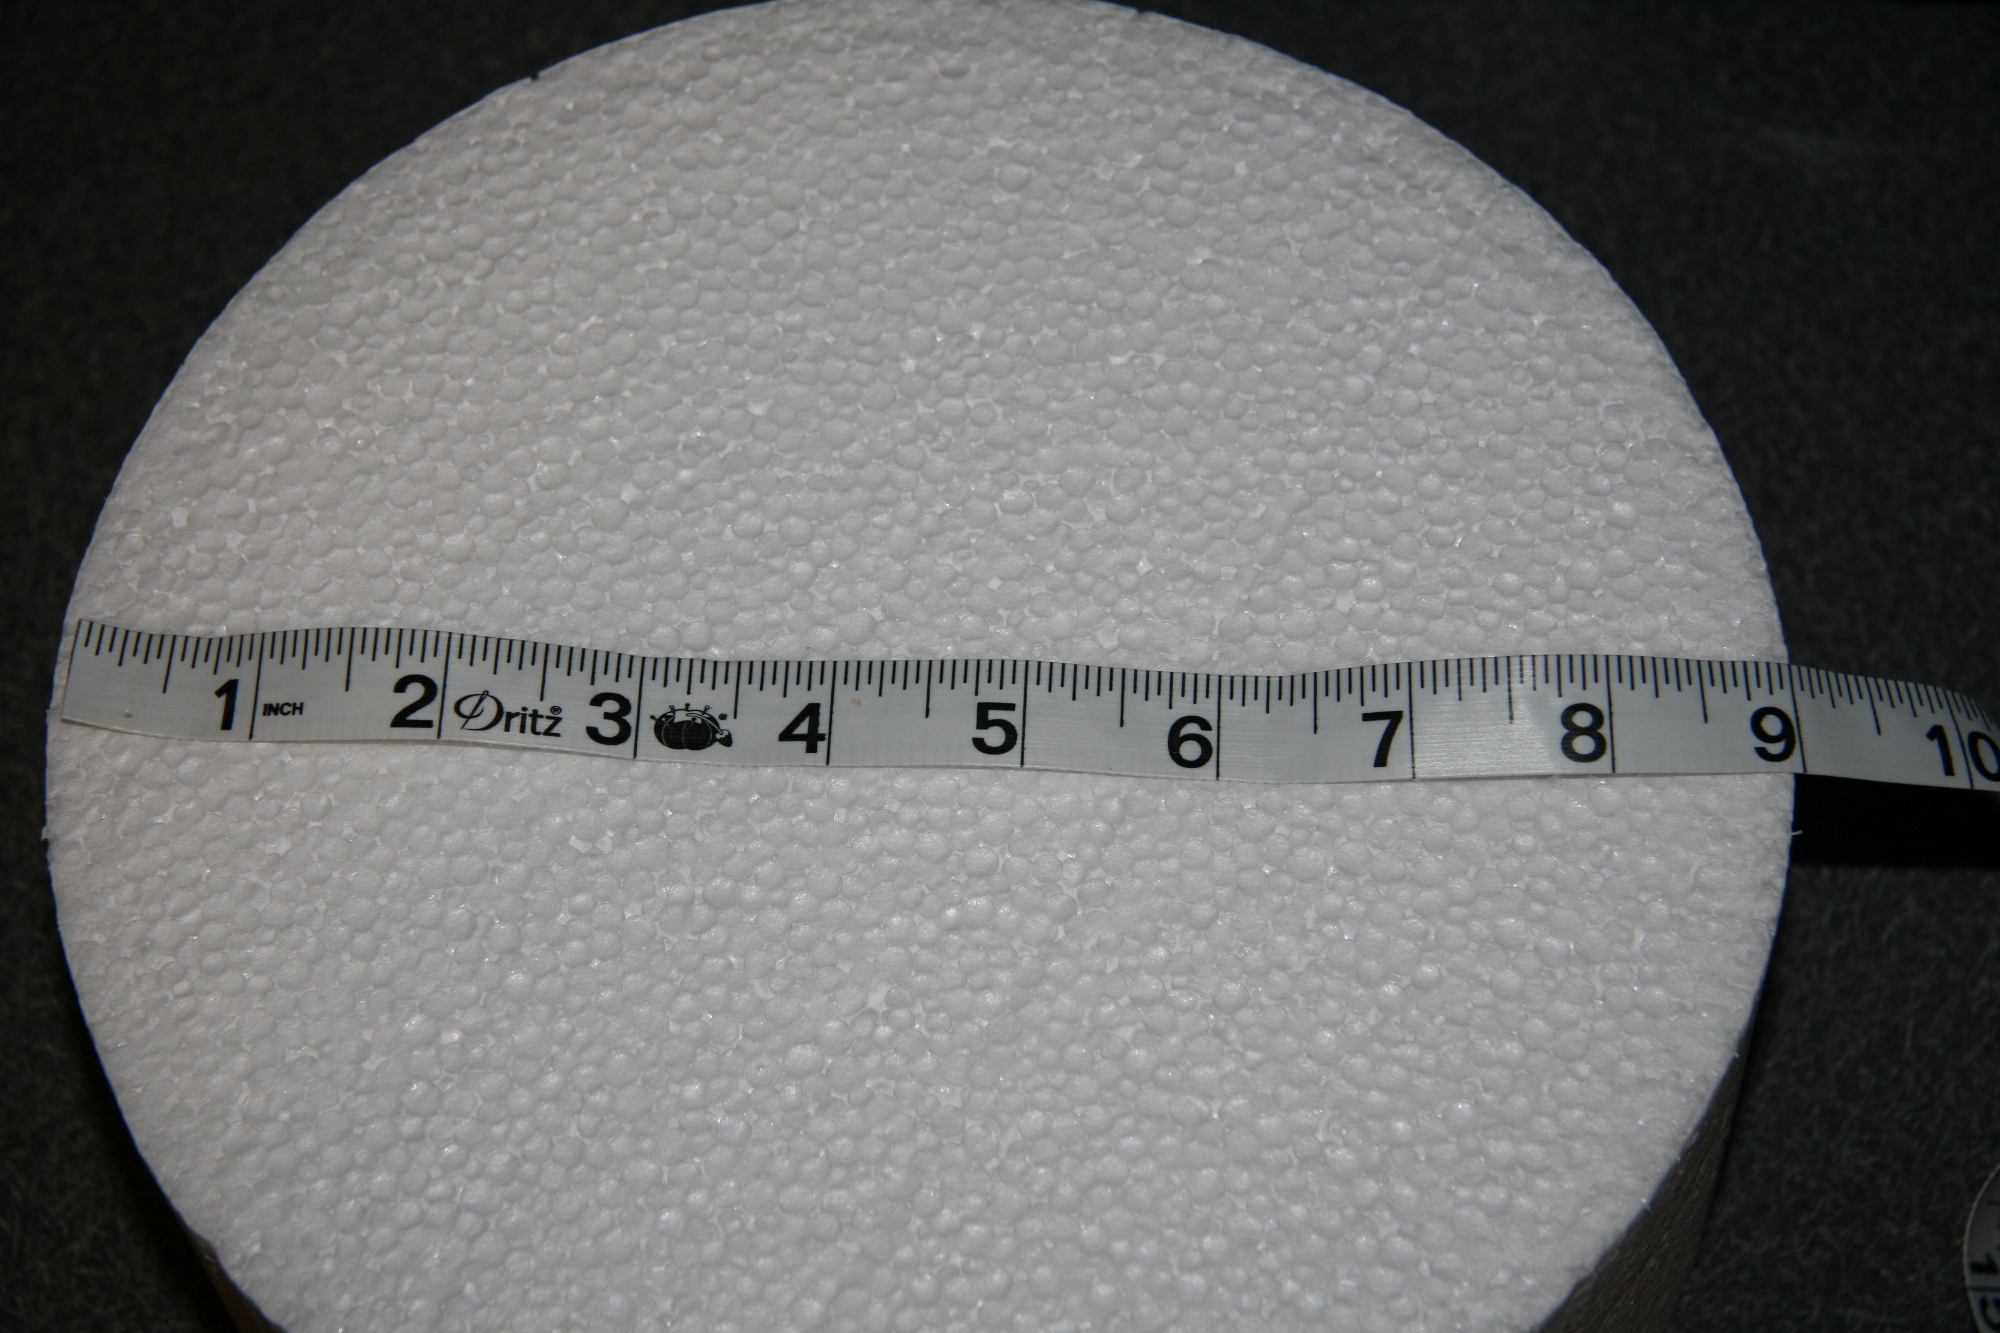
To get a rough idea of how big to roll out your fondant, add the width of the cake to 2x the height.
Width= 9 inches:
Height = 4 inches
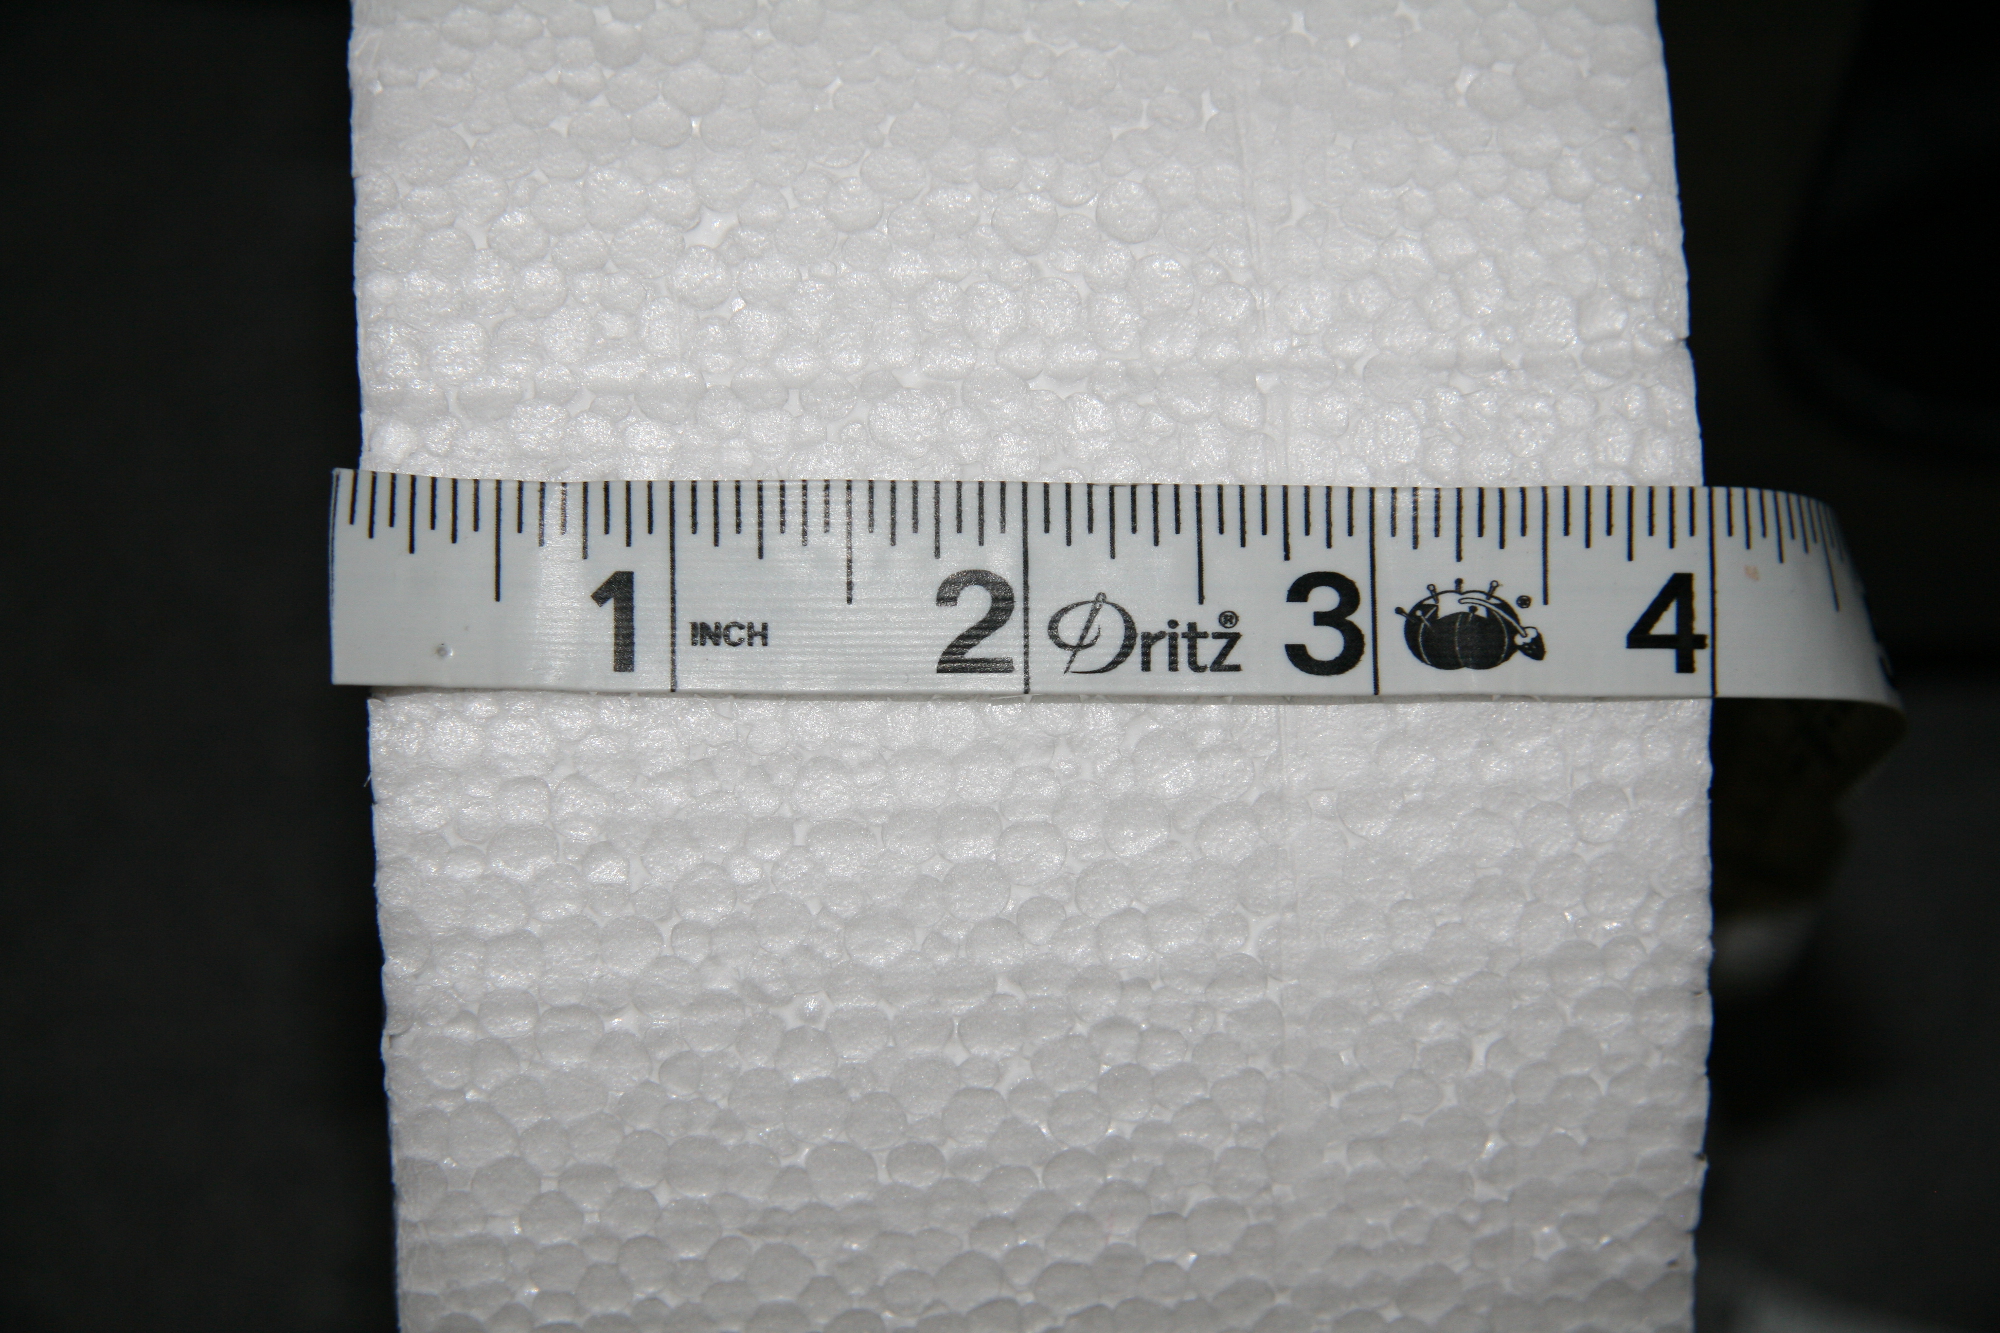
So 9+4+4= 17 inches total.
In my practicing, I learned that the more you keep the fondant in a circle shape, the better. Less risk of having a section that is shorter than what you need.
I usually try to do 1-2 inches more than what I calculate but this time I just did 17.5 inches when I needed 17.
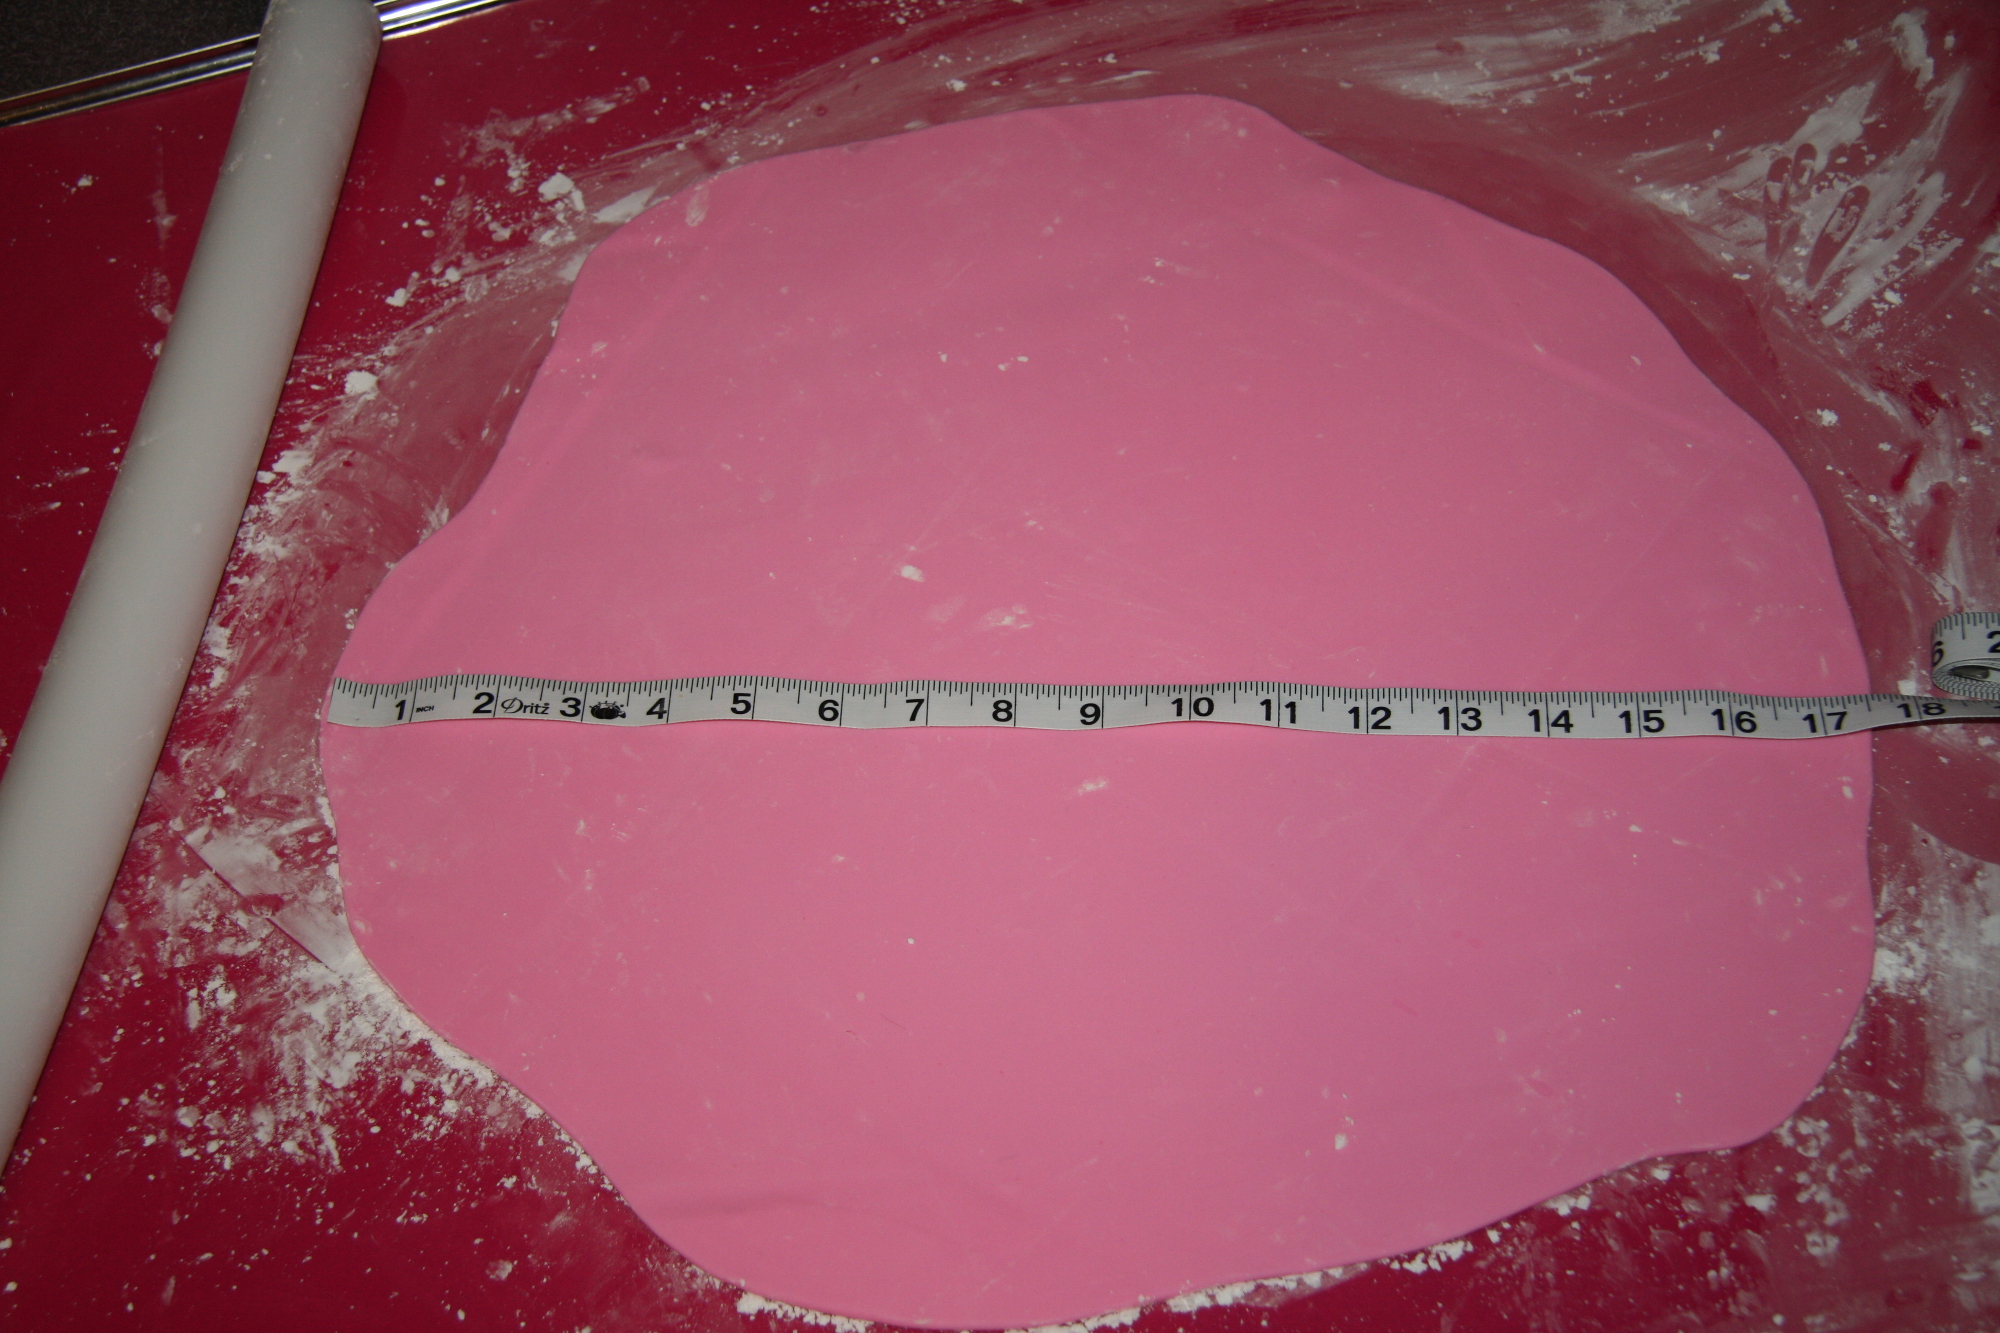

I made sure to use plenty of cornstarch so that the fondant didn’t stick to the mat. Doing this ensured that there was no tearing when I picked it up. Rolling it onto the rolling pin is the easiest way to transfer the fondant to the cake. Just make sure that when you place it on the cake that you make sure it is centered.

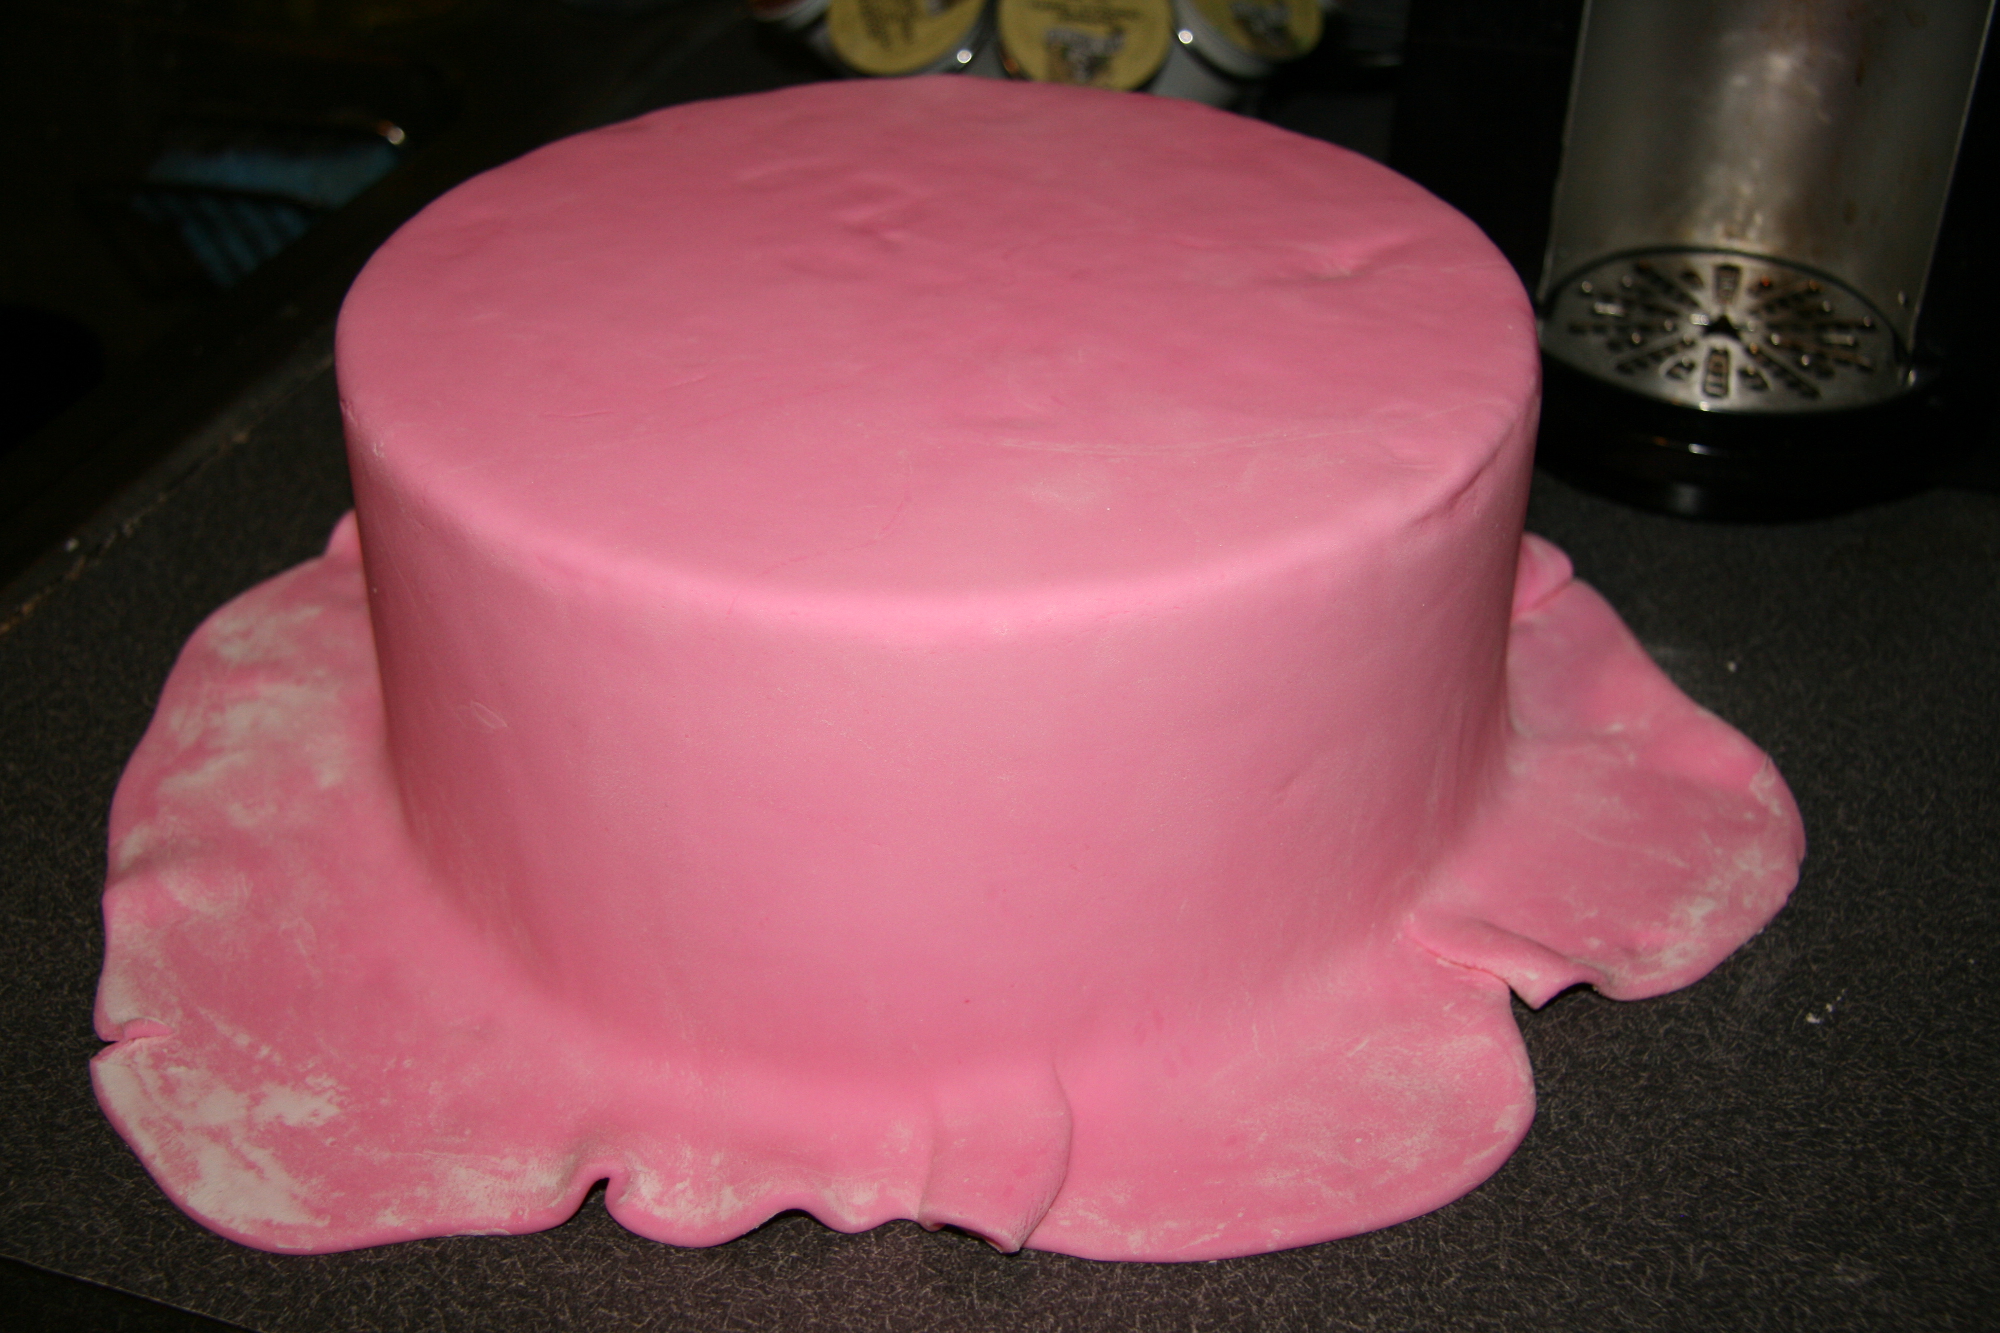
As you can see in the next picture, even just a 1/2 inch extra leaves you plenty of fondant on the sides. I think this is because once you put the fondant on the cake, gravity causes it to drop down even further.
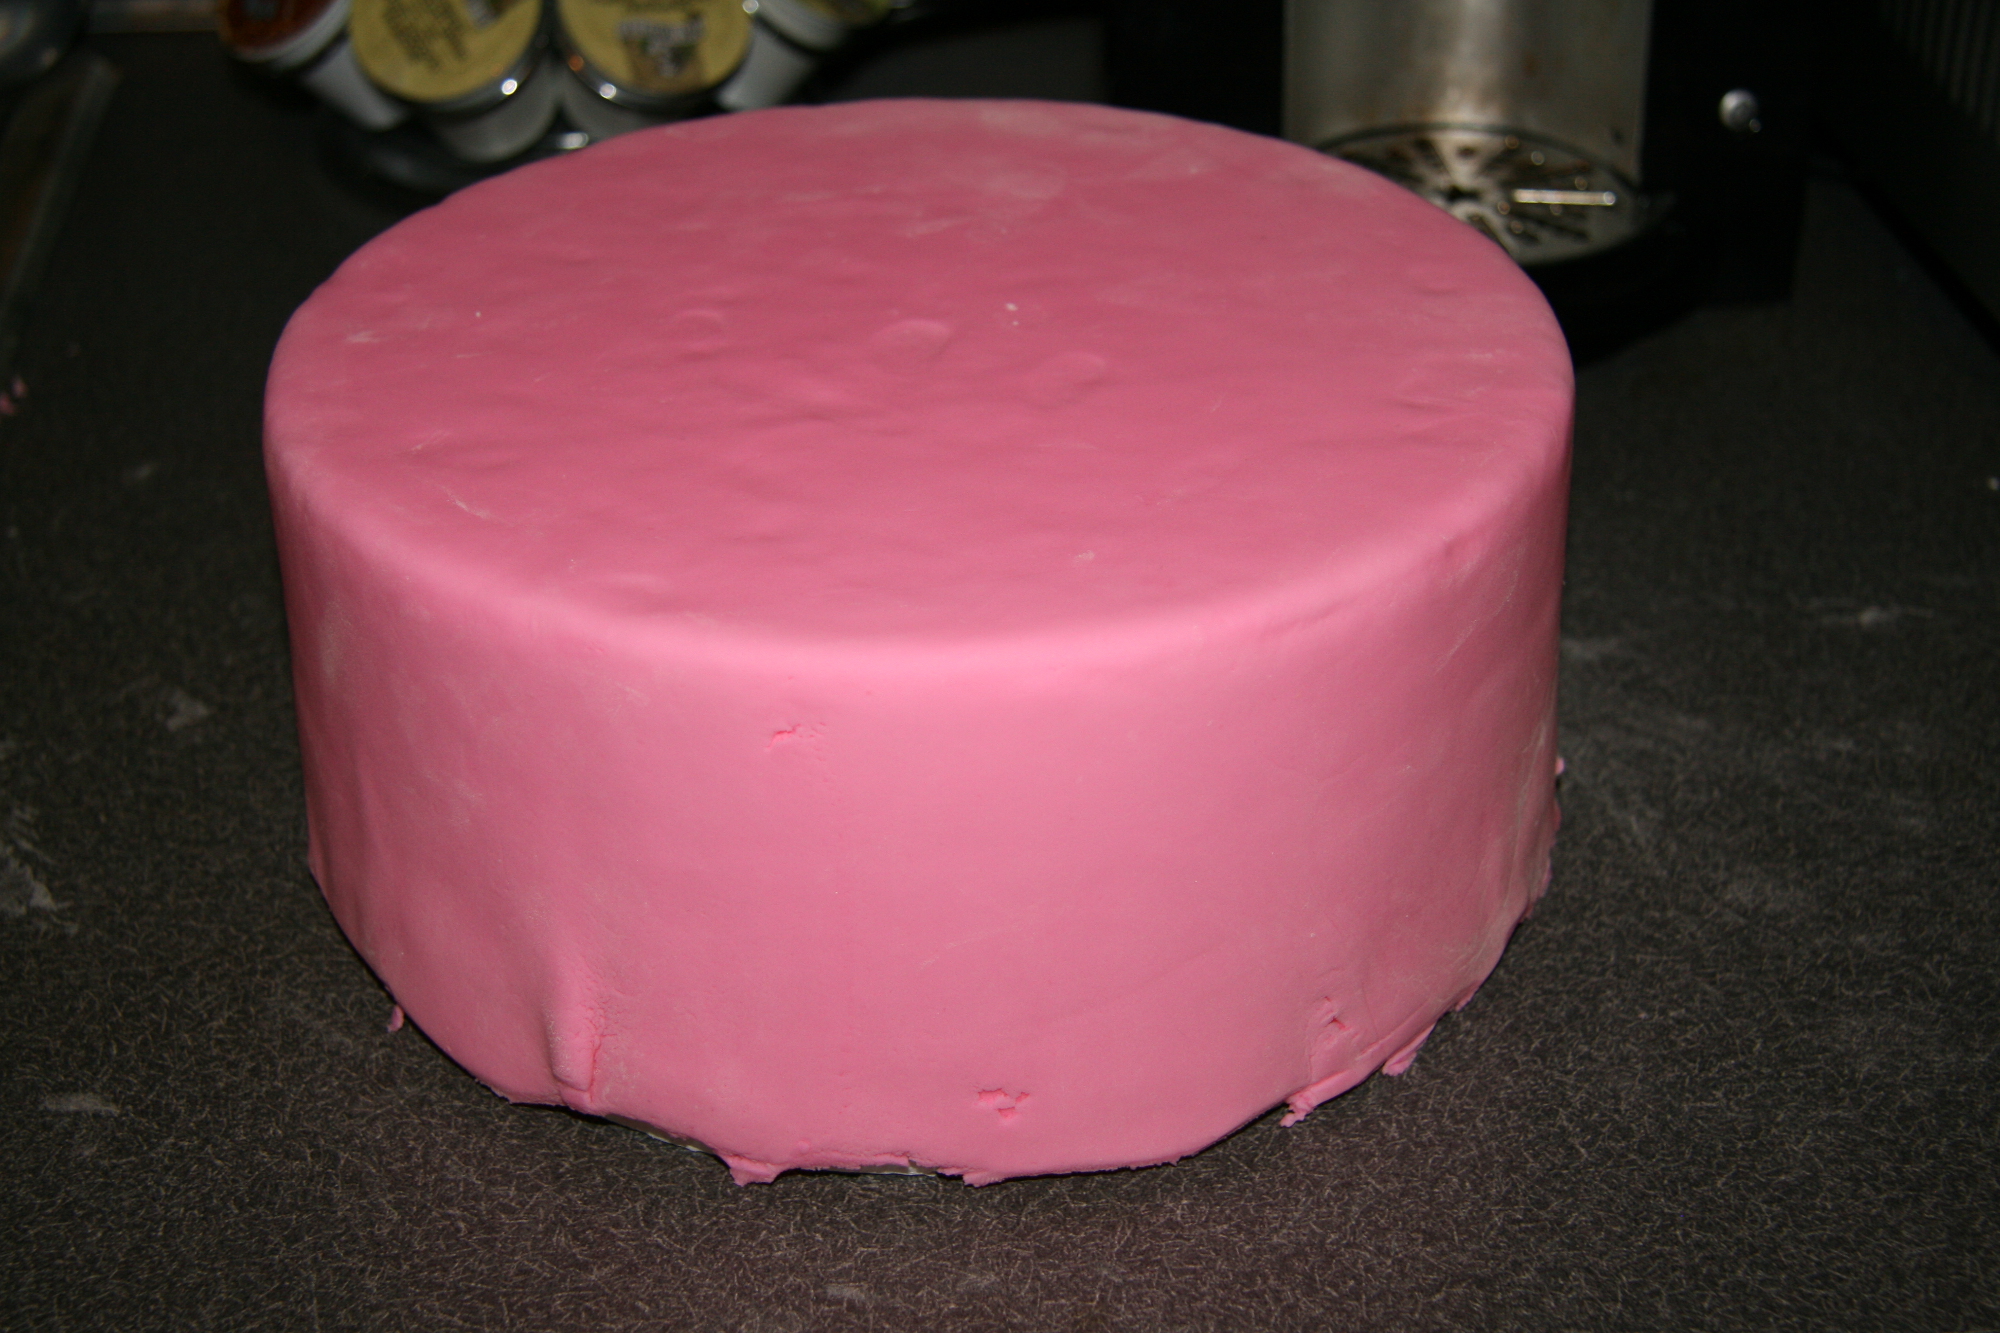
I tried a second time, making a circle of fondant 16.5 inches, and I still had plenty of fondant that I had to cut away. To get it nice and taut, I started at the top and smoothed it out. Then for the sides I took a section of fondant at the bottom and held it out. Next I started at the top of the cake and worked my way down to the bottom, smoothing the fondant along the side as I went. Then I rotated the cake and did this all the way around. Holding the bottom of the fondant out helped a lot towards preventing folds.
Of course if this were a real cake, I would tuck the fondant under the cake to make a nice smooth edge.
While the cake dummy was an extremely useful tool in practicing, I did notice that it was slippery. If you try practicing with one, I would suggest gluing it to a round cake board so it doesn’t slide around on your counter. The Styrofoam texture is not sticky like cake, so it is a little more difficult getting fondant to stick. But the beauty is that you can use the fondant over and over again until you get completely comfortable rolling the fondant out and placing it on a cake.
Happy Practicing!
