
For the past few years I have been getting most of my recipes online. I just print out the recipe and keep it in a folder in my filing cabinet. A few months ago I got fed up with having all the paper around, so I found all the recipes again and saved PDFs. This was great, except then I would print the recipe every time I needed it. To save paper, I started to pull the recipe up on my computer screen and I would go back and forth from kitchen to office, trying to remember my recipe. When tablets finally became cheaper, I figured this would be a great way to organize and use my recipes in the kitchen.
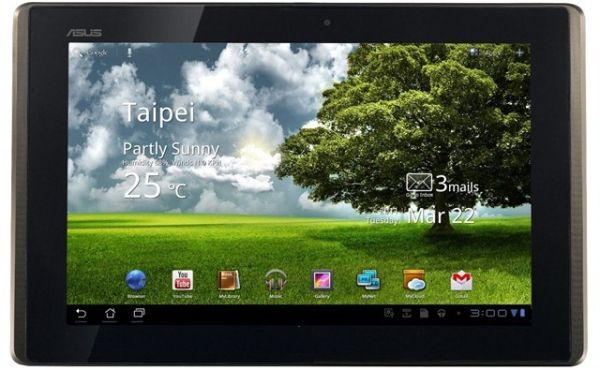
So I ventured out on Black Friday this past year and scored an Asus Transformer Tablet (model TF-101).
Scored is probably a strong word…the whole experience was horrific and I had to work very hard for that tablet. I’m no stranger to Black Friday. My dad and I have been going for years, especially when I was younger. Now that I’m married, we go on together on the years that I spend Thanksgiving in MA. This year I spent Thanksgiving in NY, and that was probably lucky for my dad, since he didn’t have to suffer with me.
Normally Black Friday starts at 5am, so you get up at 3:30 after a few hours of sleep and brave the cold. The lines are bad, but really there aren’t THAT many crazy people who are willing to be up that early. This year was the first year that Best Buy opened at midnight. So there were A LOT more people, and you had to get in line at 9pm or earlier. After waiting 3 hours in line, I had to wait ANOTHER 2.5 hours inside the store before I could even get my tablet. Usually when the store opens at 5am there are less people and you are in and out in under an hour. But, I got my tablet, and now I’m about to show you how you can organize your recipes and even mark up the PDFs as you go through each step of your recipe.
Protecting your tablet:
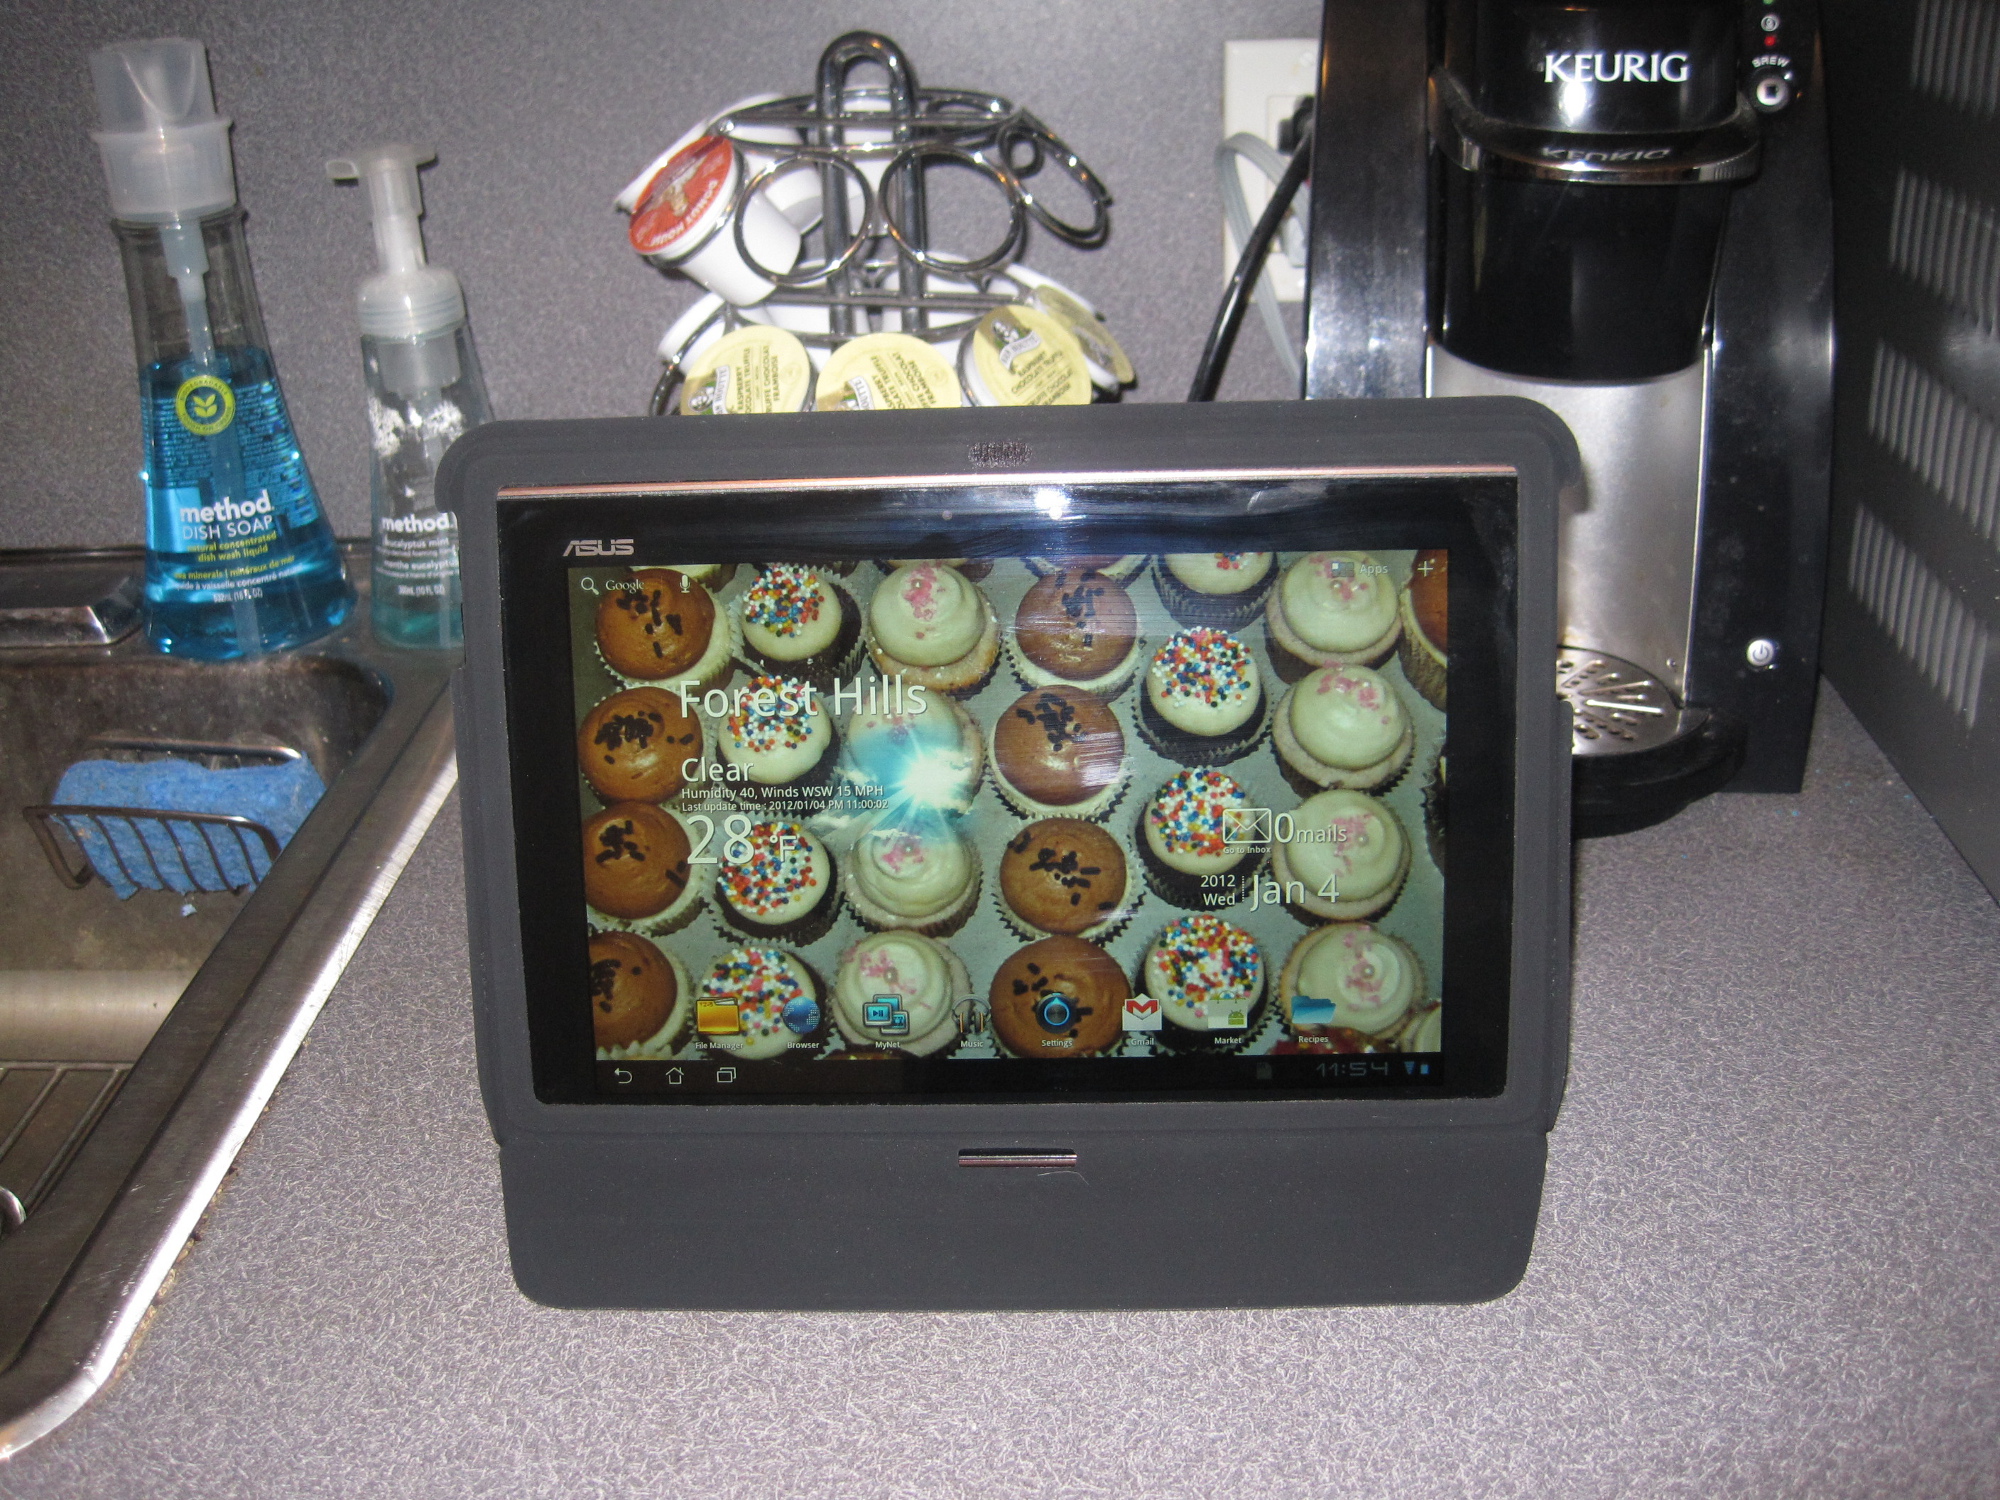
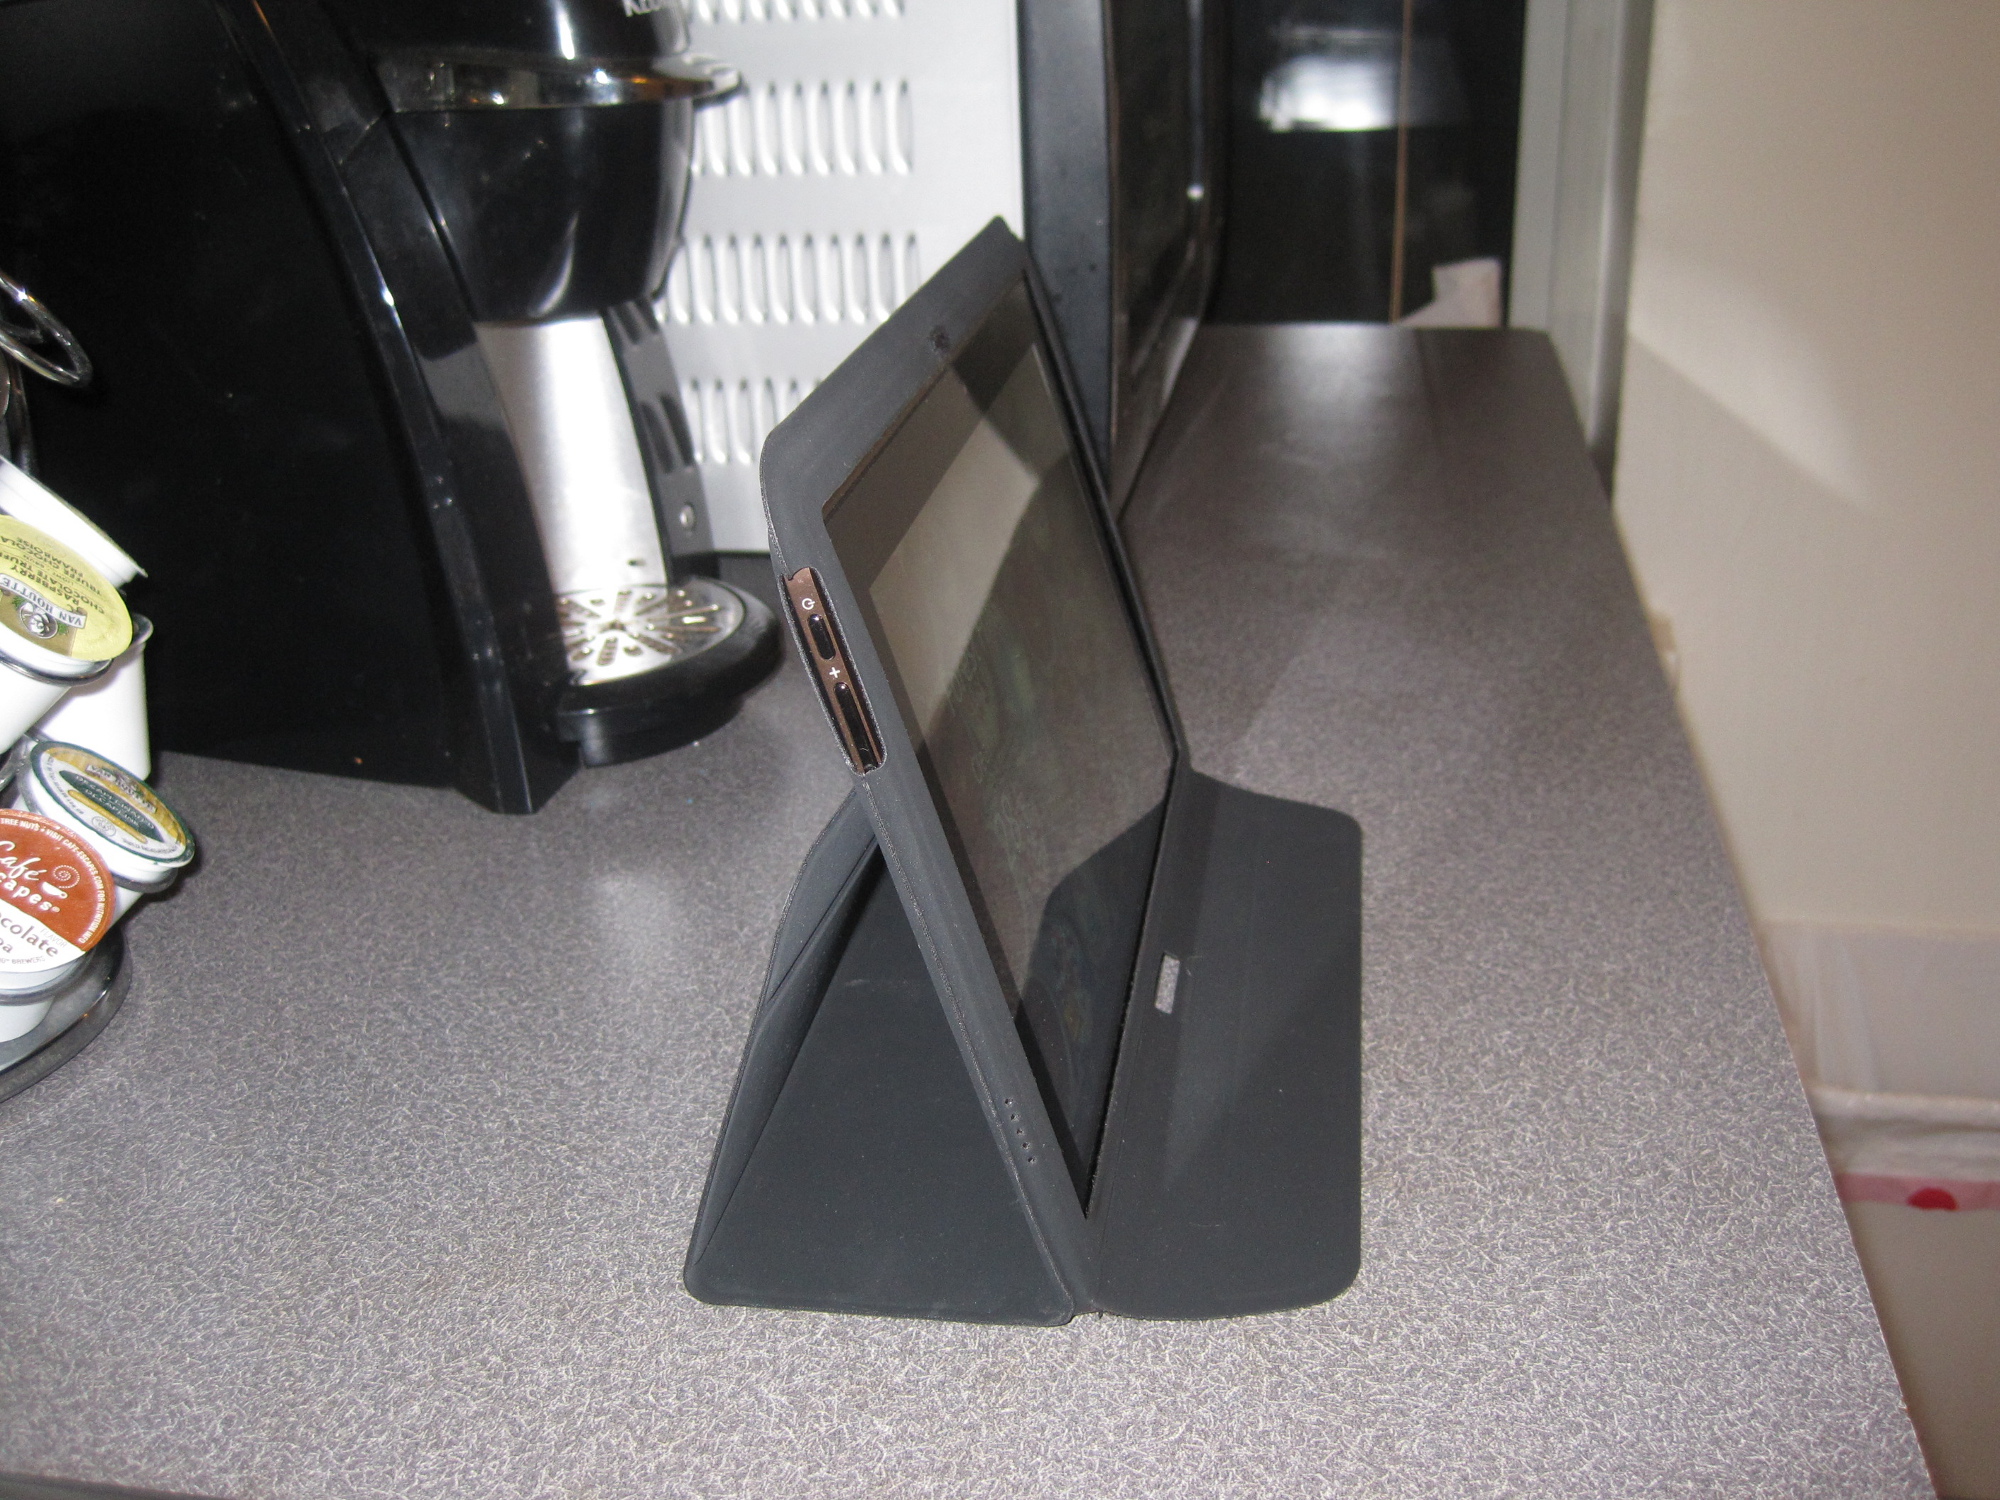
First off, I highly recommend getting a case for your tablet, preferably one that is also a stand. That way you can keep it protected both when in use, and when you store it away. My husband gave me this case for Christmas, and so far it has been great!
Organizing recipes:
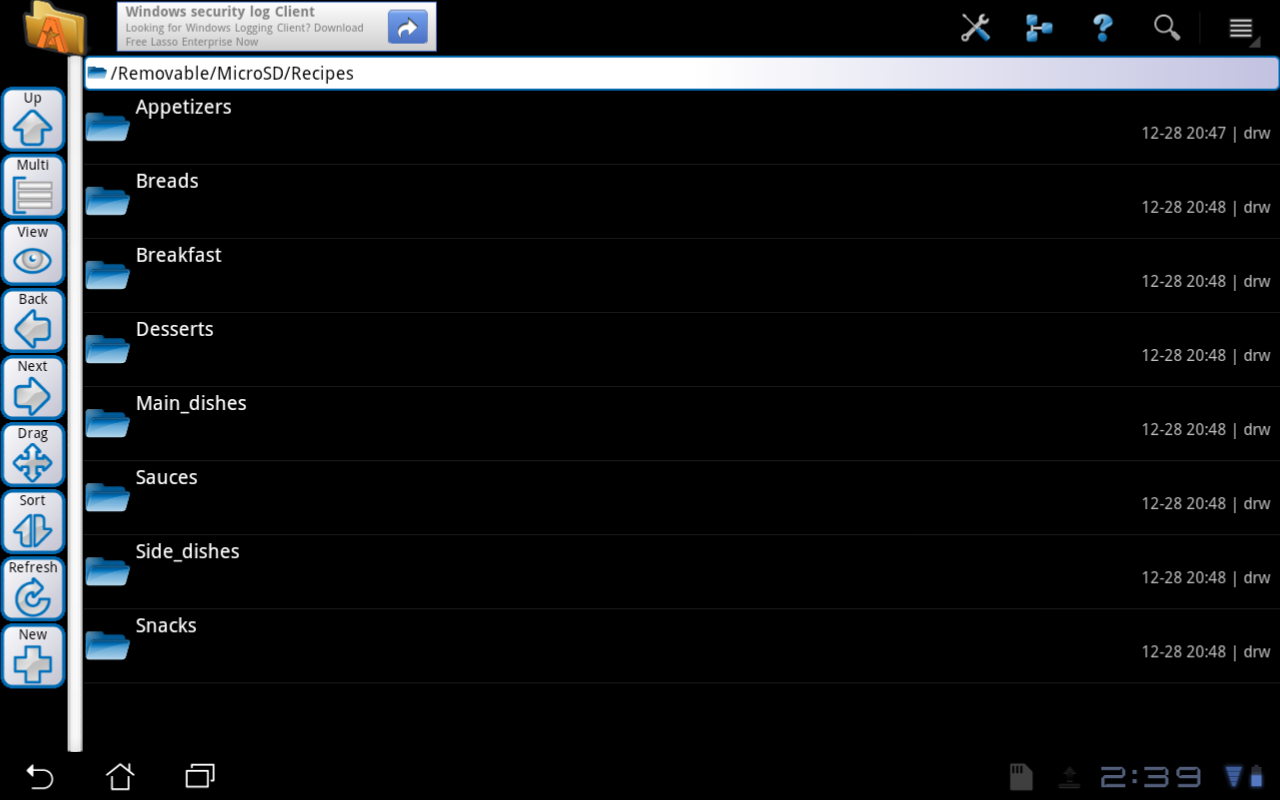
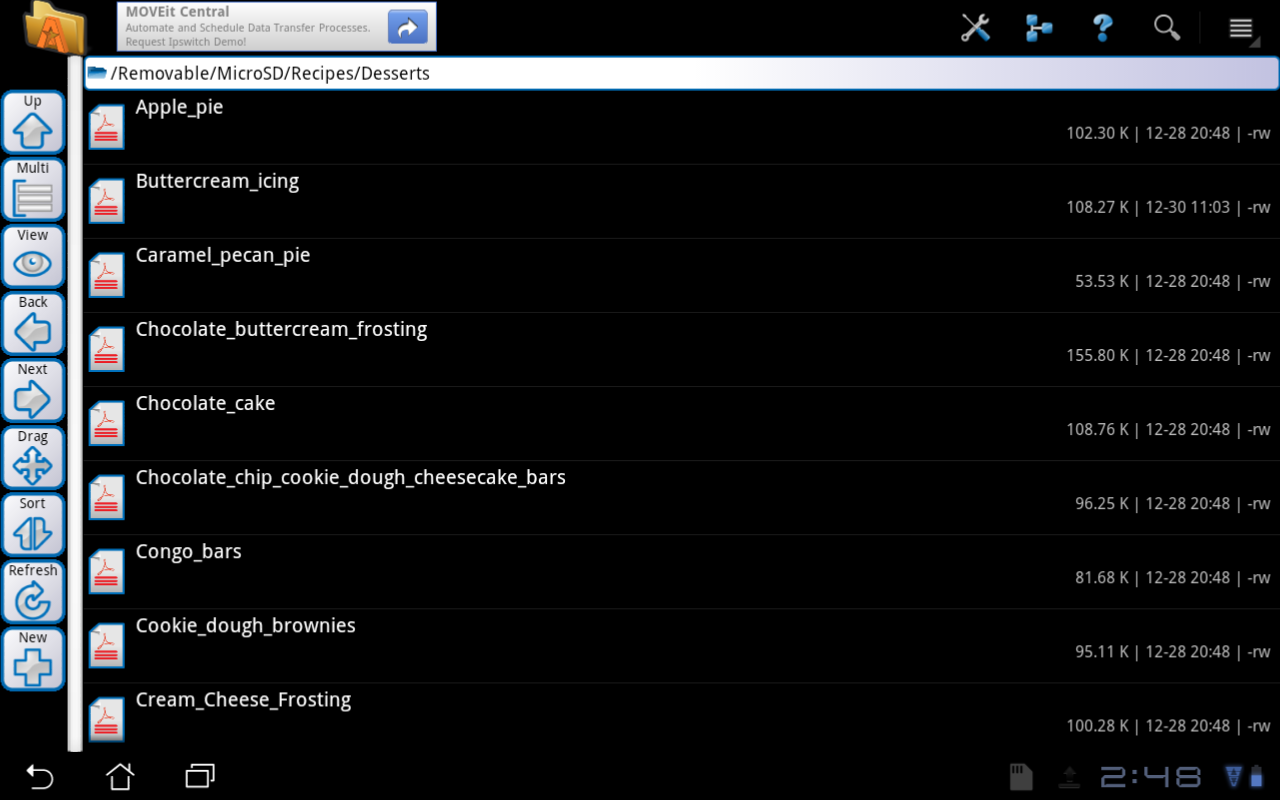
I would recommend getting all of your files together and organized on your computer before transferring them to the tablet. I name my PDFs in a very descriptive manner, so I know exactly what the recipe is. Then I organize my PDFs into folders, based on the type of food it is. I have eight main categories: appetizers, breads, breakfast, desserts, main dishes, sauces, side dishes, and snacks. I like to host brunch, so I have a breakfast category. Other people may make a lot of pasta dishes, so they could have a pasta dish category. It just all depends on what foods you make most often, and what organization scheme is easiest for you. Most of my main dishes are chicken, but if you make a lot of beef and fish, you could separate out your main dishes by protein type.
Getting your recipes onto the tablet:
There are a few ways you can get files onto your tablet. If your tablet has an SD card, you can use a card reader on your computer to copy the files to the SD card. You can also connect your tablet to your computer via USB and use a file transfer program. Since I use a Mac, I used the Android File Transfer program. There is also Dropbox, which is a cloud service used to sync files between multiple computers, phones, and tablets. Dropbox is nice because once you change the file, it is updated in all locations where you have installed the Dropbox program. It’s completely free, and you just need to sign up for it.
Marking up your PDFs:
If you are anything like me, you may be paranoid about forgetting steps in your recipes. I always like to check things off as I go, to make sure I don’t leave out any ingredients. Sometimes I like to underline steps if they are easily forgotten. This is why it was really important that I find a good PDF annotation program. I wanted something where I could open a PDF, make marks and notes, and then close without saving so that I start with a clean version the next time. I tried out two different Android programs: qPDF Notes demo version and ezPDF reader. If you click on the link, it will bring you to the reviews on AppBrain. There is also Foxit Mobile PDF, which I didn’t try.
There are many PDF annotation programs available for the iPad as well. Here is a website I found reviewing several annotation programs for the iPad.
qPDF Notes Demo Version:
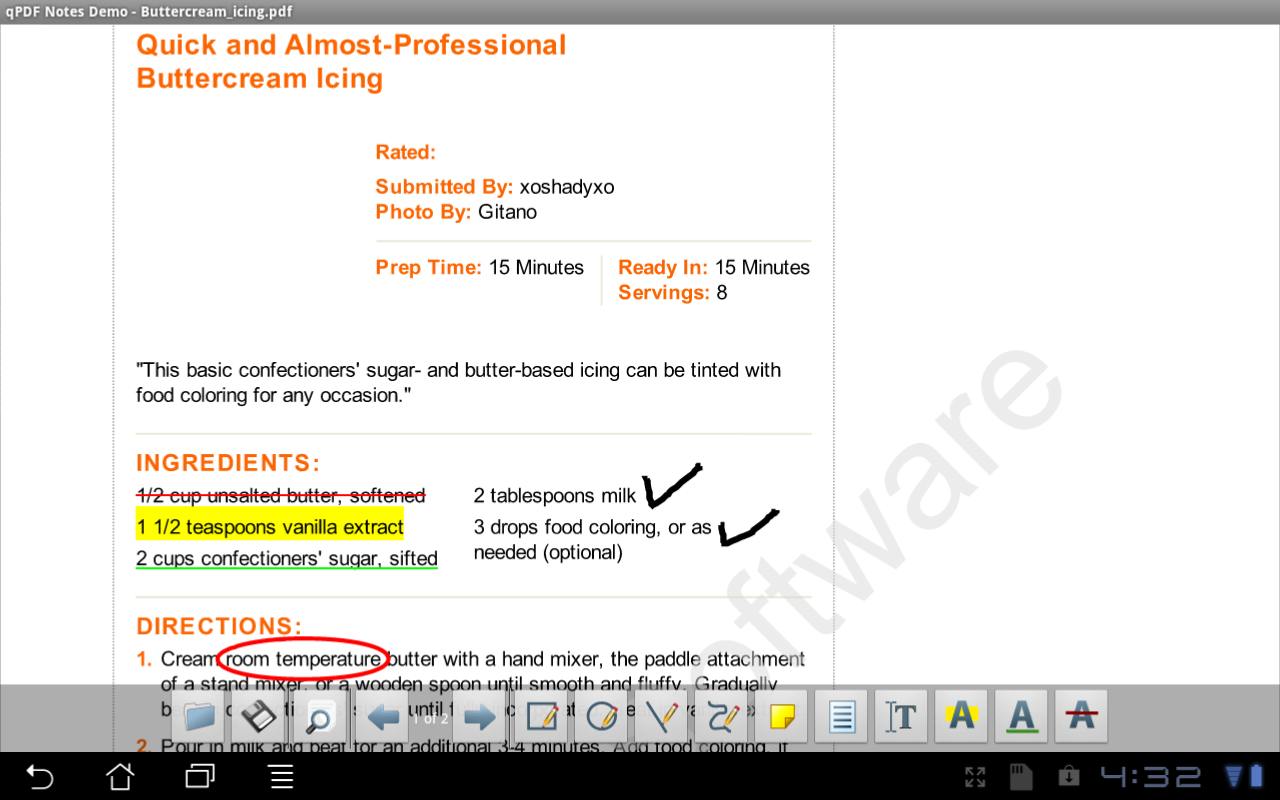
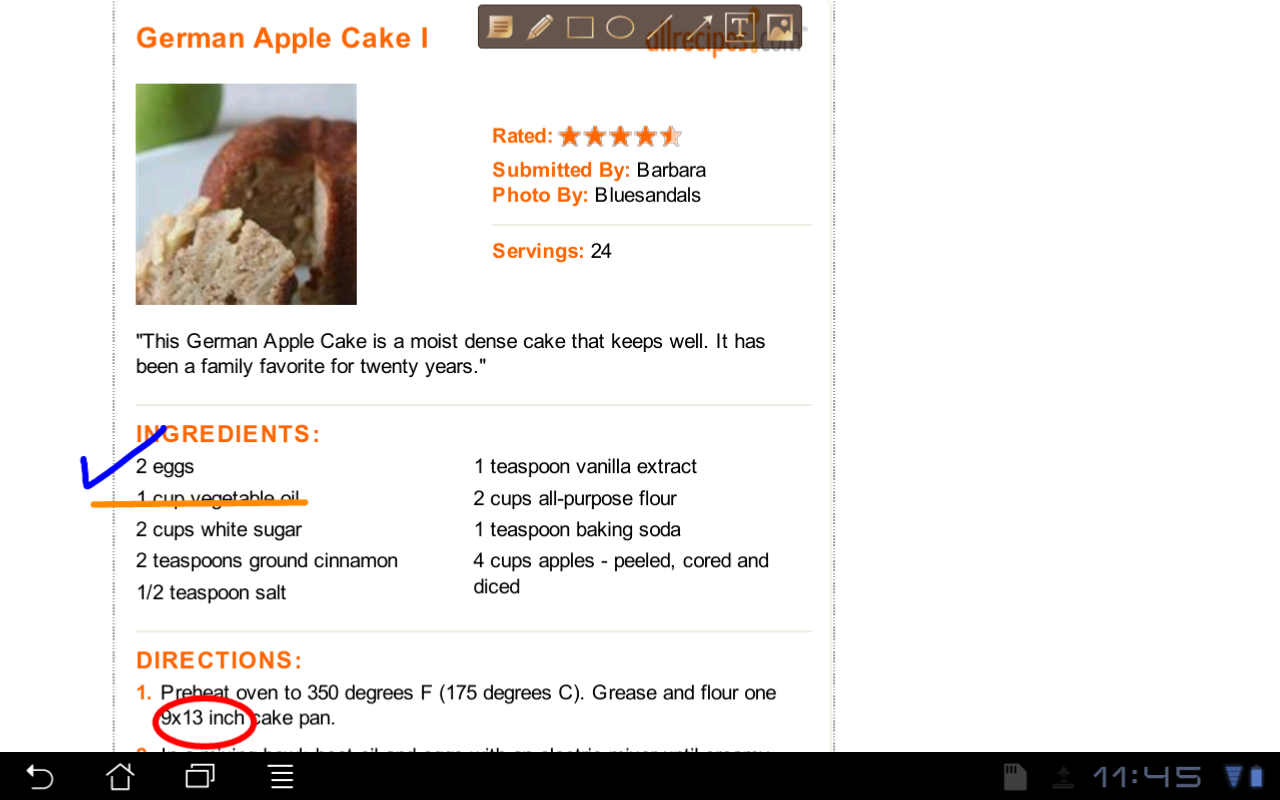
qPDF Notes is a $10 program, so I opted for the demo version, which is free. The only downsides are that you get a reminder to buy the real program each time you open it, and there is a watermark on the page. Honestly, the watermark is pretty light and doesn’t bother me at all. I like the functions that qPDF Notes has, such as strike through, underline, highlight, and freehand drawing. You can also draw boxes and circles around text. I especially like that for the strike through and underlining, you don’t have to be very precise in the straightness of your line. You just have to make sure your finger actually passes through the text. It can be a little tricky at first, but after a little practice you get the hang of it.
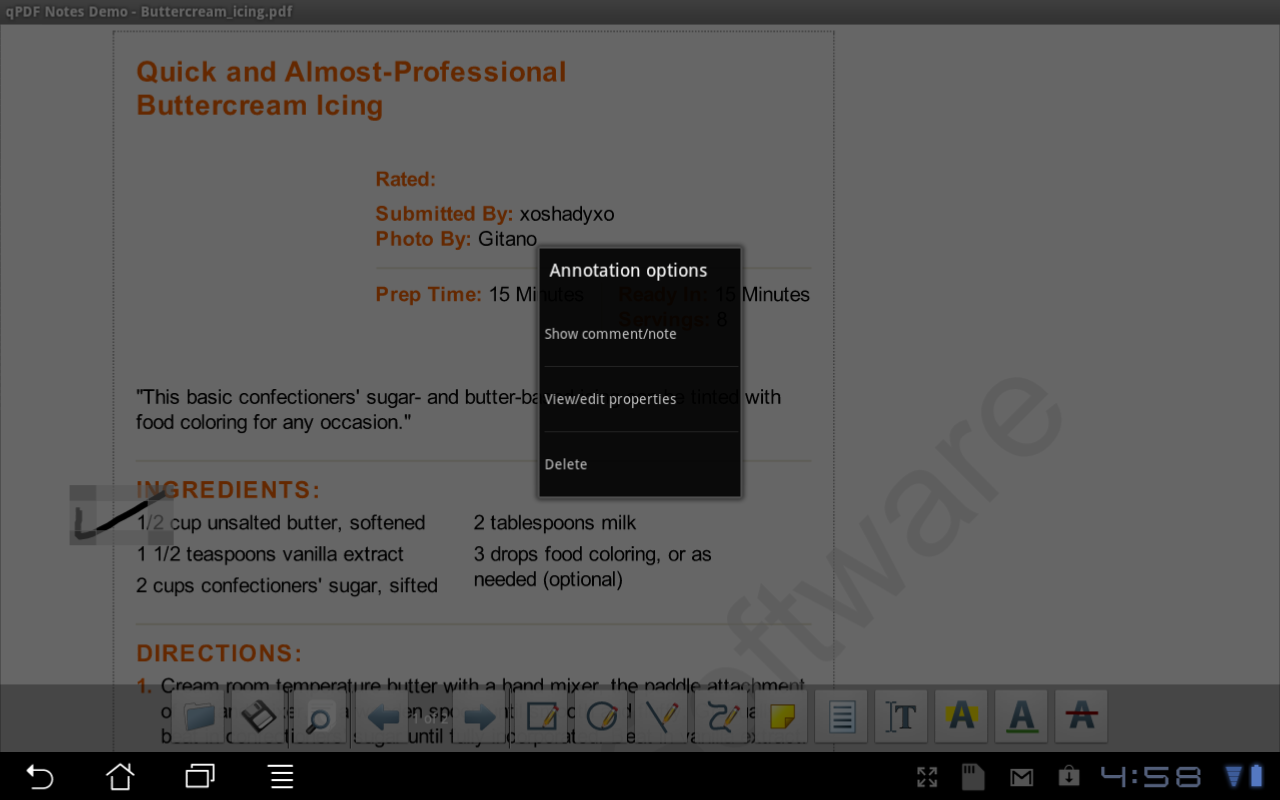
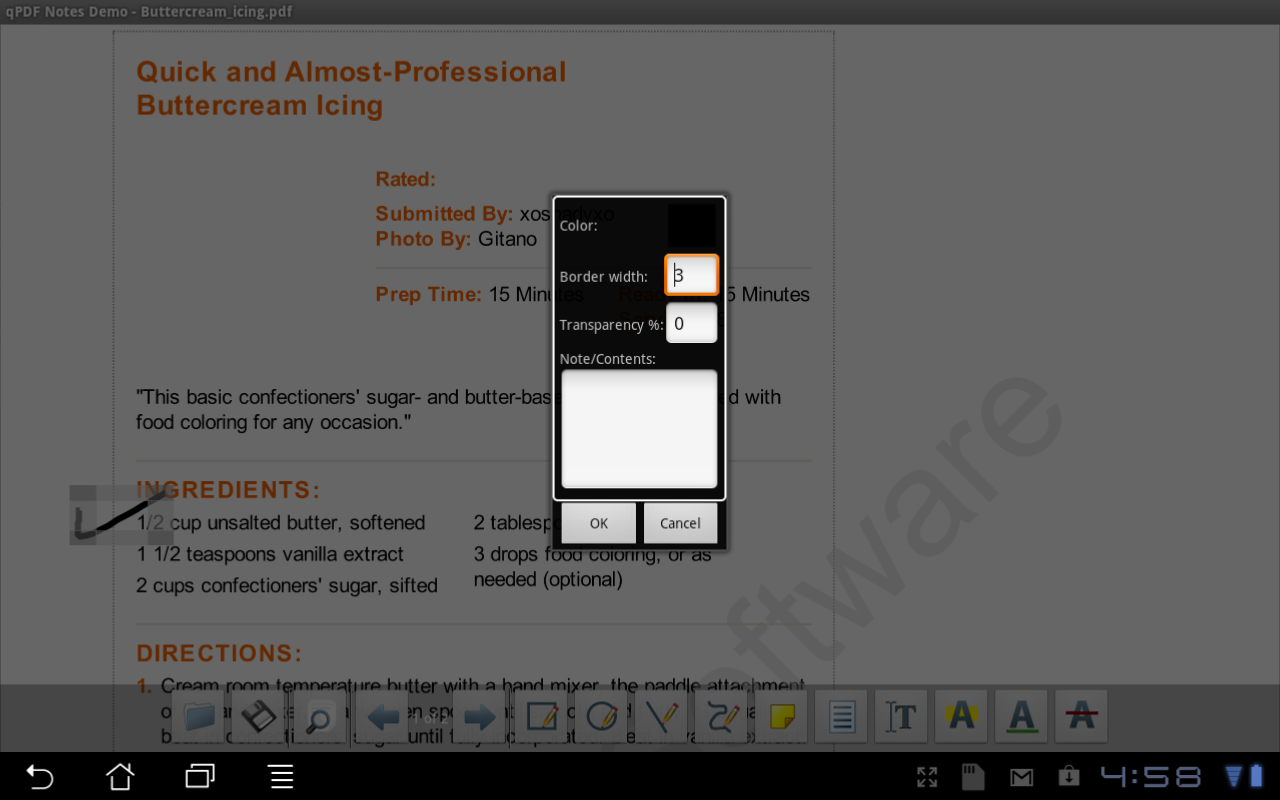
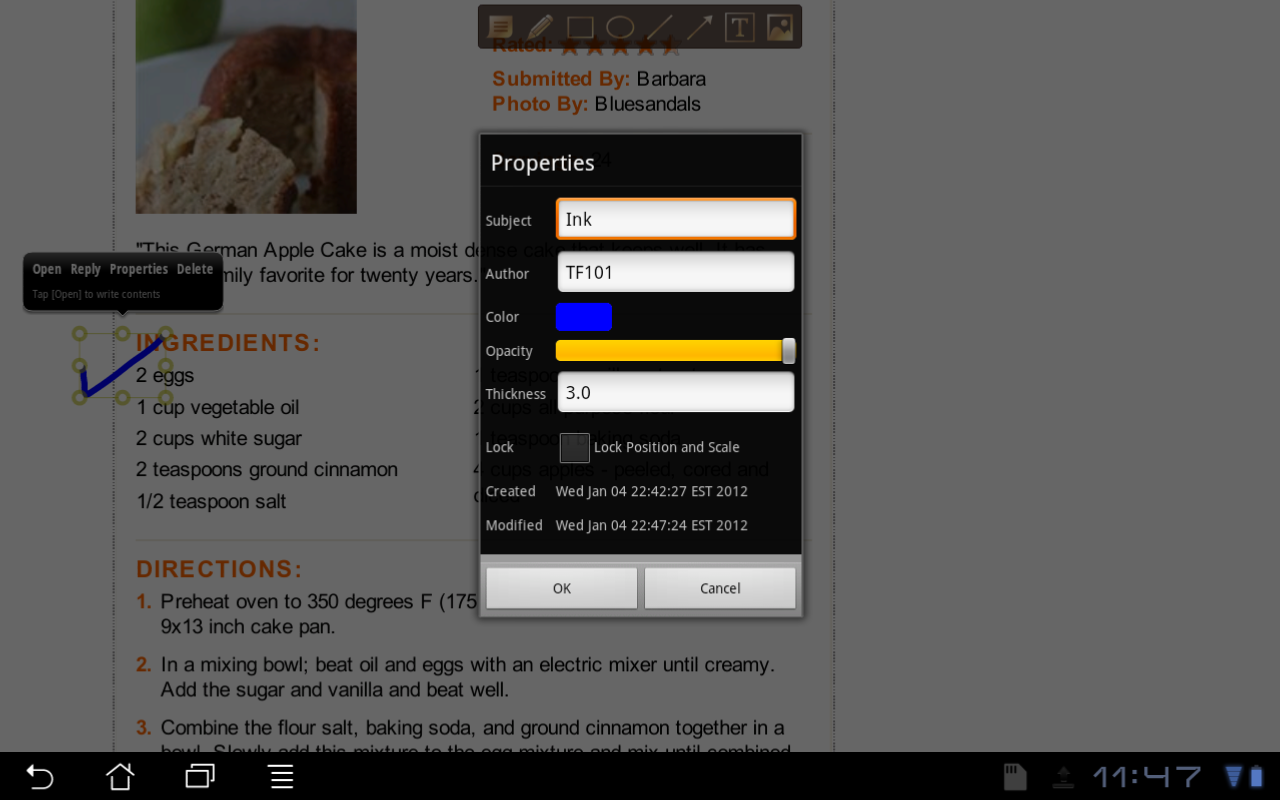
For each individual item that you draw, you can click on it to delete or modify the attributes. For the strike through, underline, and highlight, you can change the color but not the thickness of the line. For the freehand drawing, you can change the thickness, but not the color.
Perhaps the paid version gives more options. Honestly, I think it’s a great free program and I don’t mind only having a few options, especially since I’m only using it to make check marks and cross out words. It’s easy to use and you can just delete each item before closing to ensure that you start with a clean version the next time you open your recipe.
ezPDF Reader:
ezPDF Reader is pretty inexpensive at around $3, so I figured I would try this one as well. Since I paid for this version, it has no watermark or reminder to buy it every time I open. If you are easily bothered by these things, then you may want to go with this version. I did find however, that there were less annotation options. There were freehand, line drawing, and circling features, but no strike through, underlining, or highlighting features. You could also draw arrows, though I’m not sure how useful that is for recipes.
This program does have more options for changing colors and thickness of your lines, though.
I think both programs are great for the purpose of quick markups of recipes as you are cooking. This has totally eliminated my need for printing out recipes and wasting paper. Hopefully if you have a tablet you can do this too. You can even scan your favorite recipes from your old cookbooks.
