
I don’t usually show tutorials, but my last layer cake came out pretty well and I took pictures during the process. Layering a cake can be tricky, so I thought I would make a post dedicated to tips and tricks to make it easier.
Grease the pan really well
The main thing is that you want your cake to remain intact at all steps. By this I mean you don’t want little pieces breaking off because this will affect the structural integrity of the cake. The very first thing you need to do is ensure that the whole cake comes out of the cake pan unharmed. Make sure the pan is greased very well. I use a silicon brush to place Wilton Cake Release on the whole inside of the pan. Make sure to get the inside corner where the bottom and side of the pan meet. If this area is not greased, the cake will stick in the pan and the bottom edge of your cake will be jagged.
Remove the cake after it cools
The key is to remove the cake very gently, and after it has cooled for 10-20 minutes. The sides of the cake should be somewhat separated from the pan. Take a cake decorating spatula and gently place it between the pan and the side of the cake. Carefully go around the cake moving the flat end of the spatula inward towards the cake to separate it from the side. When you are finished with this, place a large, flat plate face down on the pan. Flip it over so the plate is on the counter and the pan is upside down on the plate. Gently tap the bottom of the pan with your hand and the cake should come out. If you have separated the sides enough, you may not even have to tap the pan. It should just come out. Lift the pan off the cake.
Chill the cake for 12-24 hours
Cold cake is more resilient and easier to work with, so I like to make my cakes the day before decorating. After the cake is flipped onto the plate, I place it in the fridge and start working with it the next day. Usually I will also make my frosting the day I make the cake, and also chill it. This ensures that the frosting starts out firm. If it gets too warm, it can be soupy and won’t hold any shape for piping.
Leveling the cake
Usually, when cakes bake the top becomes rounded as it rises. You want the cakes to be flat on top so they are more stable when you layer them. Really you just want to shave off the top edges that are burnt, and the top rounded bit of the cake. Probably it is 1/16 of an inch, if that. It’s a tiny thin piece, just enough to get the top of the cake flat. I like to use a serrated knife. I find this easier than any commercially available cake tools.
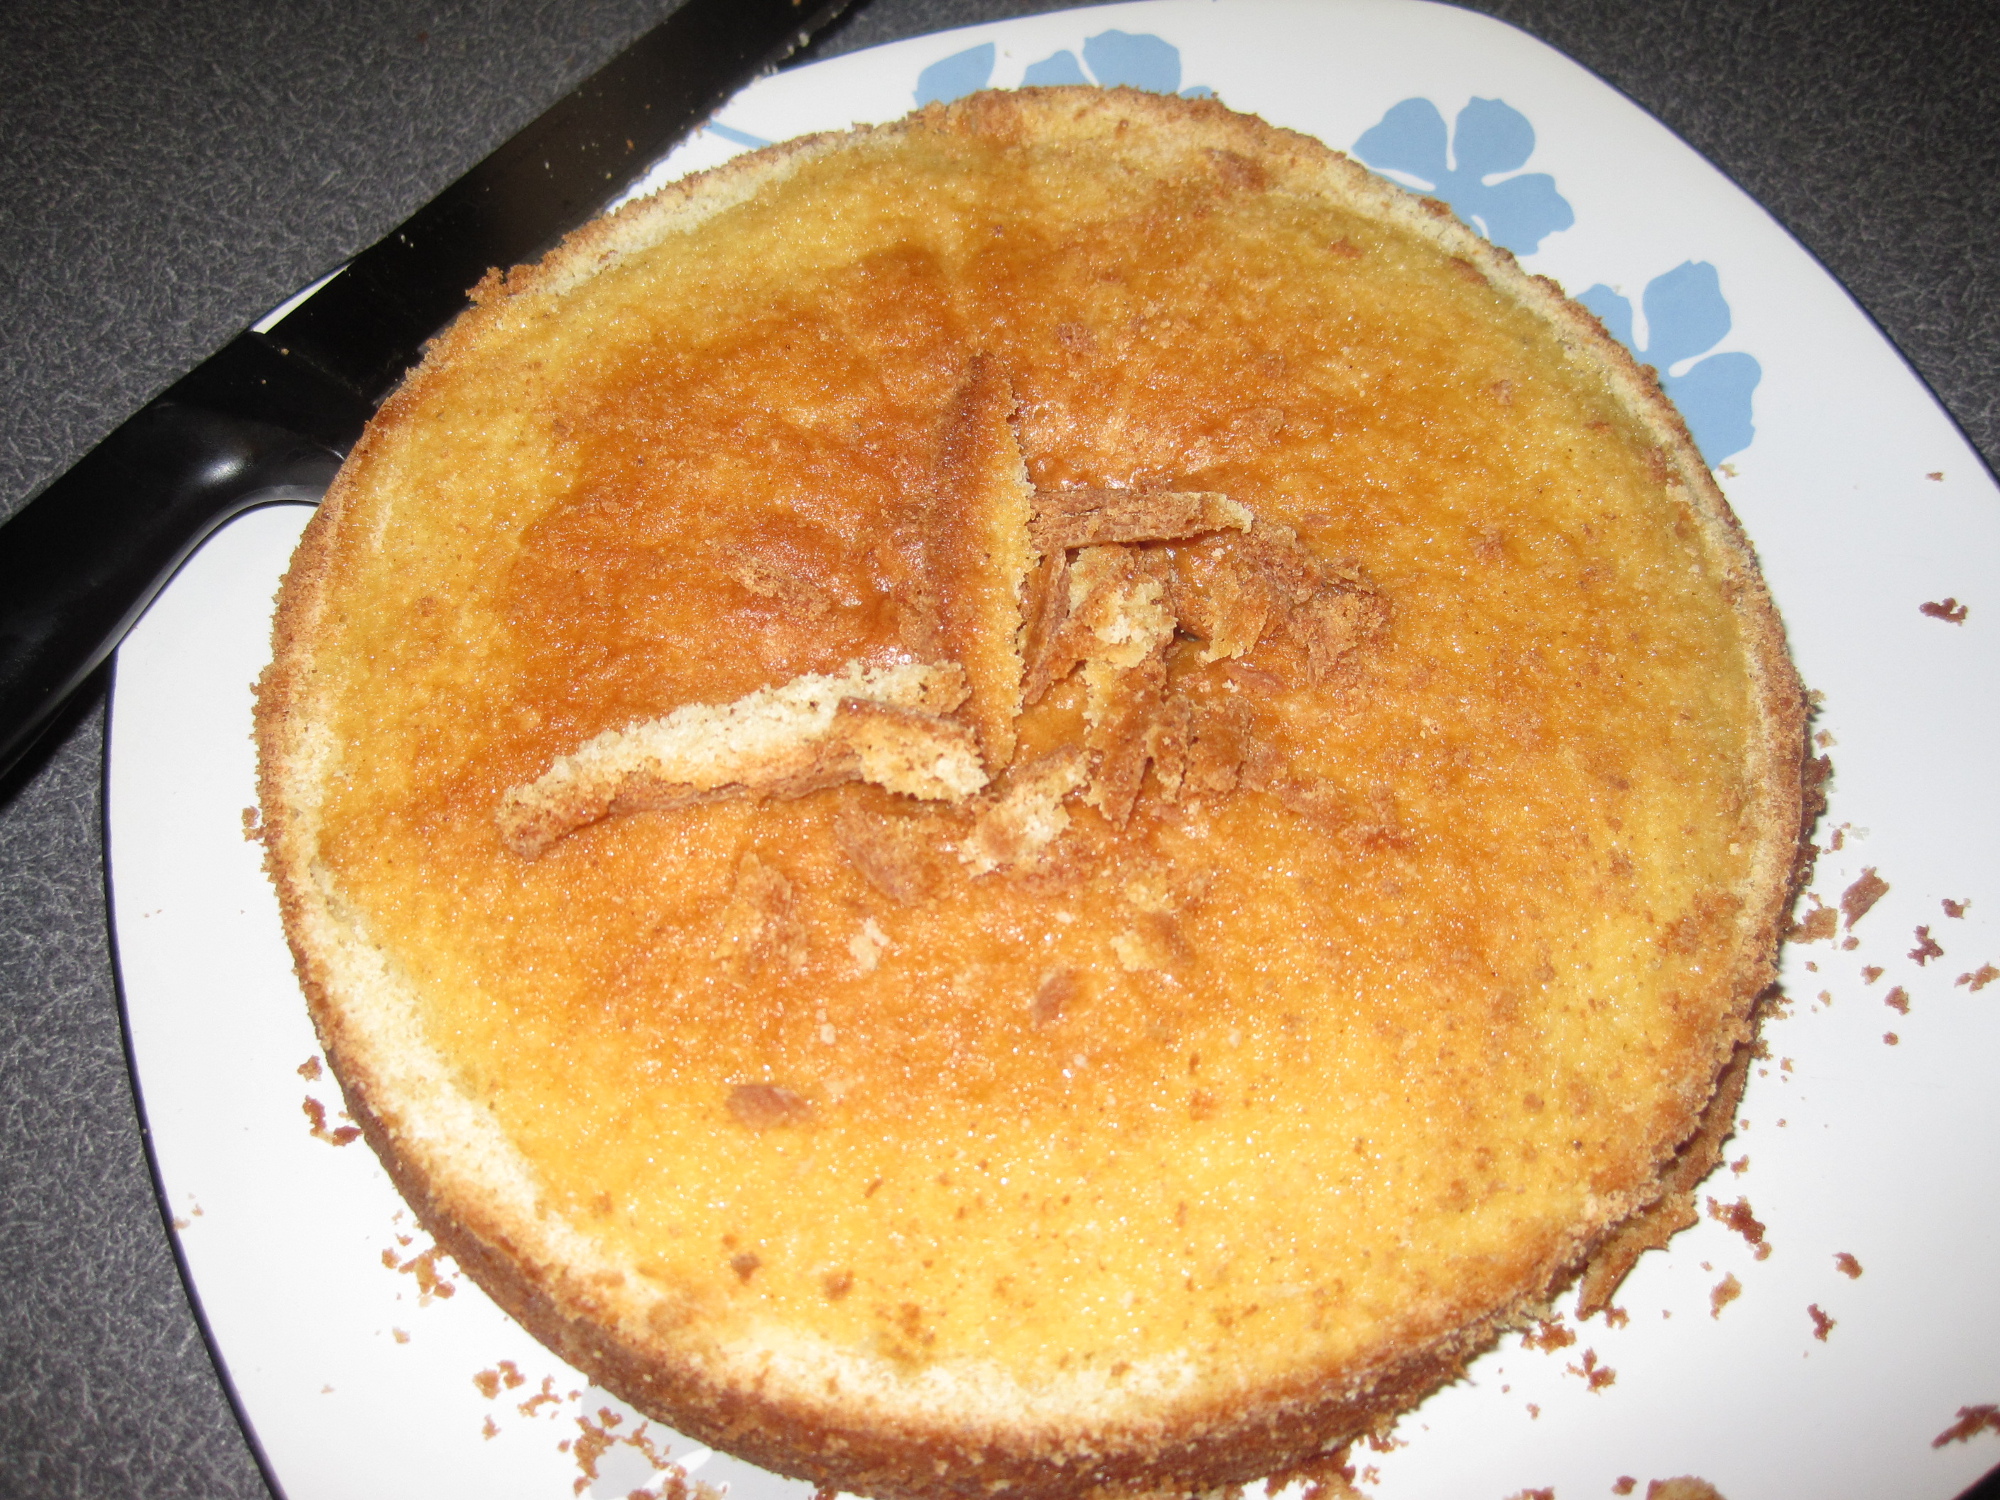
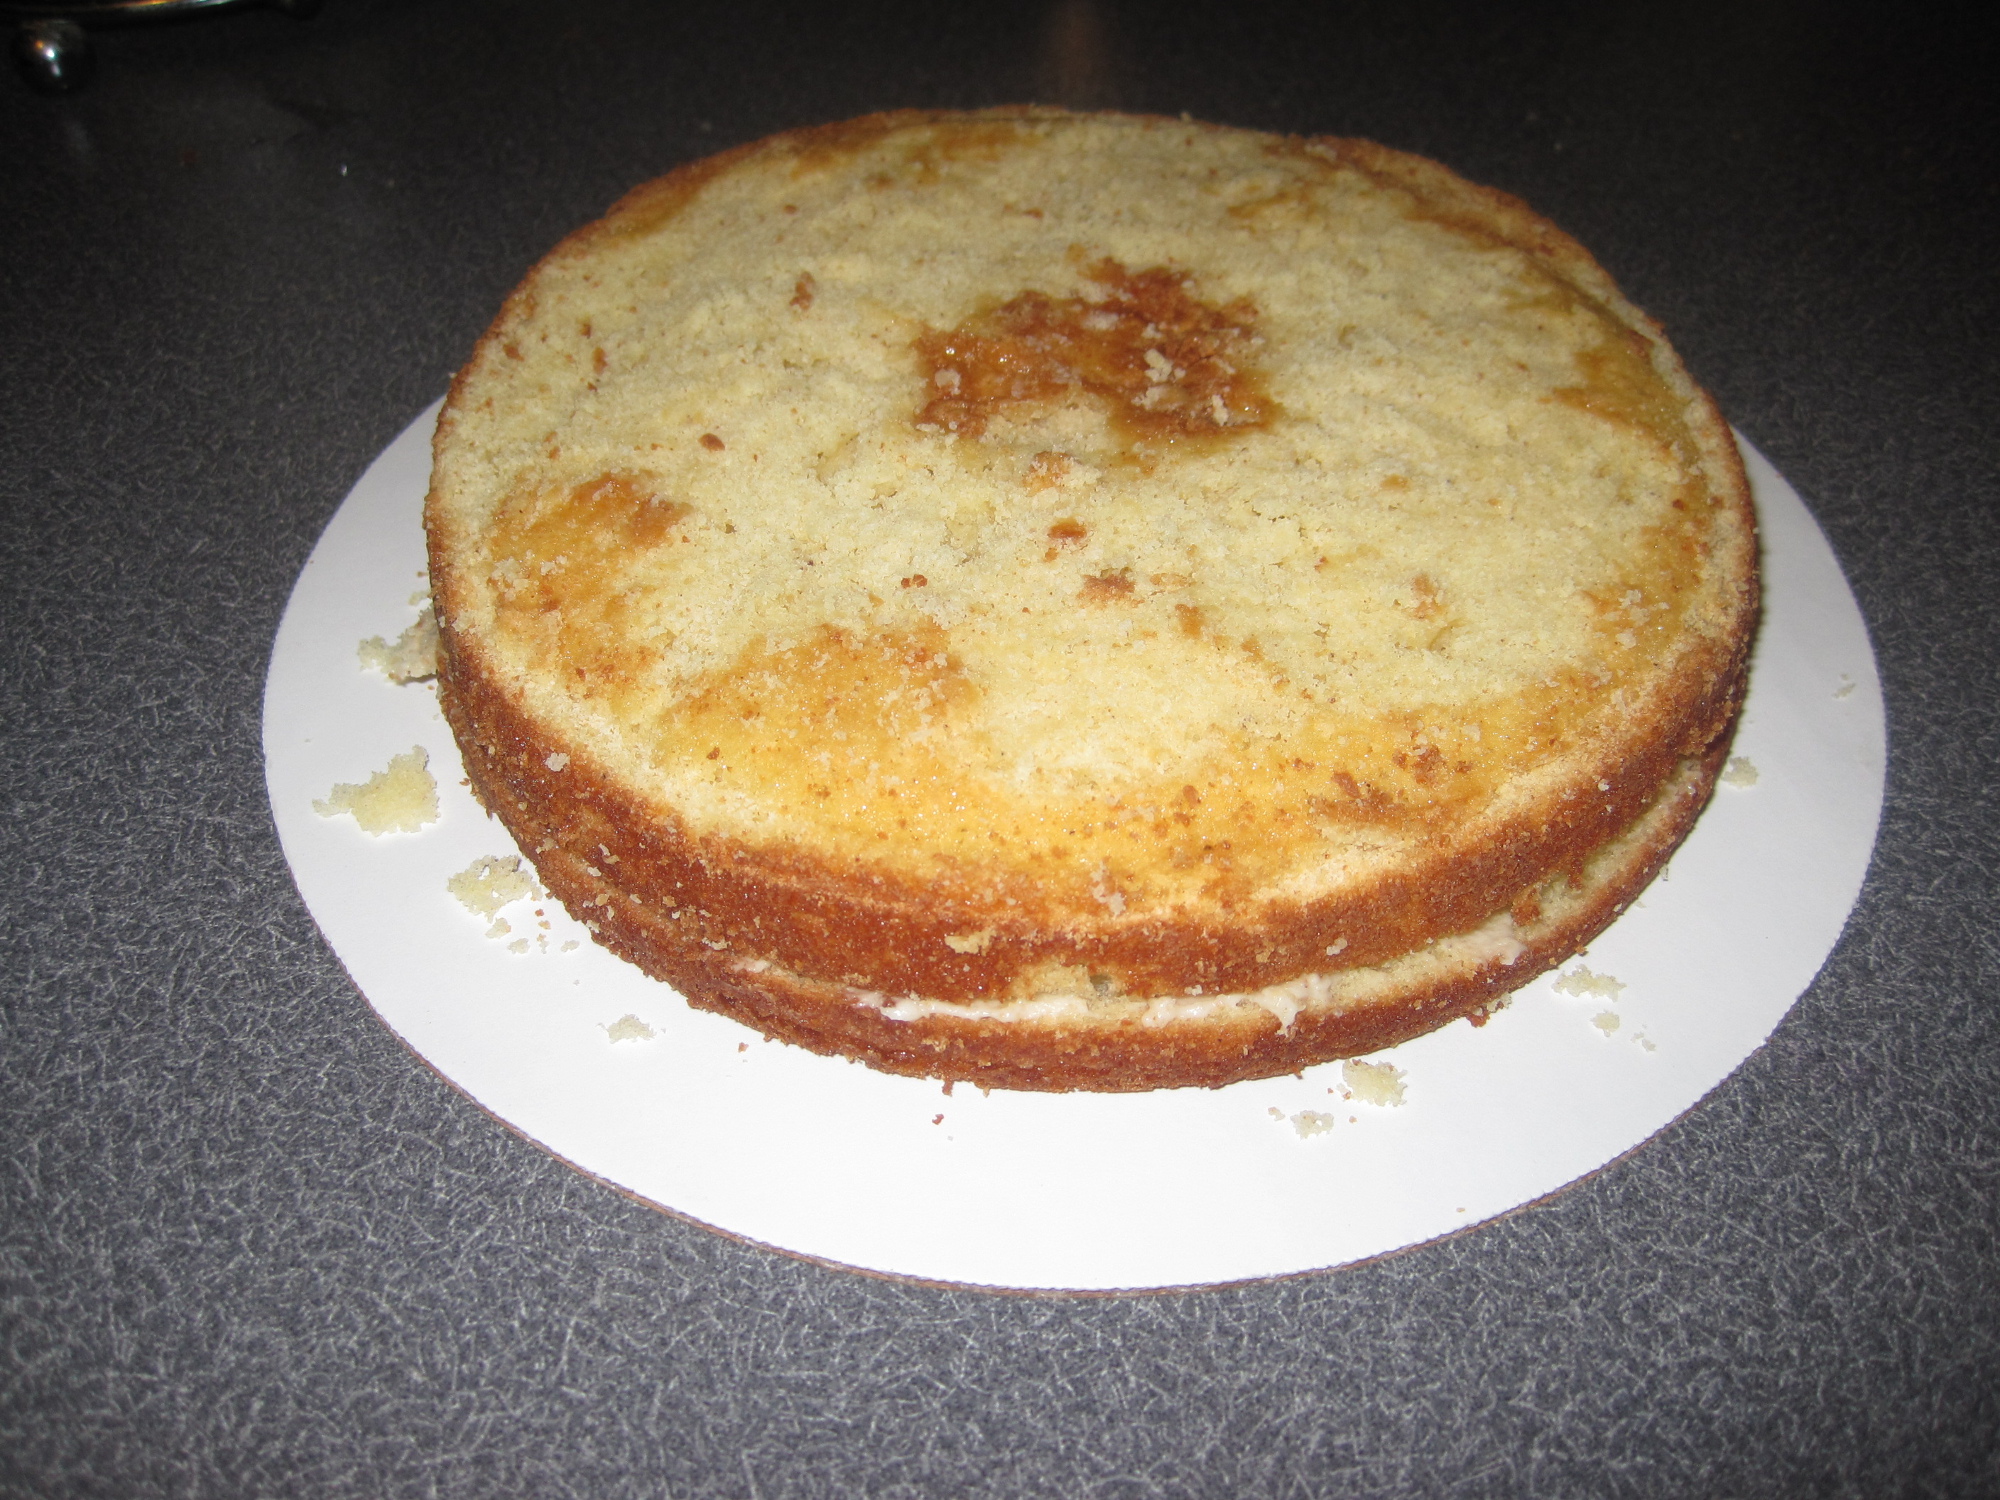
Here is the cake after I have removed the burnt top edge.
Now I am removing the rounded part to make the cake flat on top.
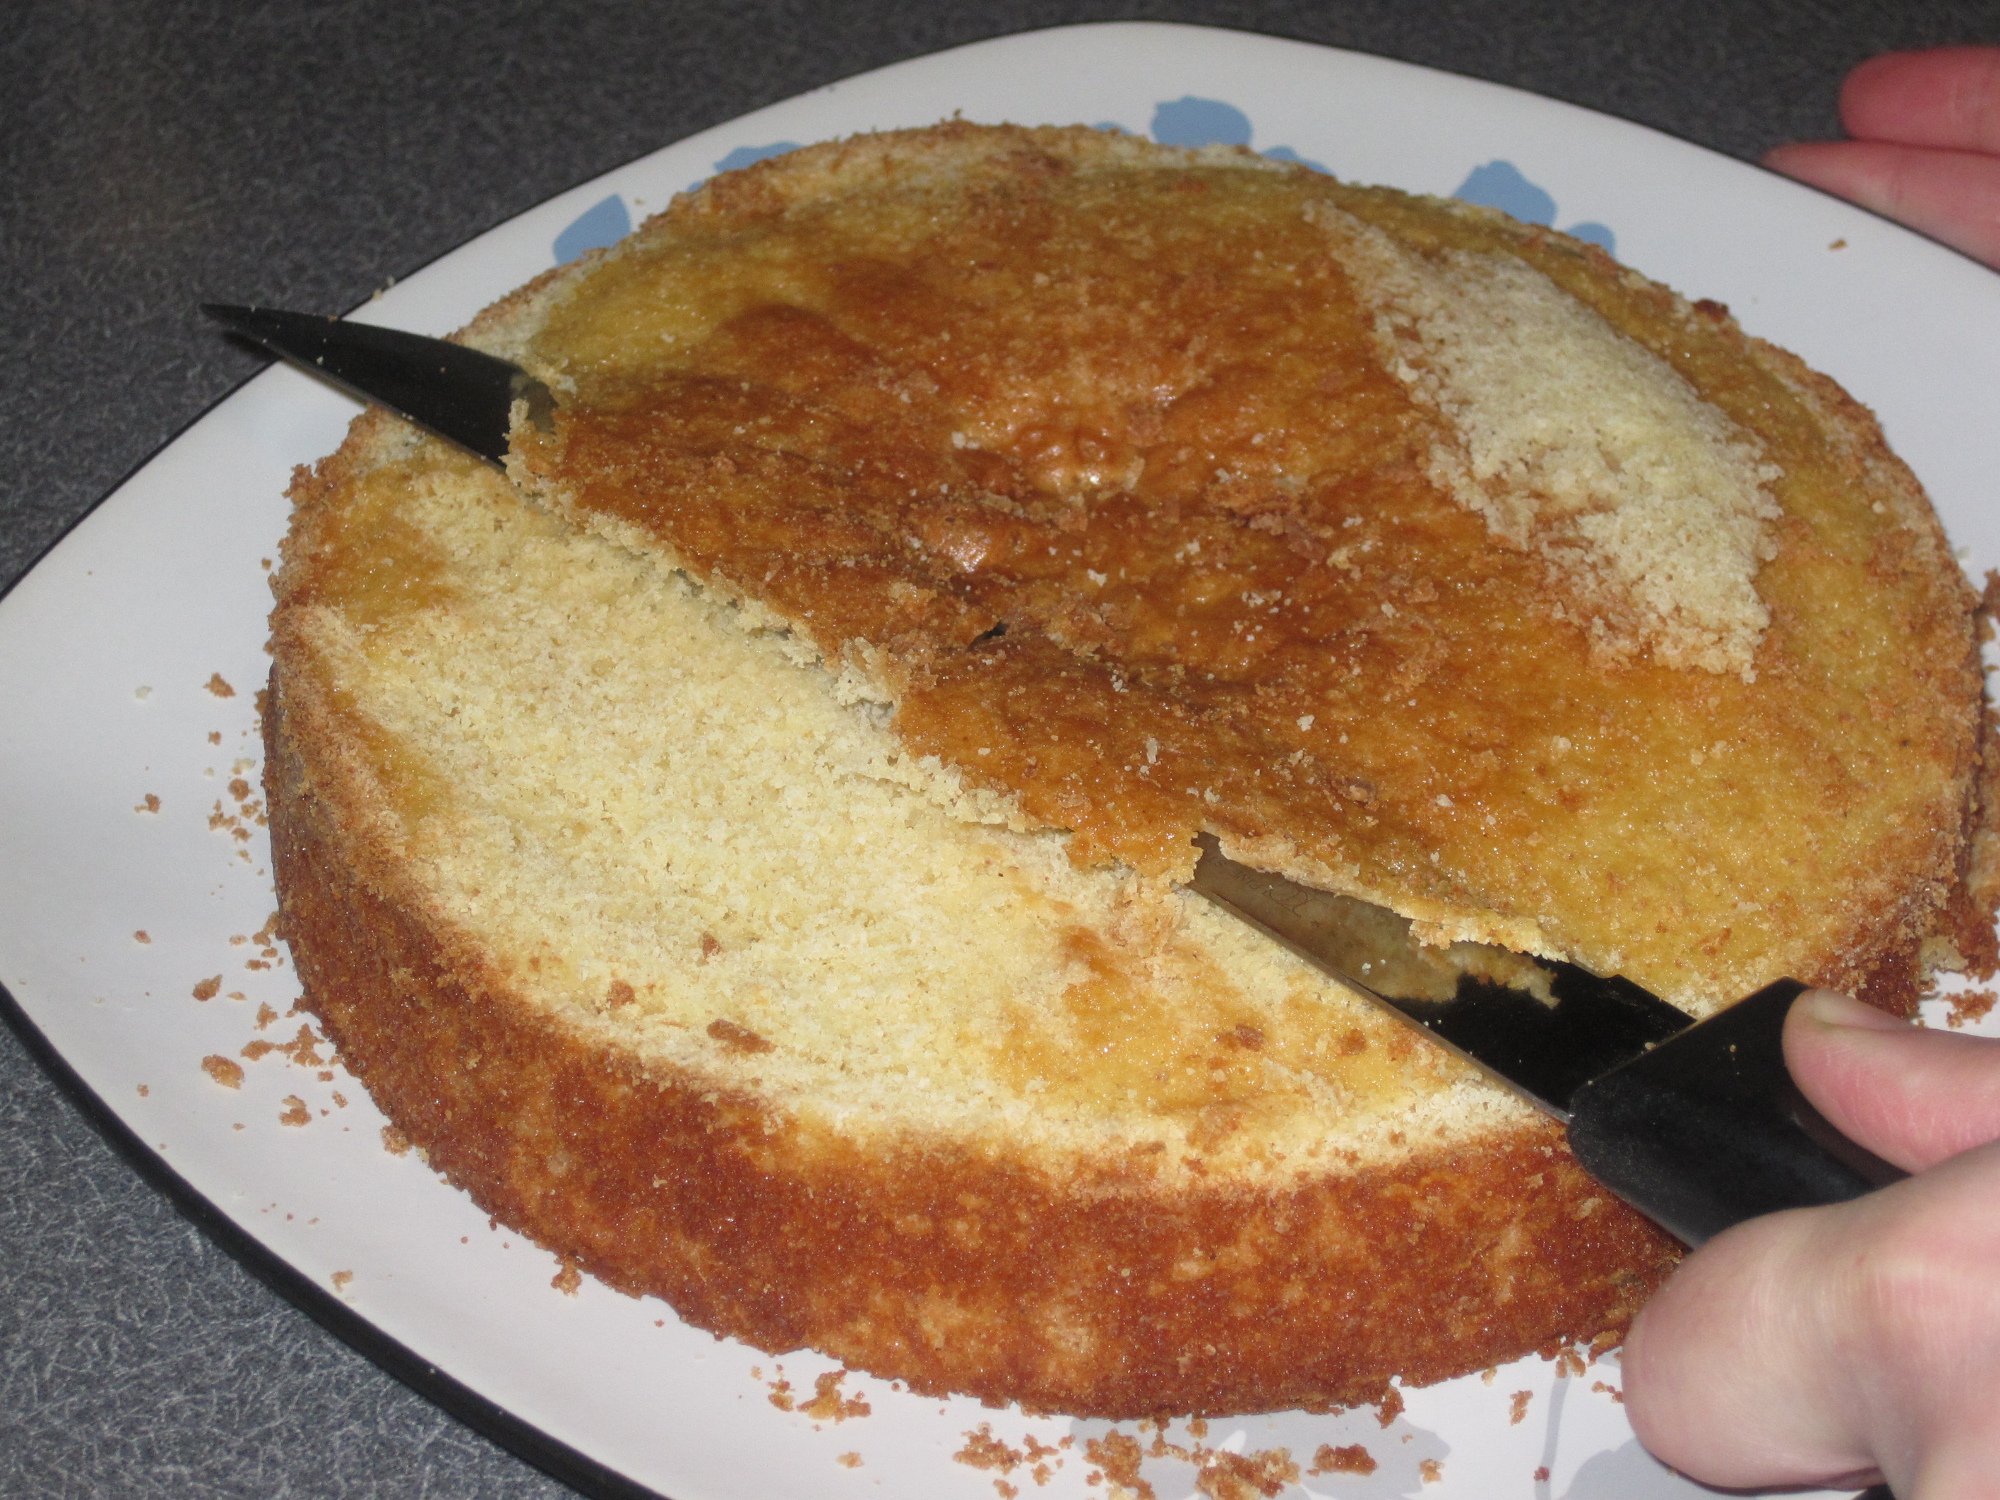
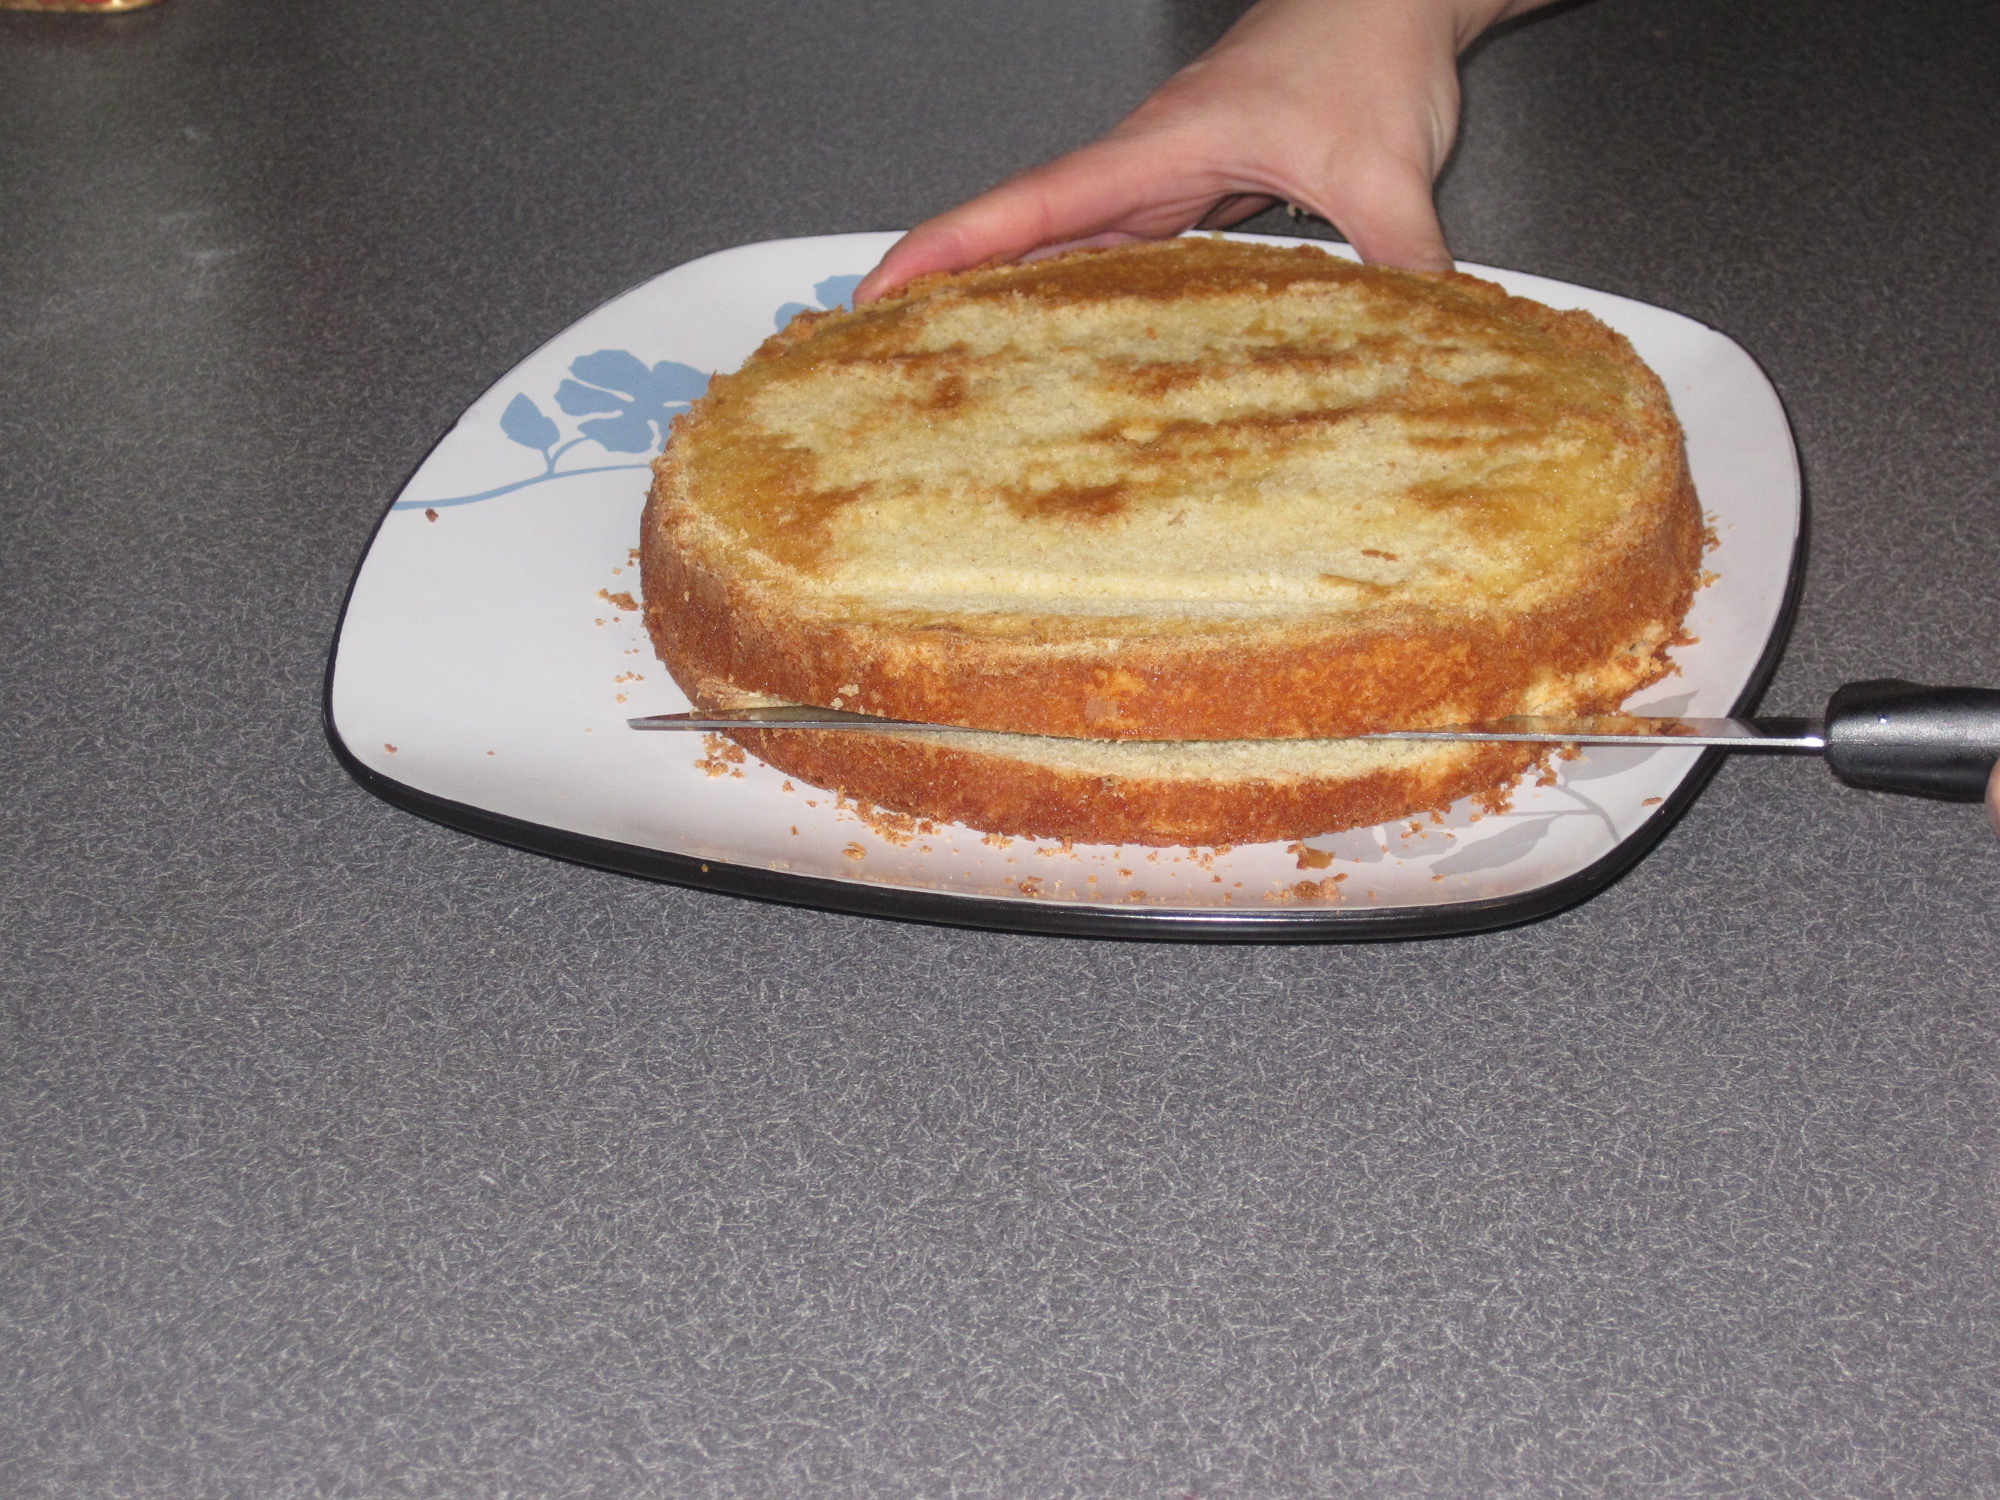
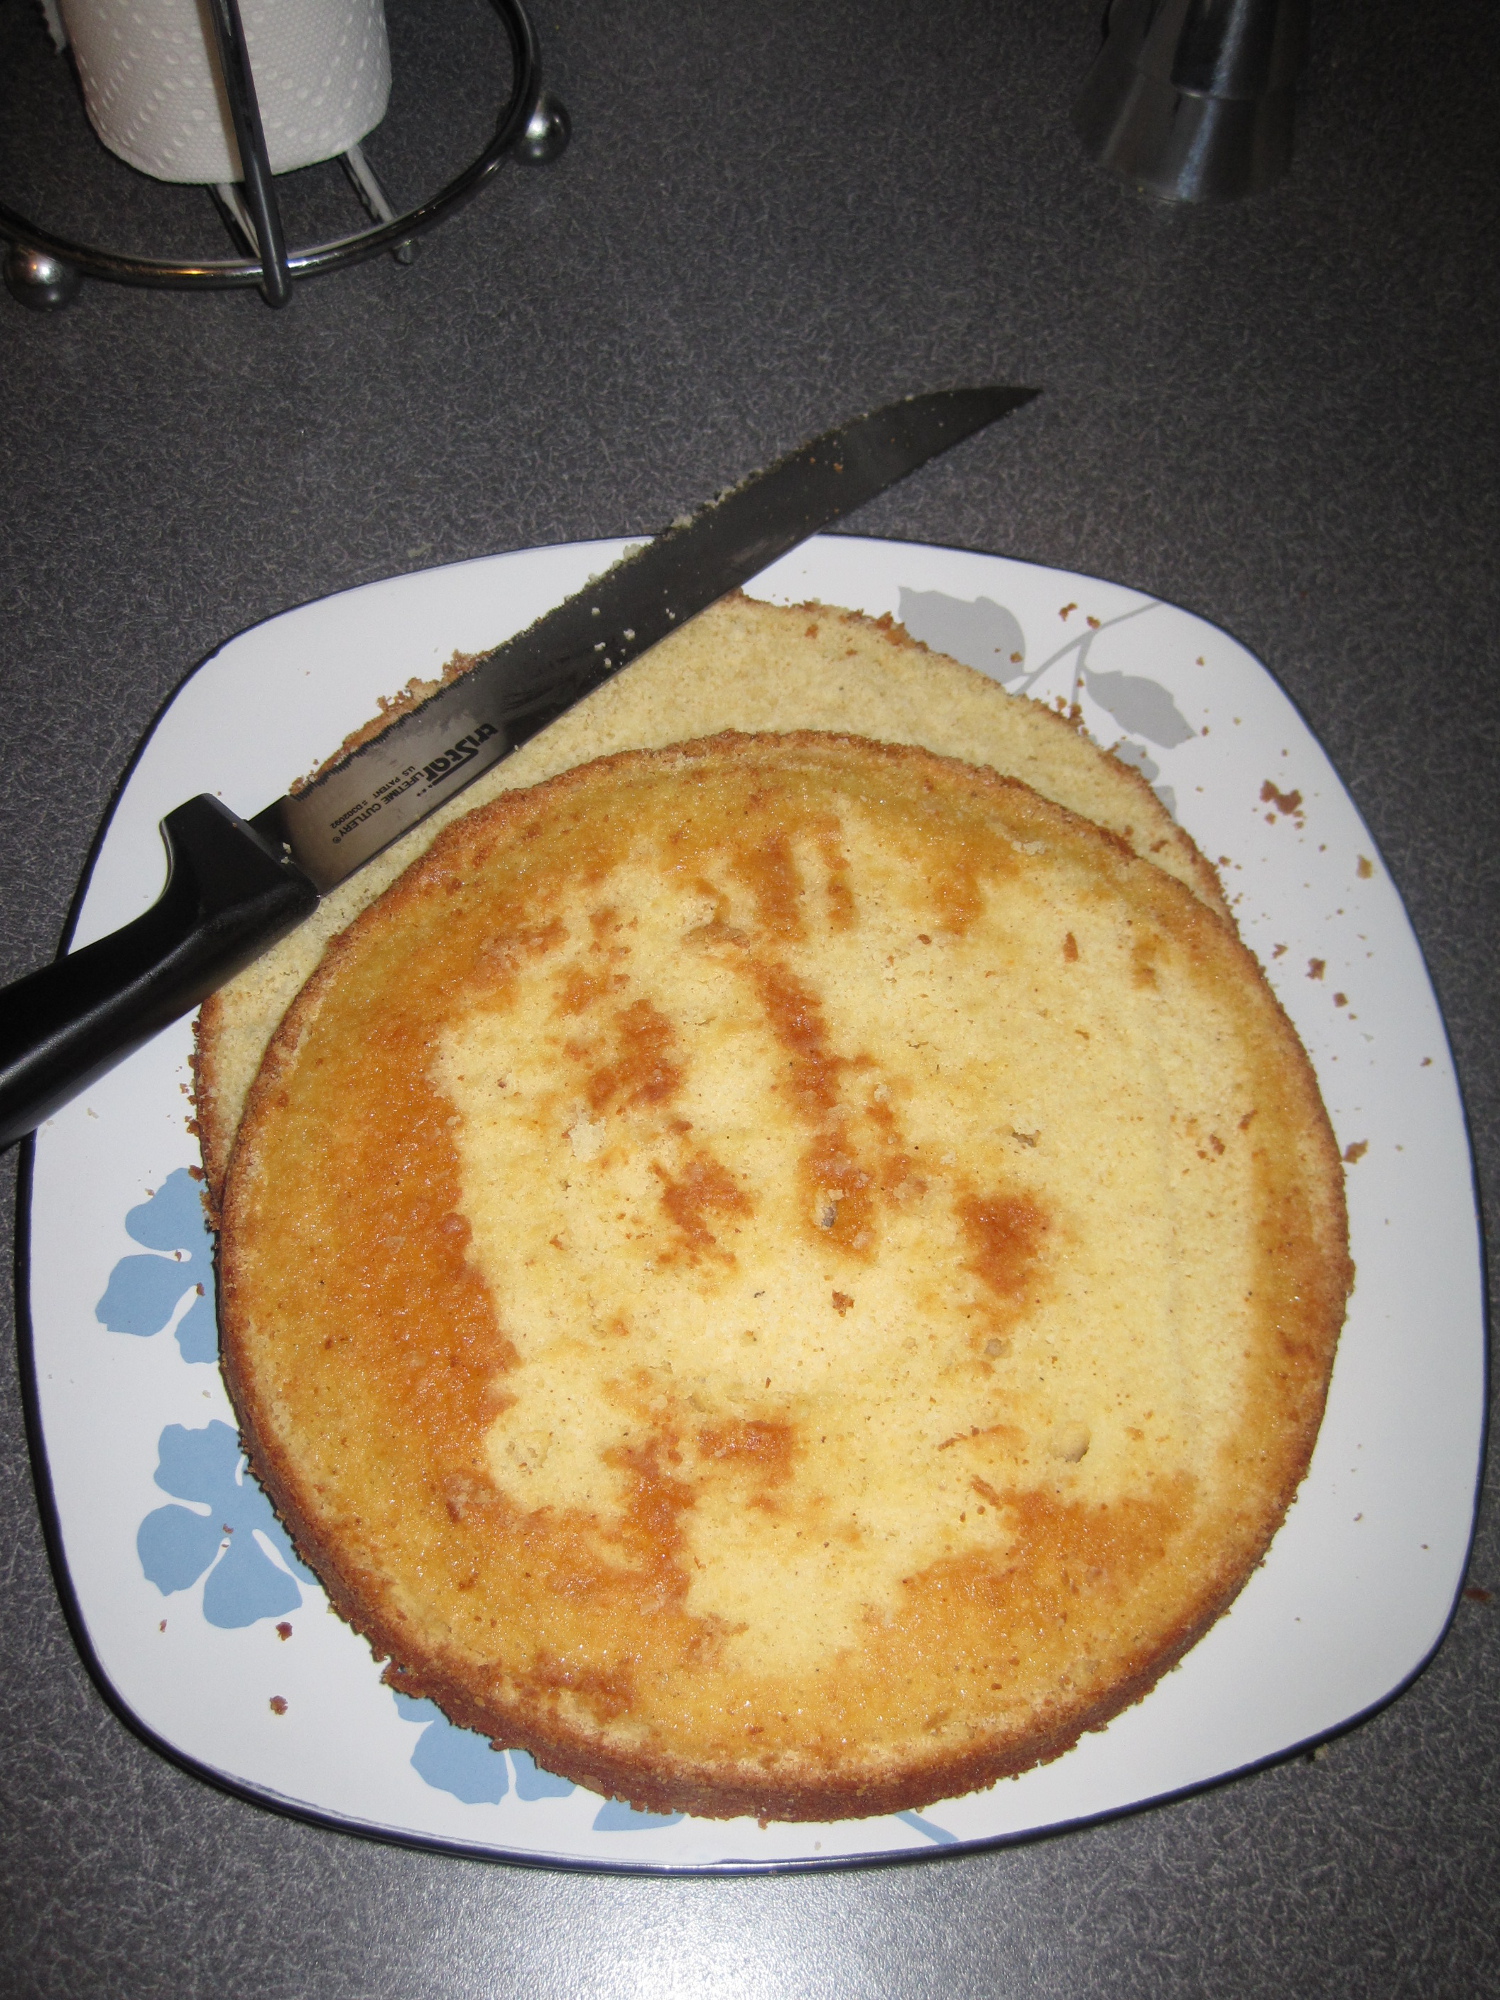
Layering the cake
Also called torting, this is where you cut the cake across the transverse plane to make it into two layers. For a 2-layer cake, you need one cake. For a 4-layer cake, you need two cakes. This is just a general rule of thumb, especially if your cake pan is 2 inches high. Again, I like using a regular serrated knife for this part. Just start at the edge, in the middle of the cake. Hold the top of the cake for support and start cutting inward. You can rotate the cake as you go, but make sure the knife is level so that the two pieces of cake end up even. Separate the two layers of cake.
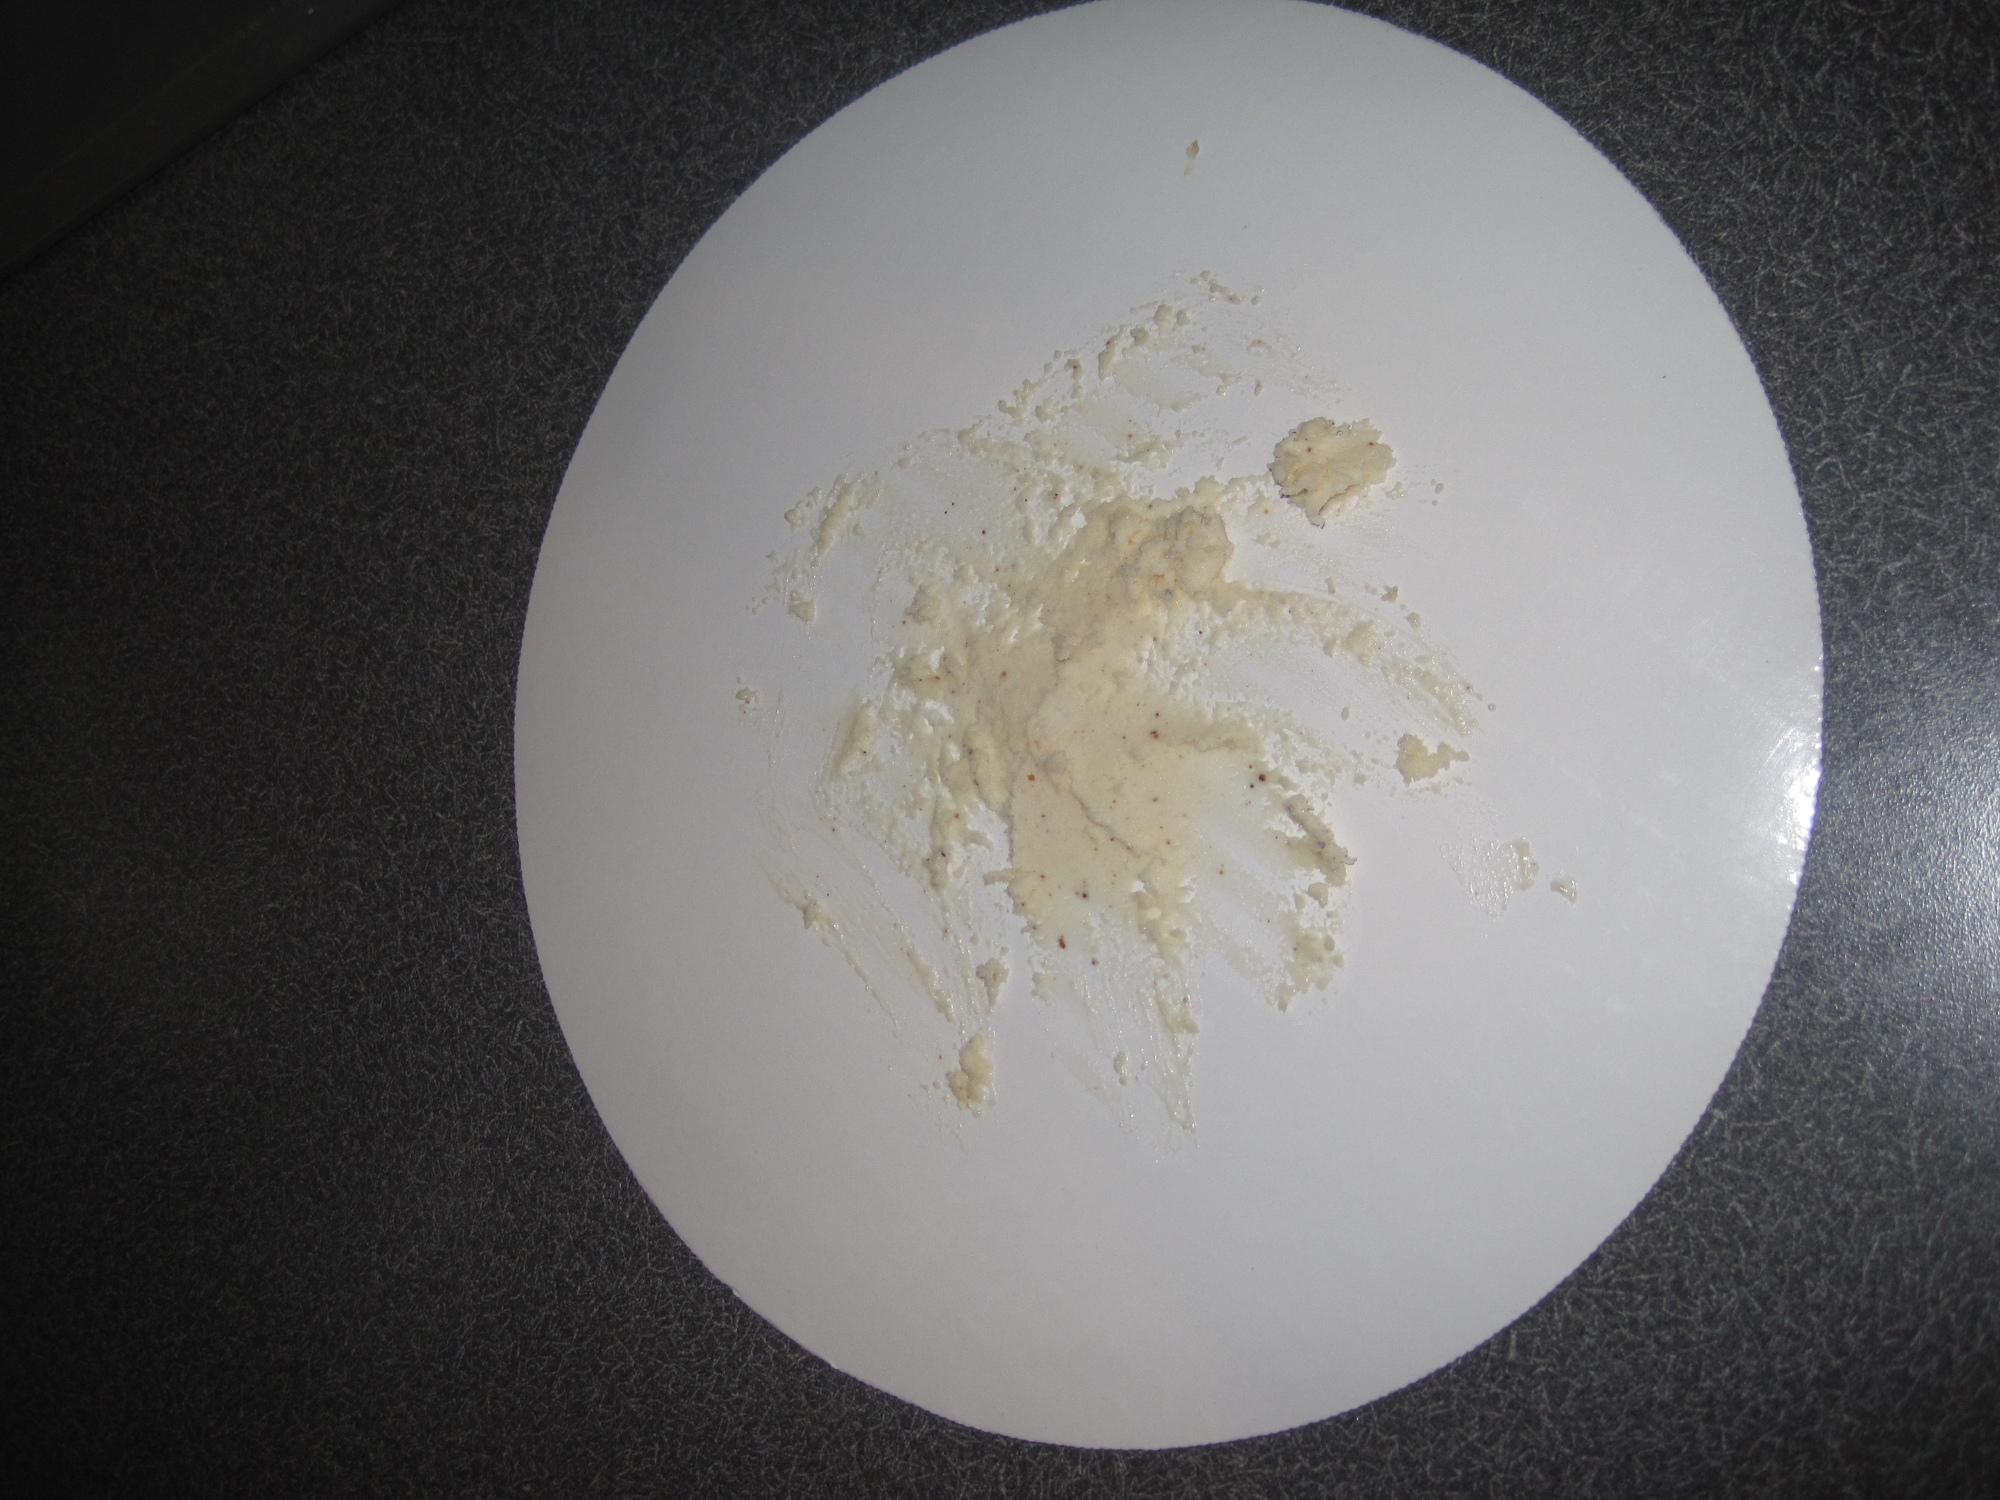
Frosting the cake
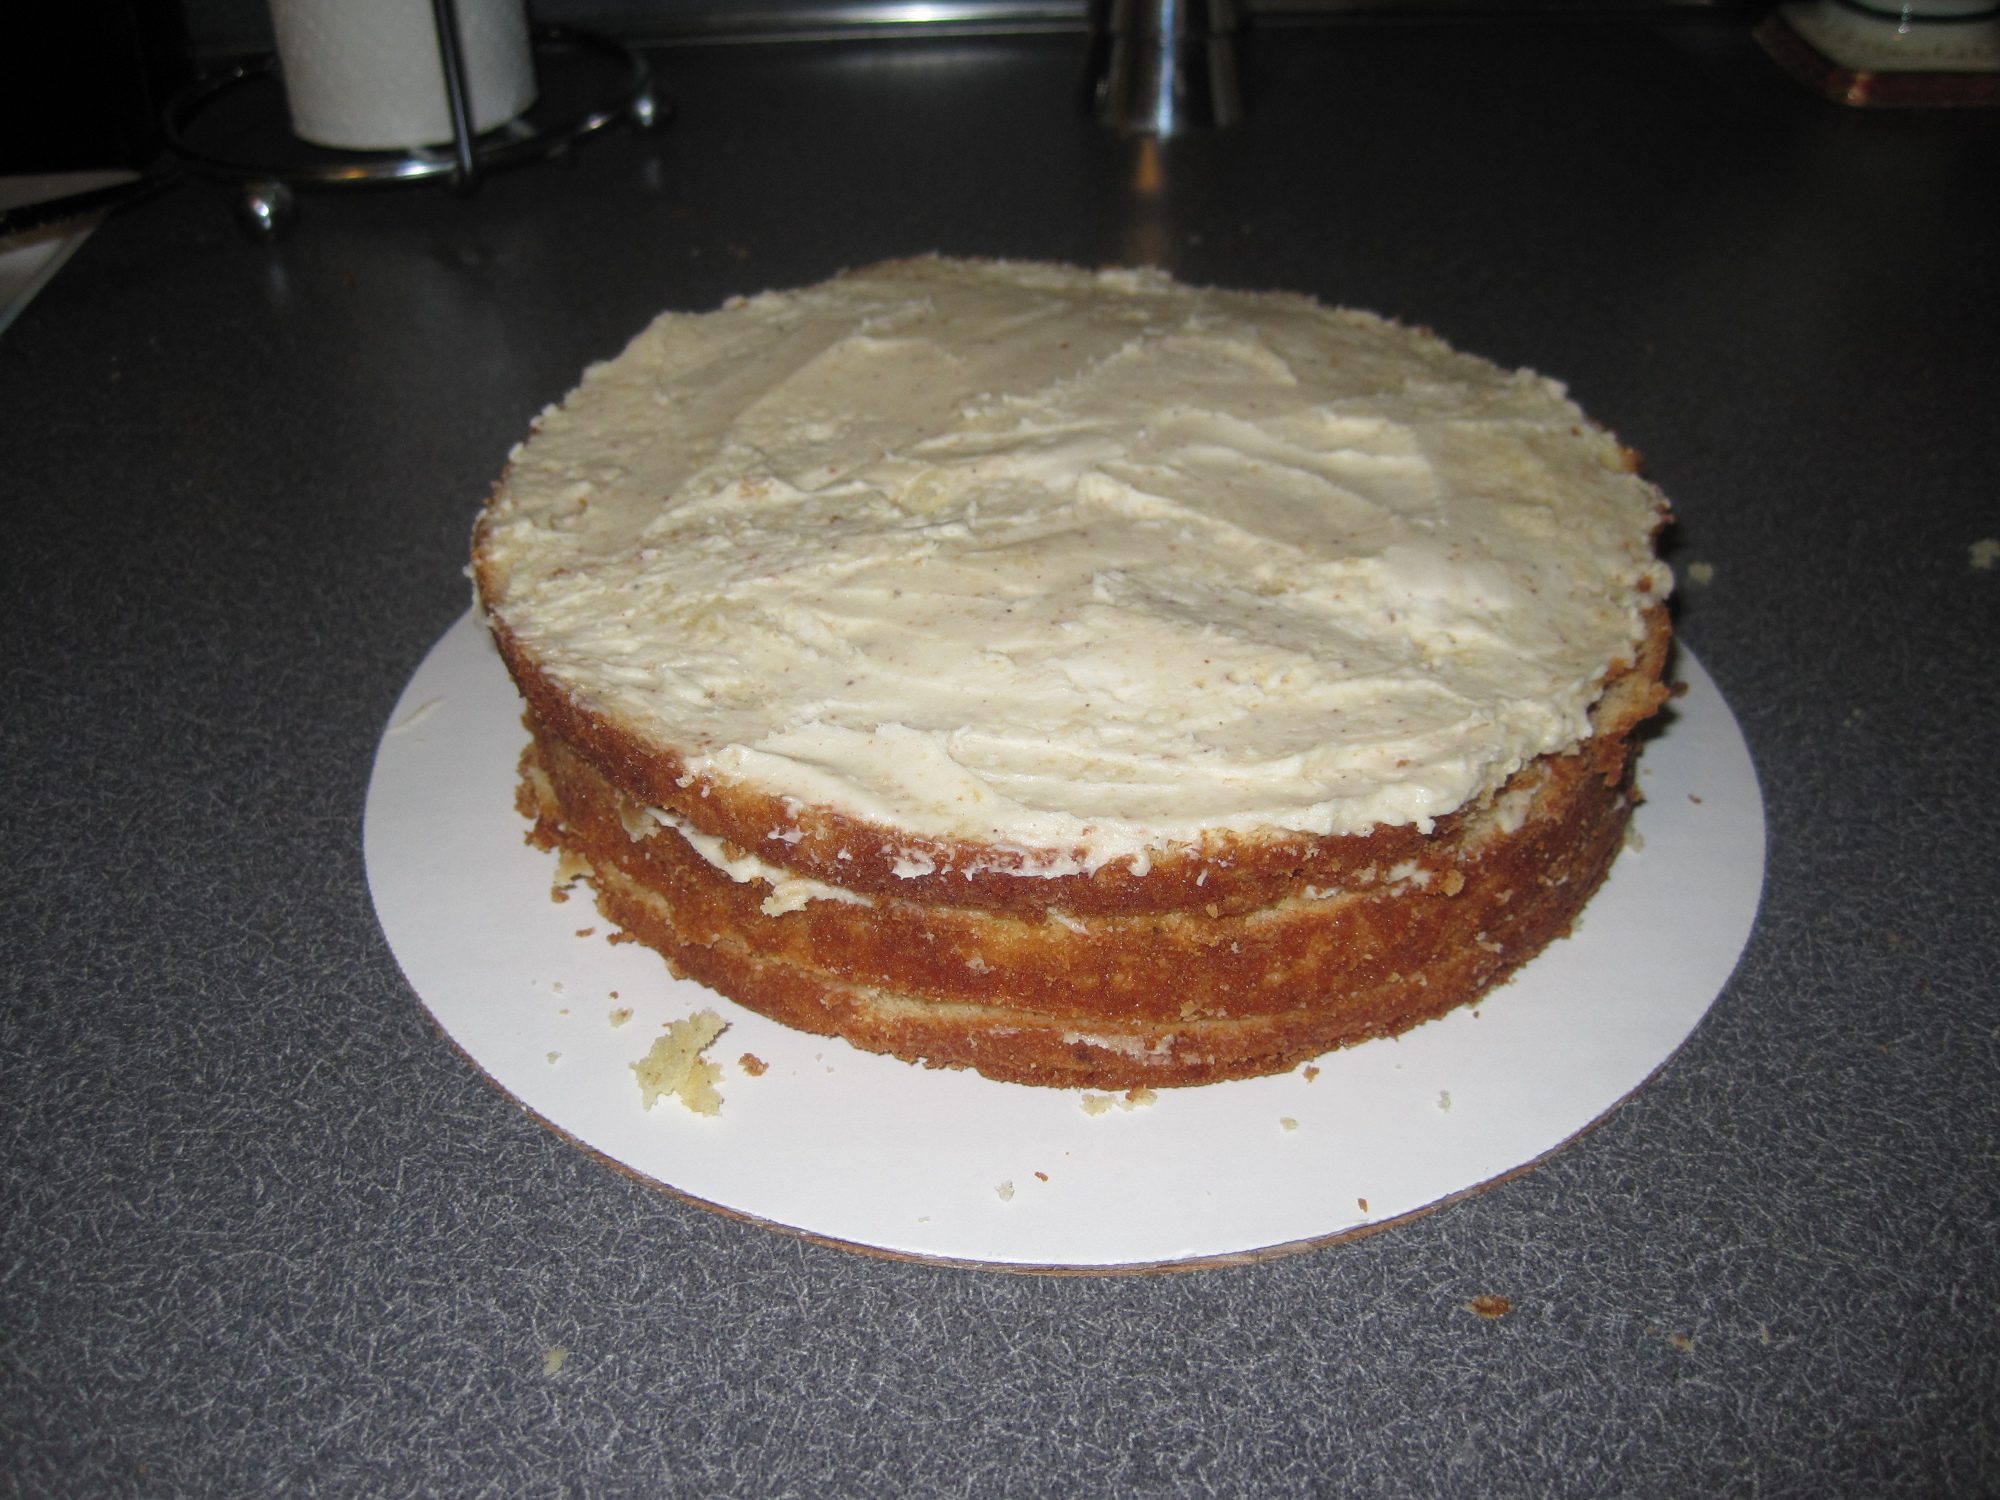
Now comes the fun part. Let your frosting warm up a bit out of the fridge. If it is too cold, it may tear the cake. Place a dollop of frosting on the cake board and spread it around. You will place the cake on this dollop, and it will glue the cake to the board so it doesn’t shift.
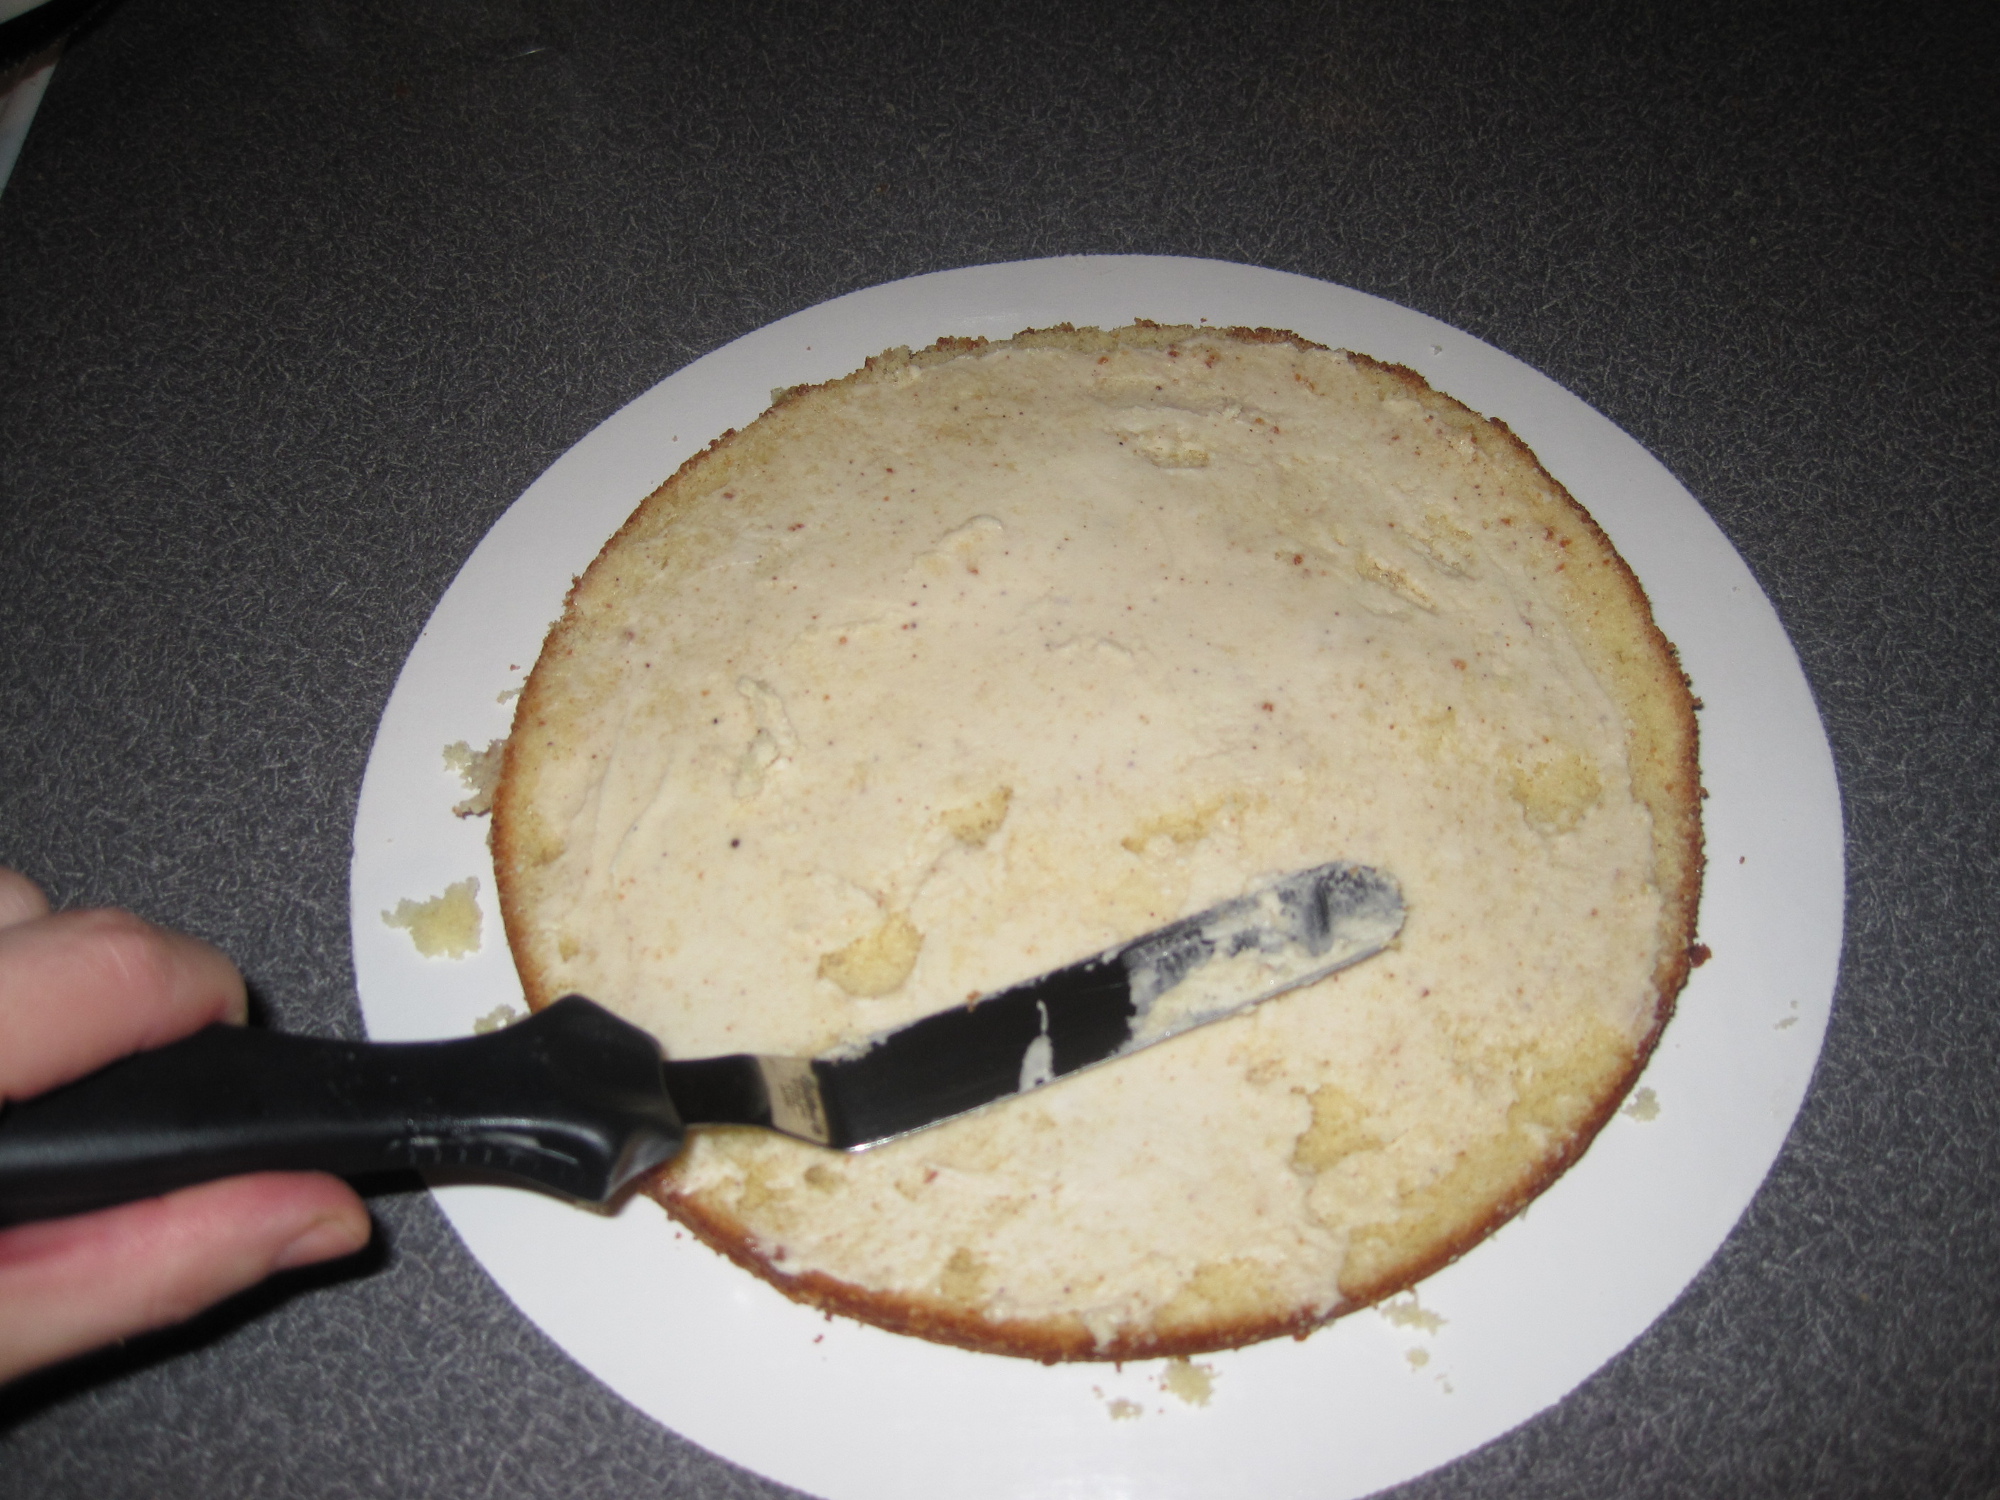
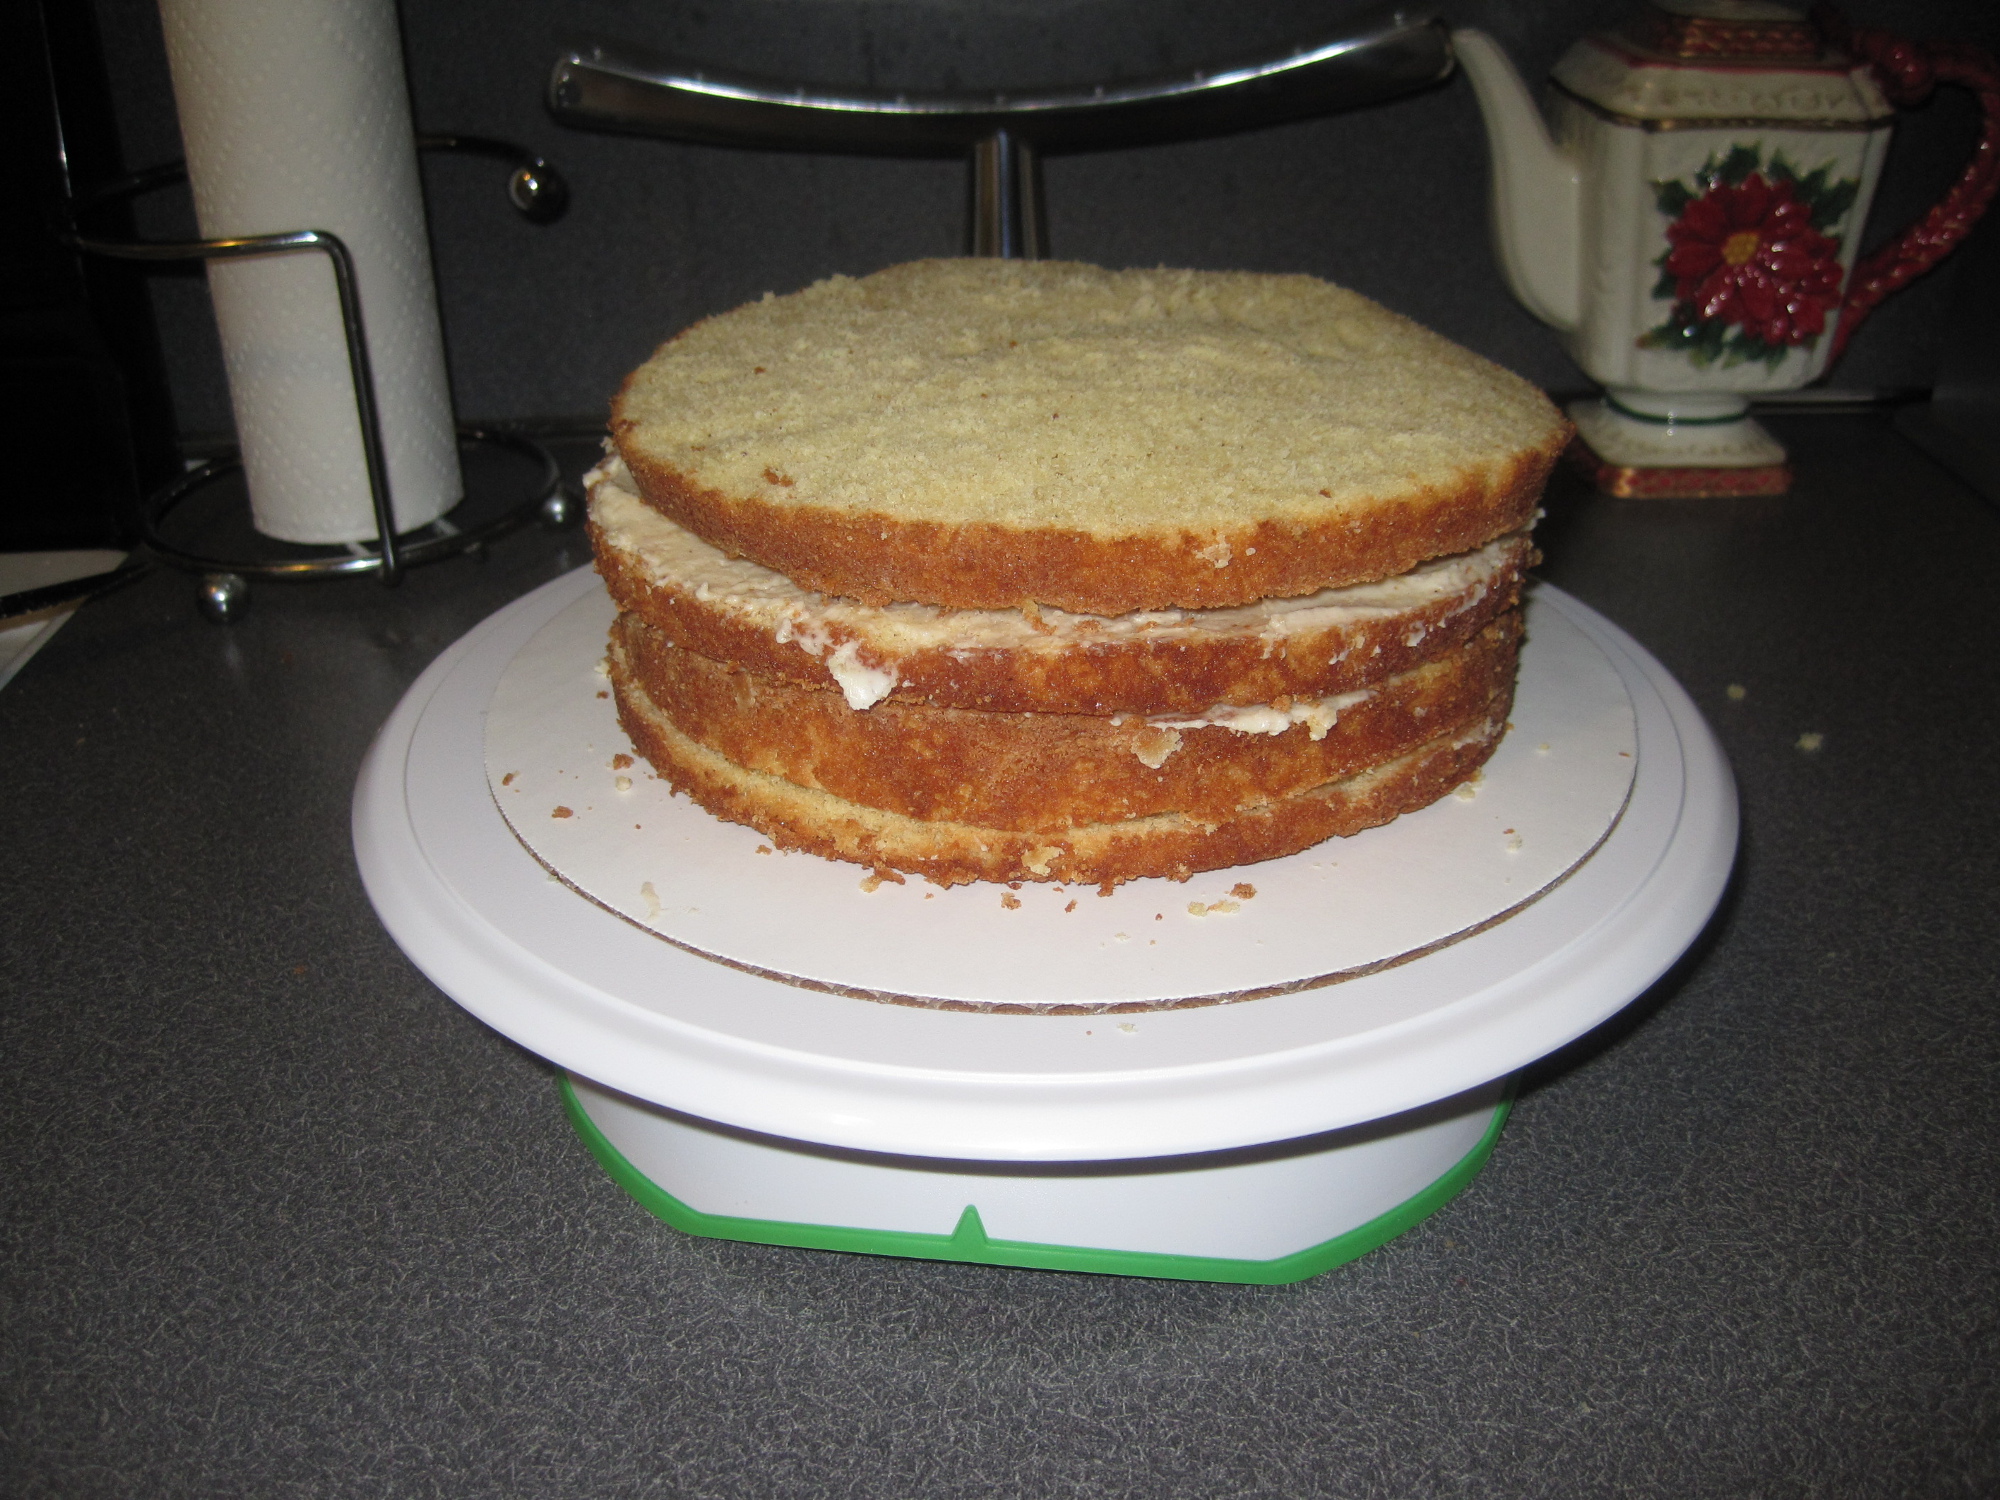
Next, place one layer of cake on top of that and frost the top. Don’t worry about the sides until after the whole cake has been constructed. Keep placing a layer and frosting the top until the cake is the desired number of layers.
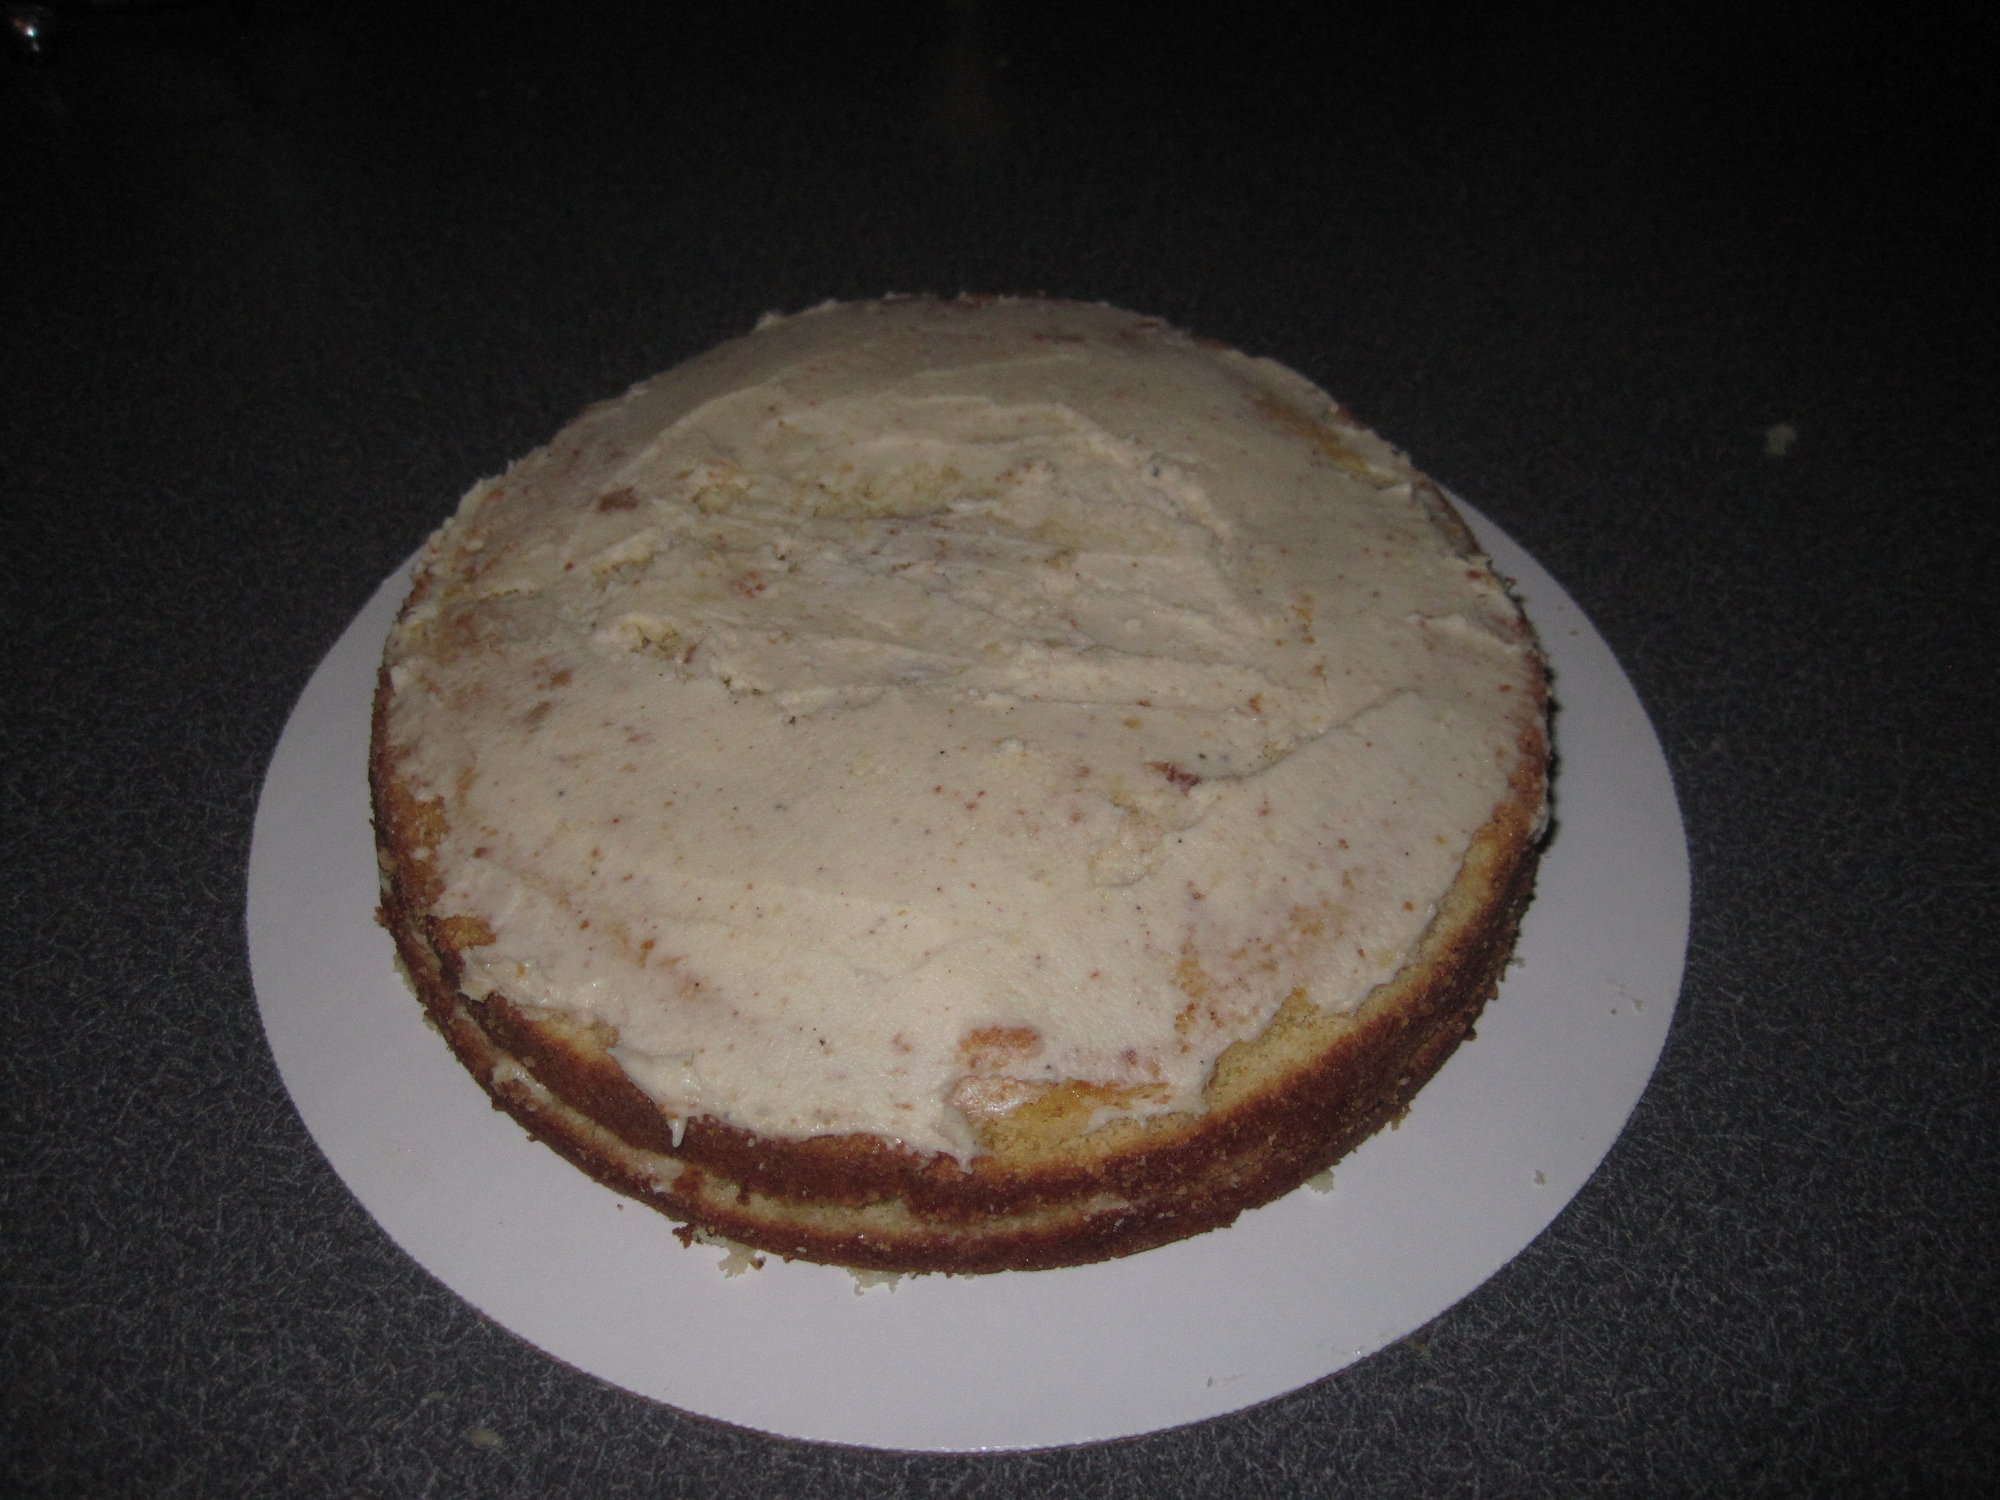
The crumb coat
Here is where I break out my turning table. If your cake is round, then a turning table really helps in frosting your cake. I like to start with the top and then move onto the sides. The crumb coat is a very thin layer of frosting where you basically can see the cake through it. It has two purposes: to keep crumbs from coming off the cake when you frost it, and to fill in any gaps between layers if your cakes are uneven. A crumb coat basically creates a smooth canvas for when you frost your cake. Once you crumb coat your cake, let it sit in the fridge at least 30 minutes to harden before frosting.
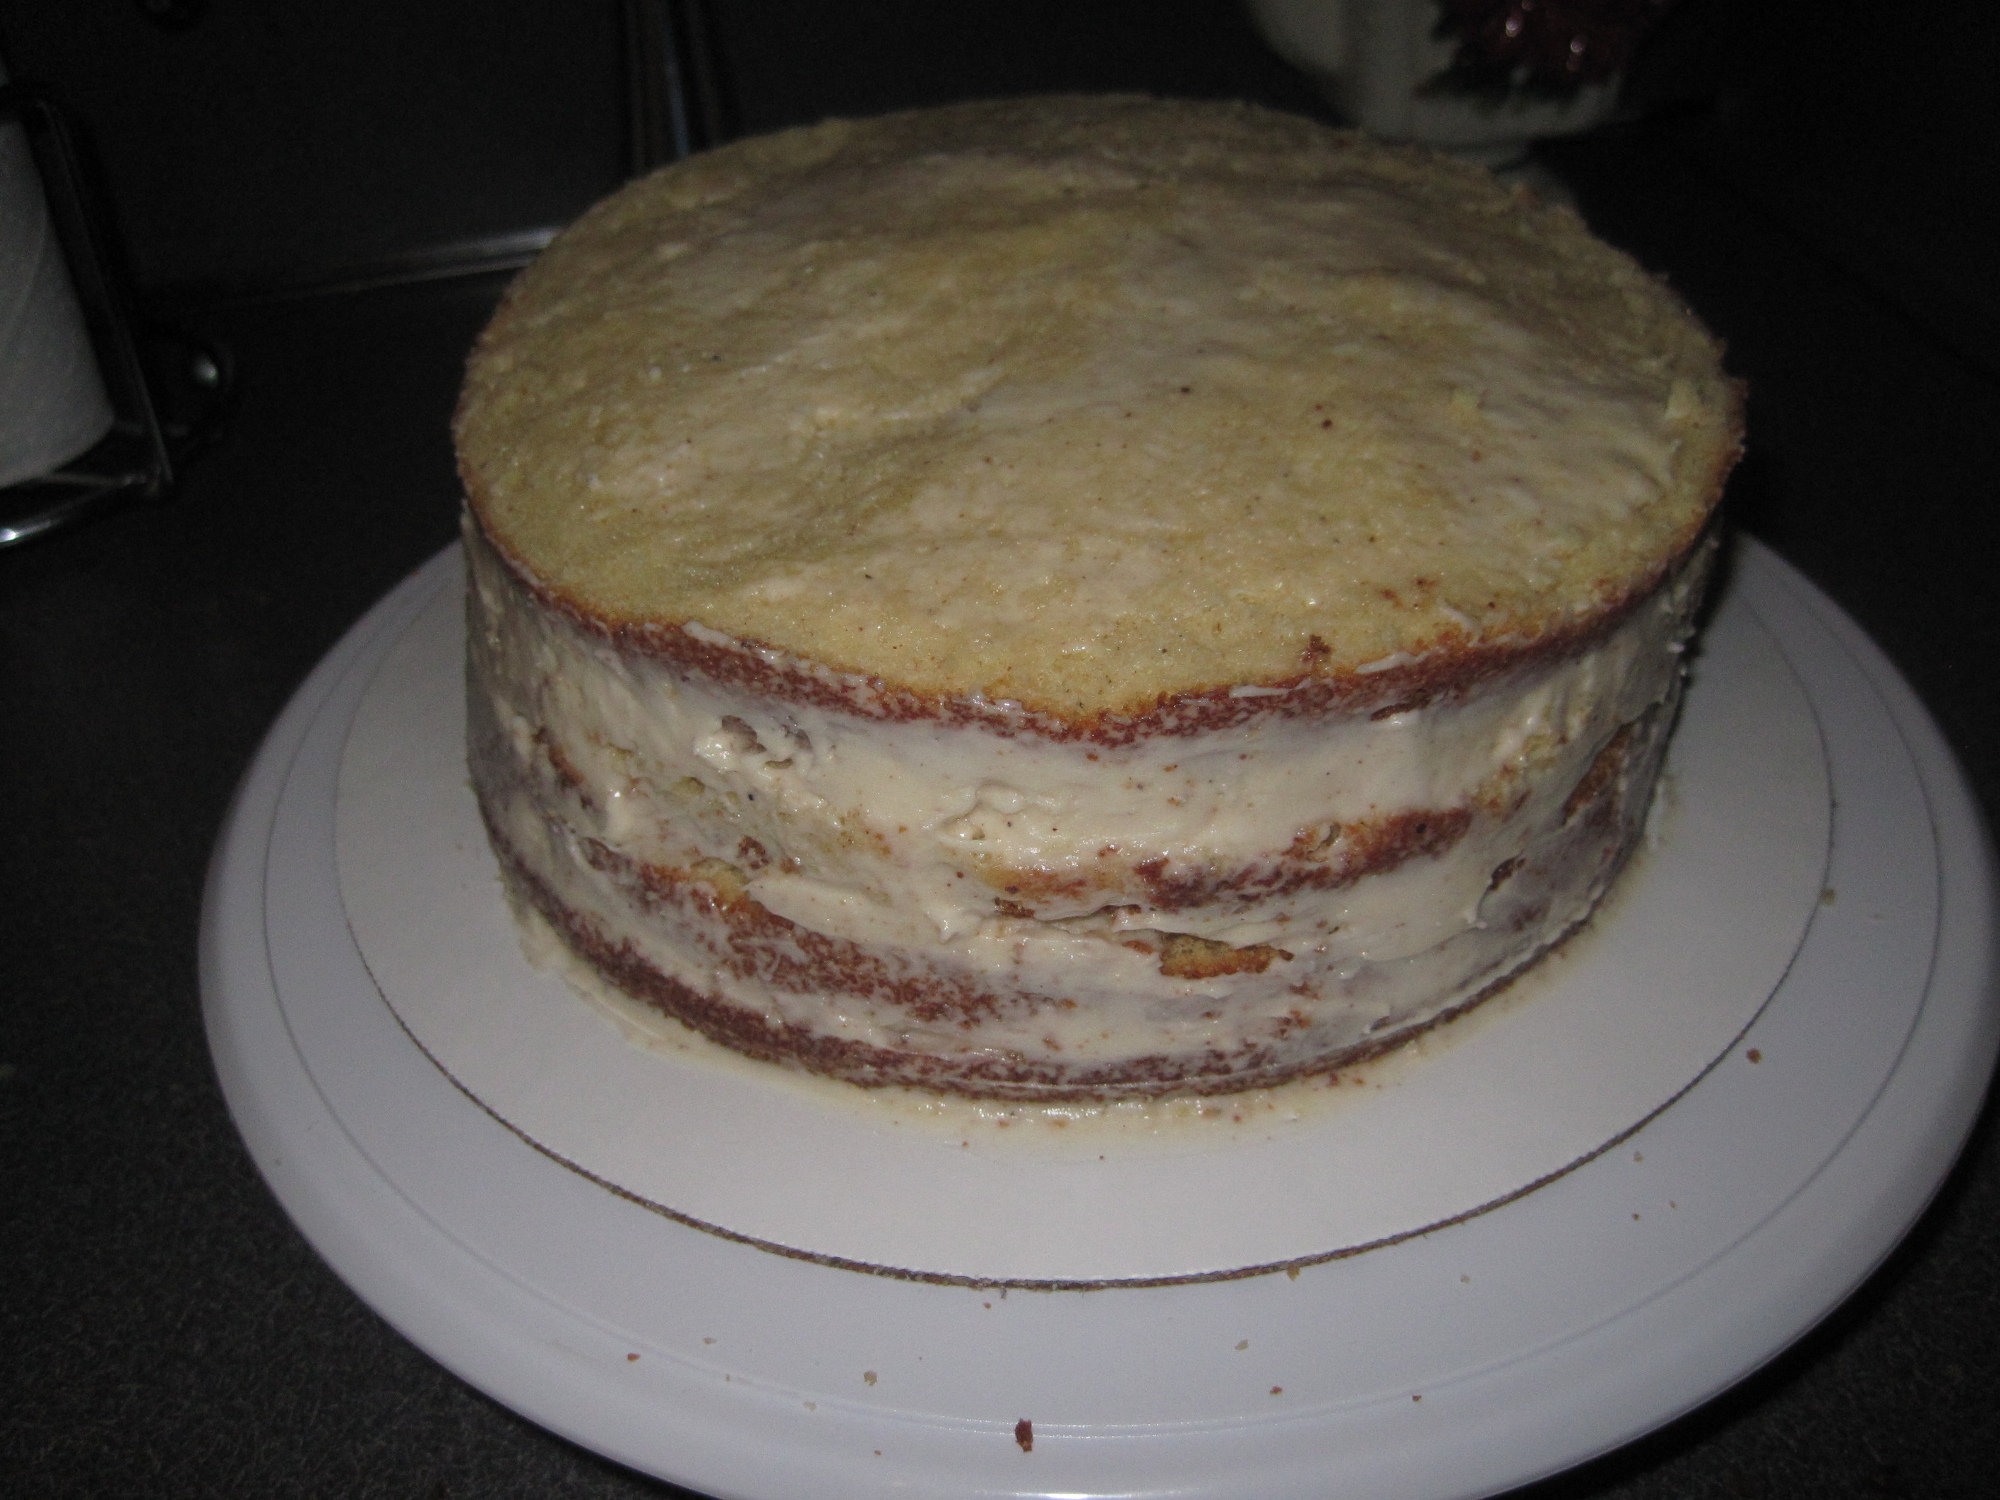
A crumb coat. Note the side has a little thicker frosting to fill in the gaps between the layers of cake.
Frosting your cake
Now you are ready to frost your cake. Again, I like to start with the top and then work my way to the sides. Place a dollop of frosting on the top of the cake and smooth with the spatula. You can turn the cake as you do this to make it easier to smooth the entire top of the cake. Then place some frosting on the side and turn the cake again until the cake is frosted all the way around. To make a smooth appearance, dip your spatula in hot water, wipe it off with a paper towel, and smooth over your cake. The frosting will melt a little and any bumps should be smoothed out.
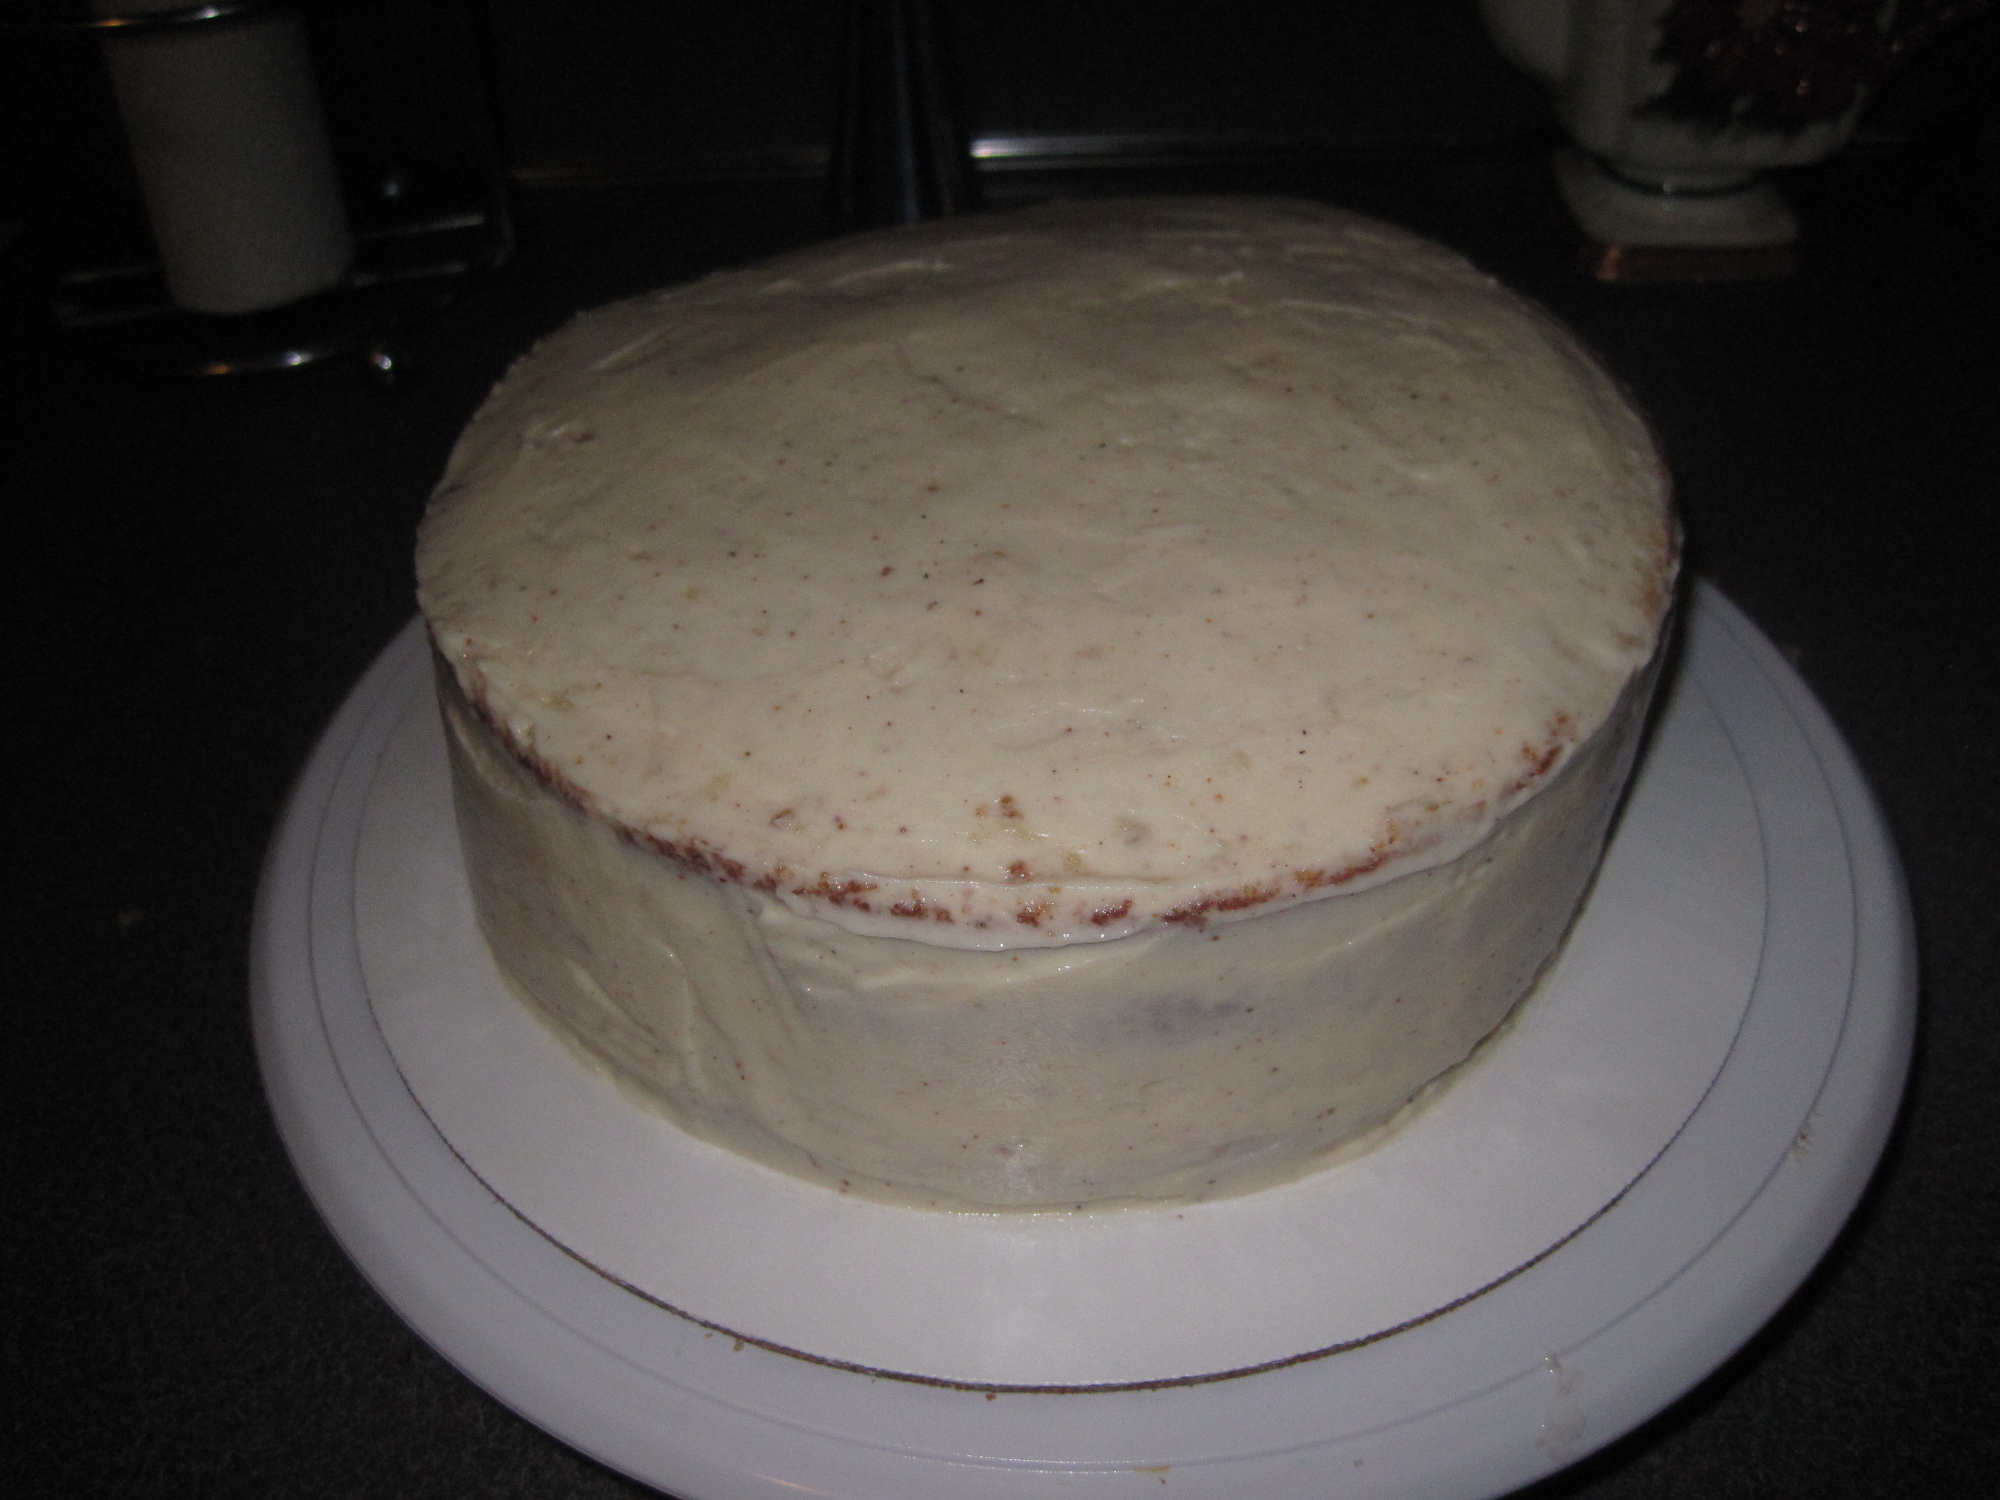
And there you have it. The only thing I don’t know how to do is hide the top edge of the cake when using white frosting. I always find that it shows through and I have to pipe frosting on top or hide it some other way. So any recommendations on how to do this would be greatly appreciated!
