
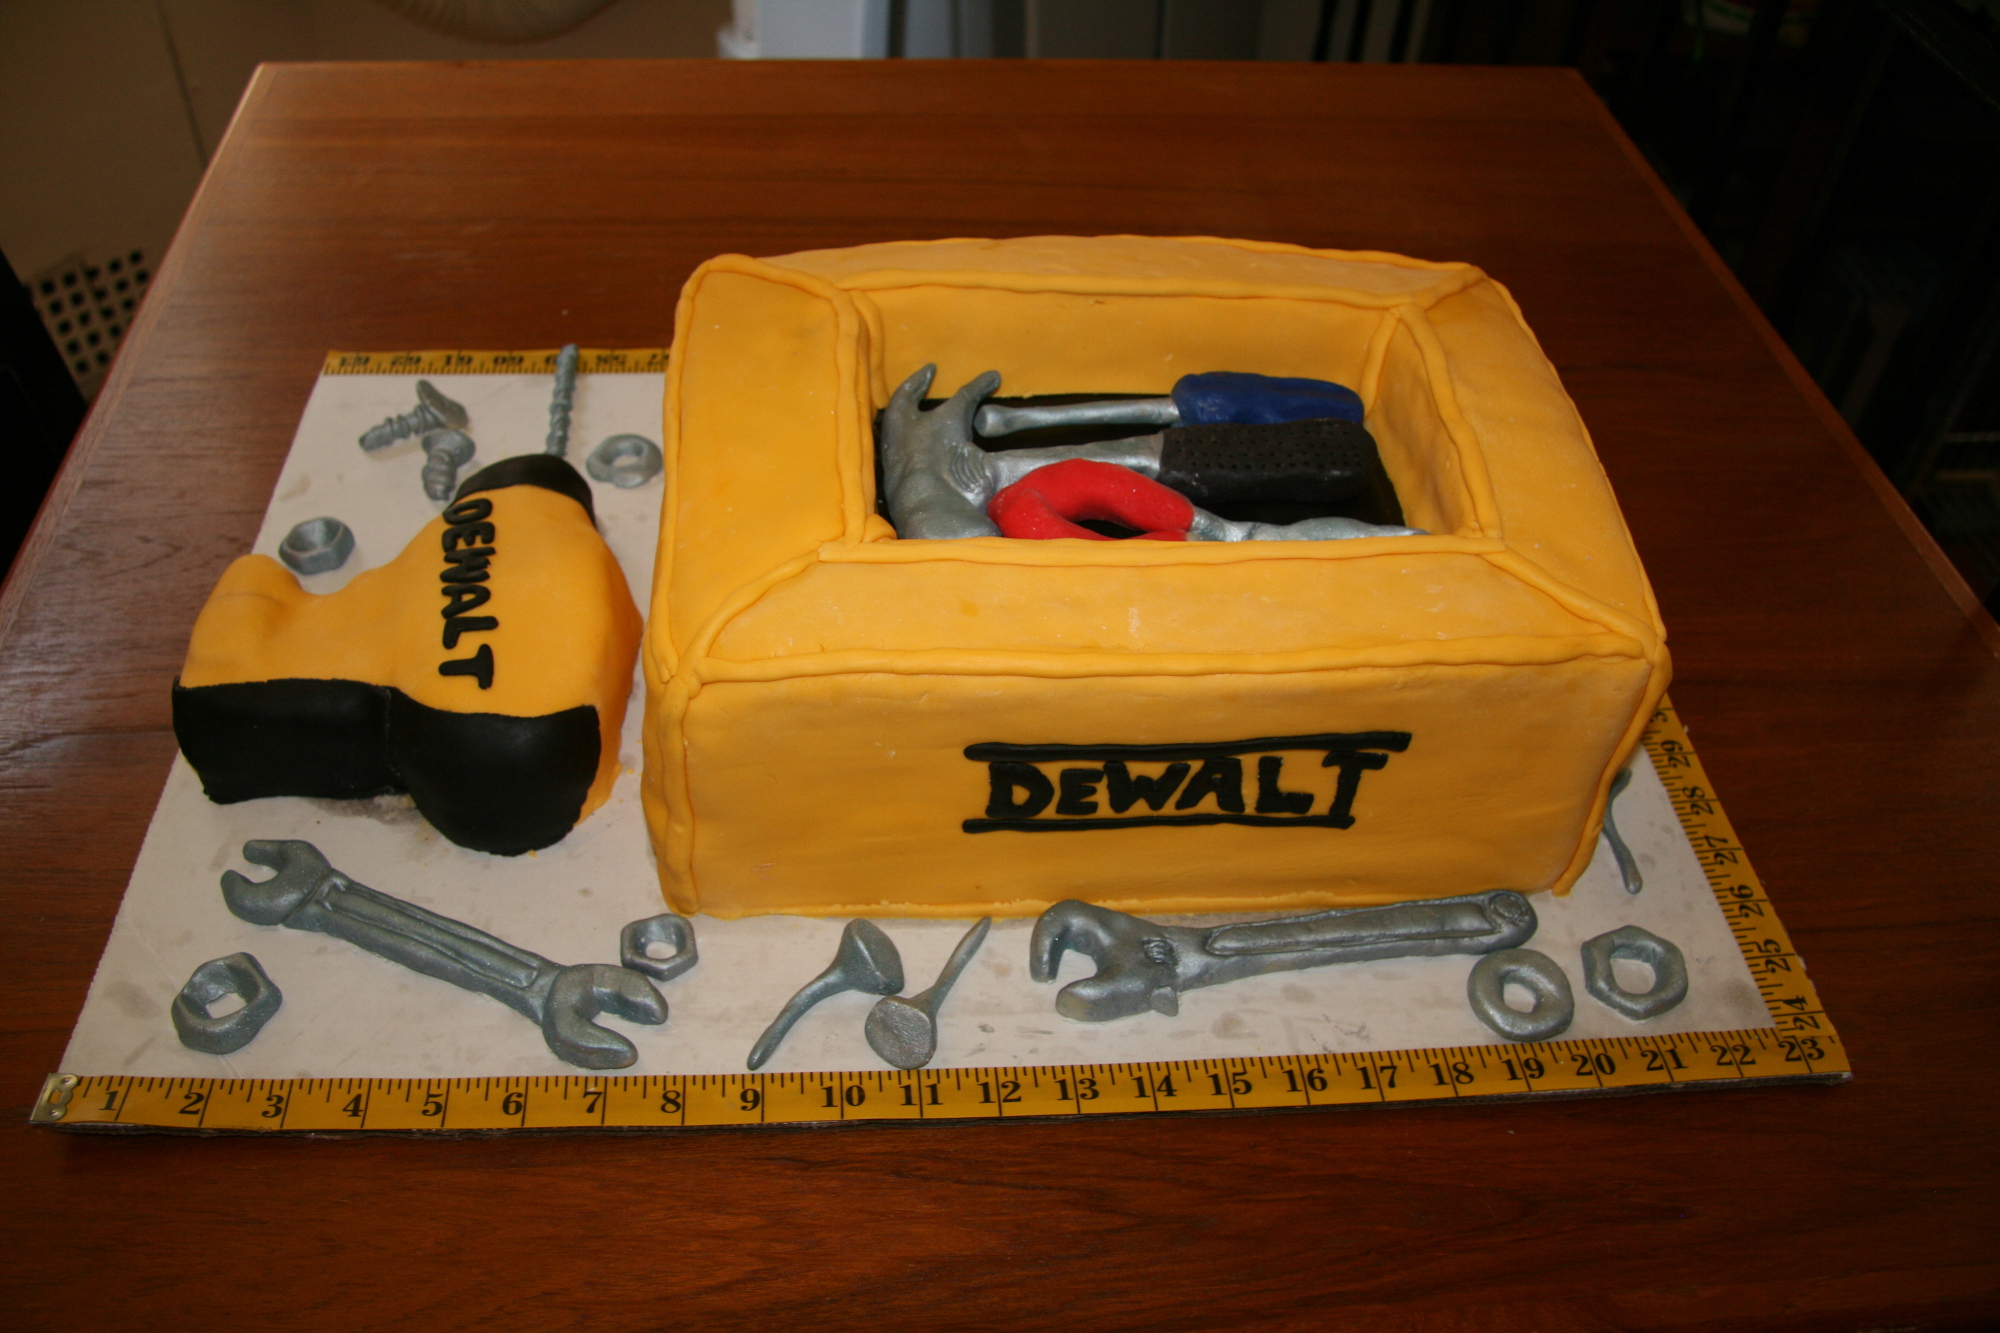
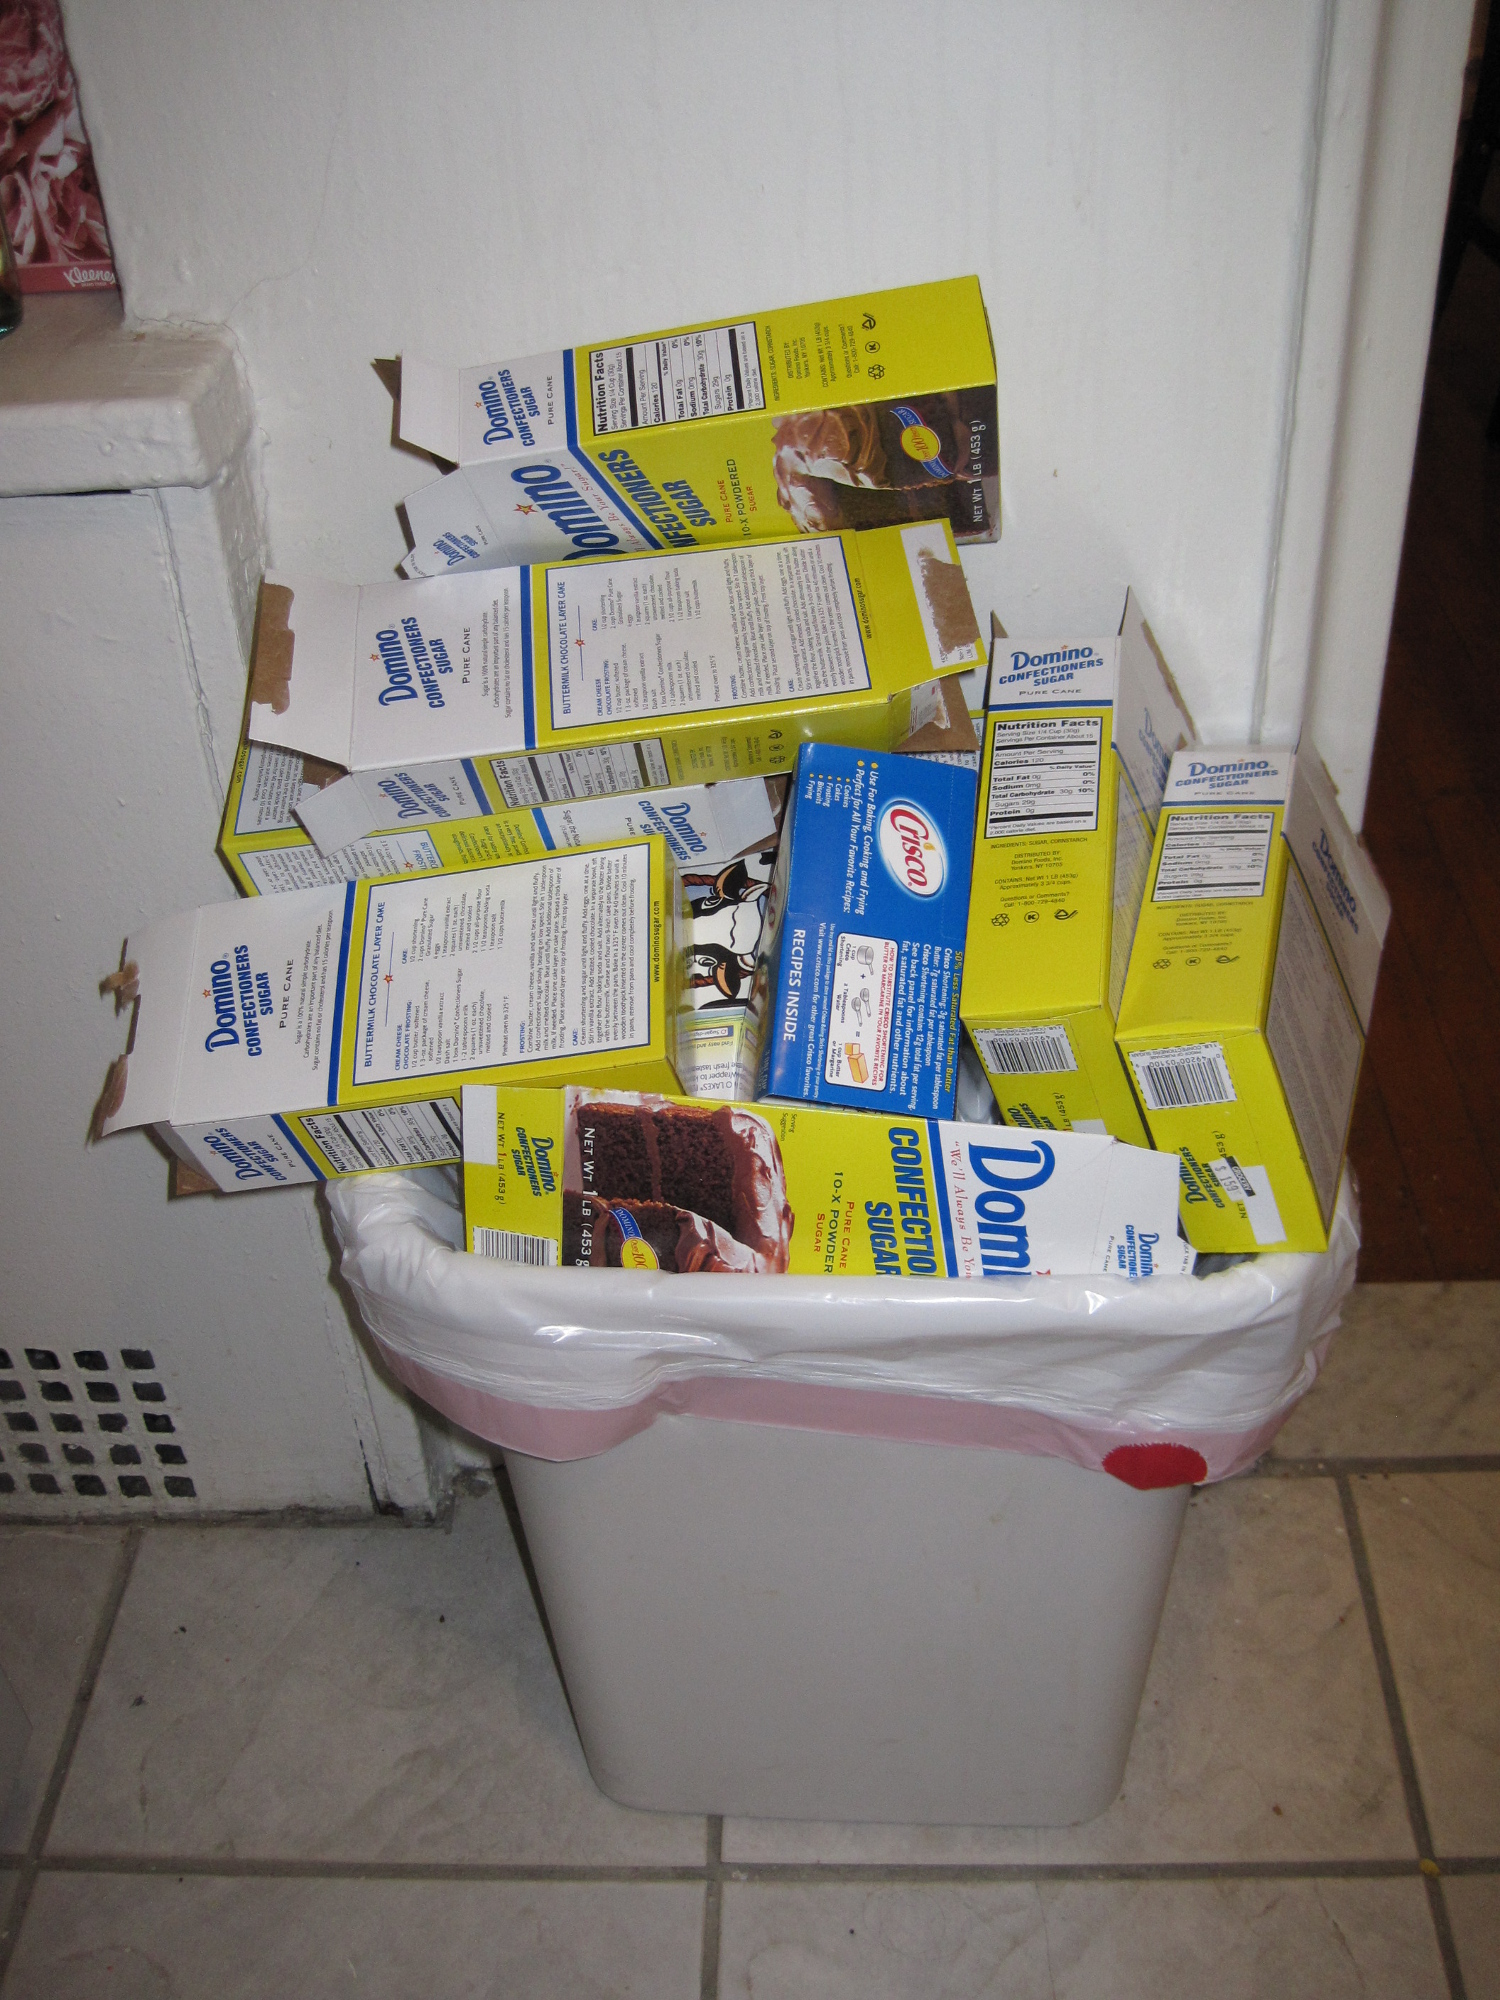
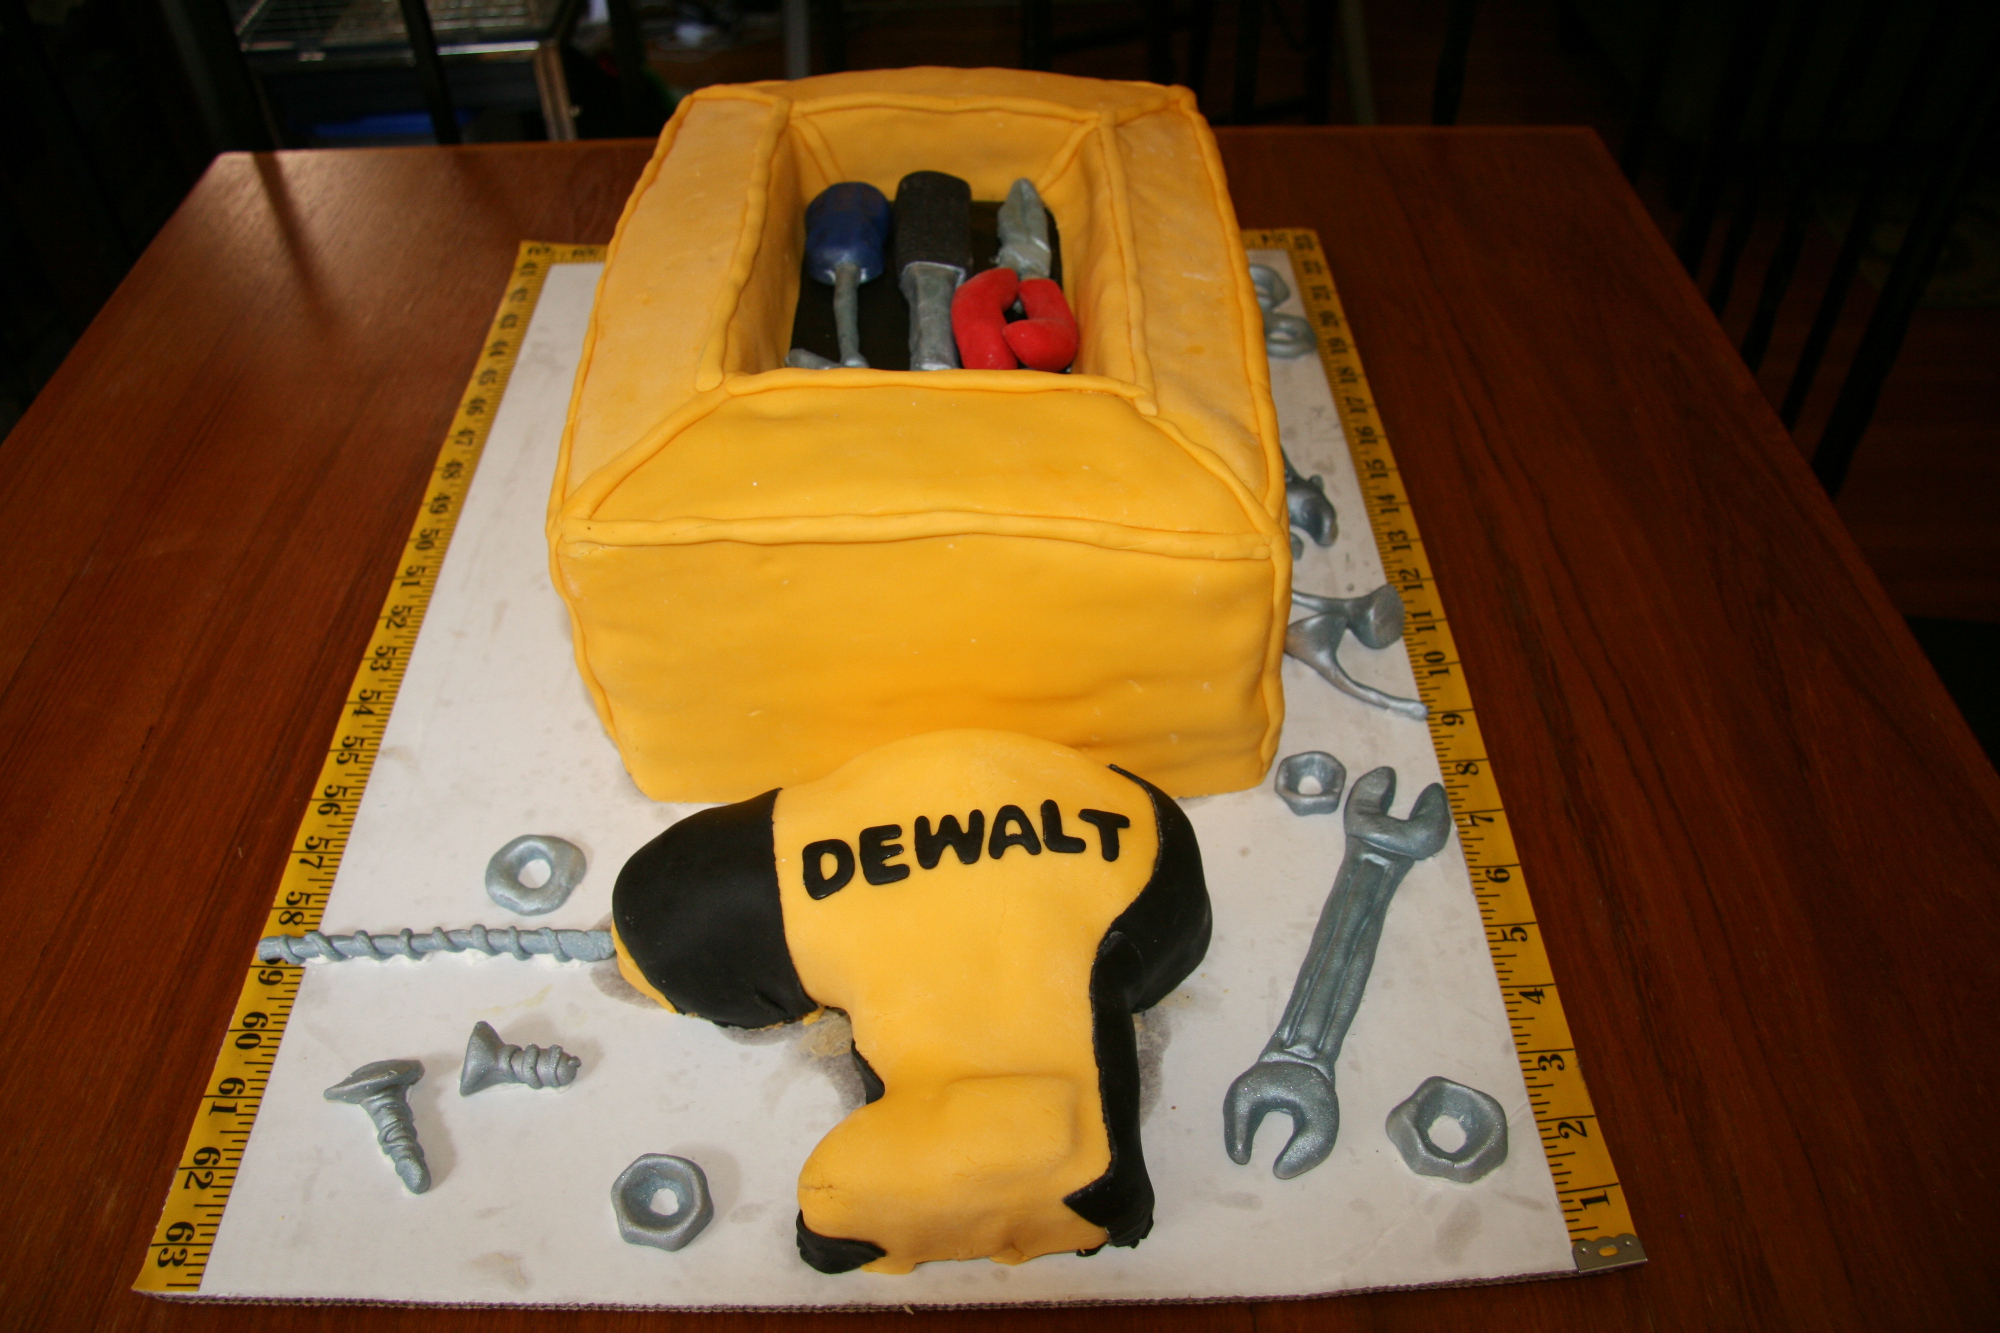
I’m in a wedding next month, and the bride wanted to surprise the groom with a groom’s cake at their rehearsal dinner. So she asked me to make a toolbox cake since he is amazingly handy around the house. We decided to go with a DEWALT theme, since these are the tools he has at home (and they really are the best out there). This was by far the largest, most complicated cake I have made to date, and I made it during a heat wave nonetheless! Because of all these factors, I had a lot of trouble with my fondant. I had to throw away all the batches i made (will go into that later), and had to make 3 more batches the night before the cake was due! I was truly exhausted at this point, and did not think I could physically make any more fondant. So I want to give a huge thank you to my mother-in-law Arlene, who came over at 8pm to provide moral support while I worked. She even assisted and helped with the part of the process I hate the most: sifting the confectioners sugar. I’m like the Tasmanian Devil when I sift. I get sugar EVERYWHERE. Arlene was perfectly neat and barely got a drop anywhere on the stove or counter. I was very impressed. Thank you, Arlene! I could not have finished this cake without your help! Here is what my recycle bin looked like by the end of the night:
The Tools:
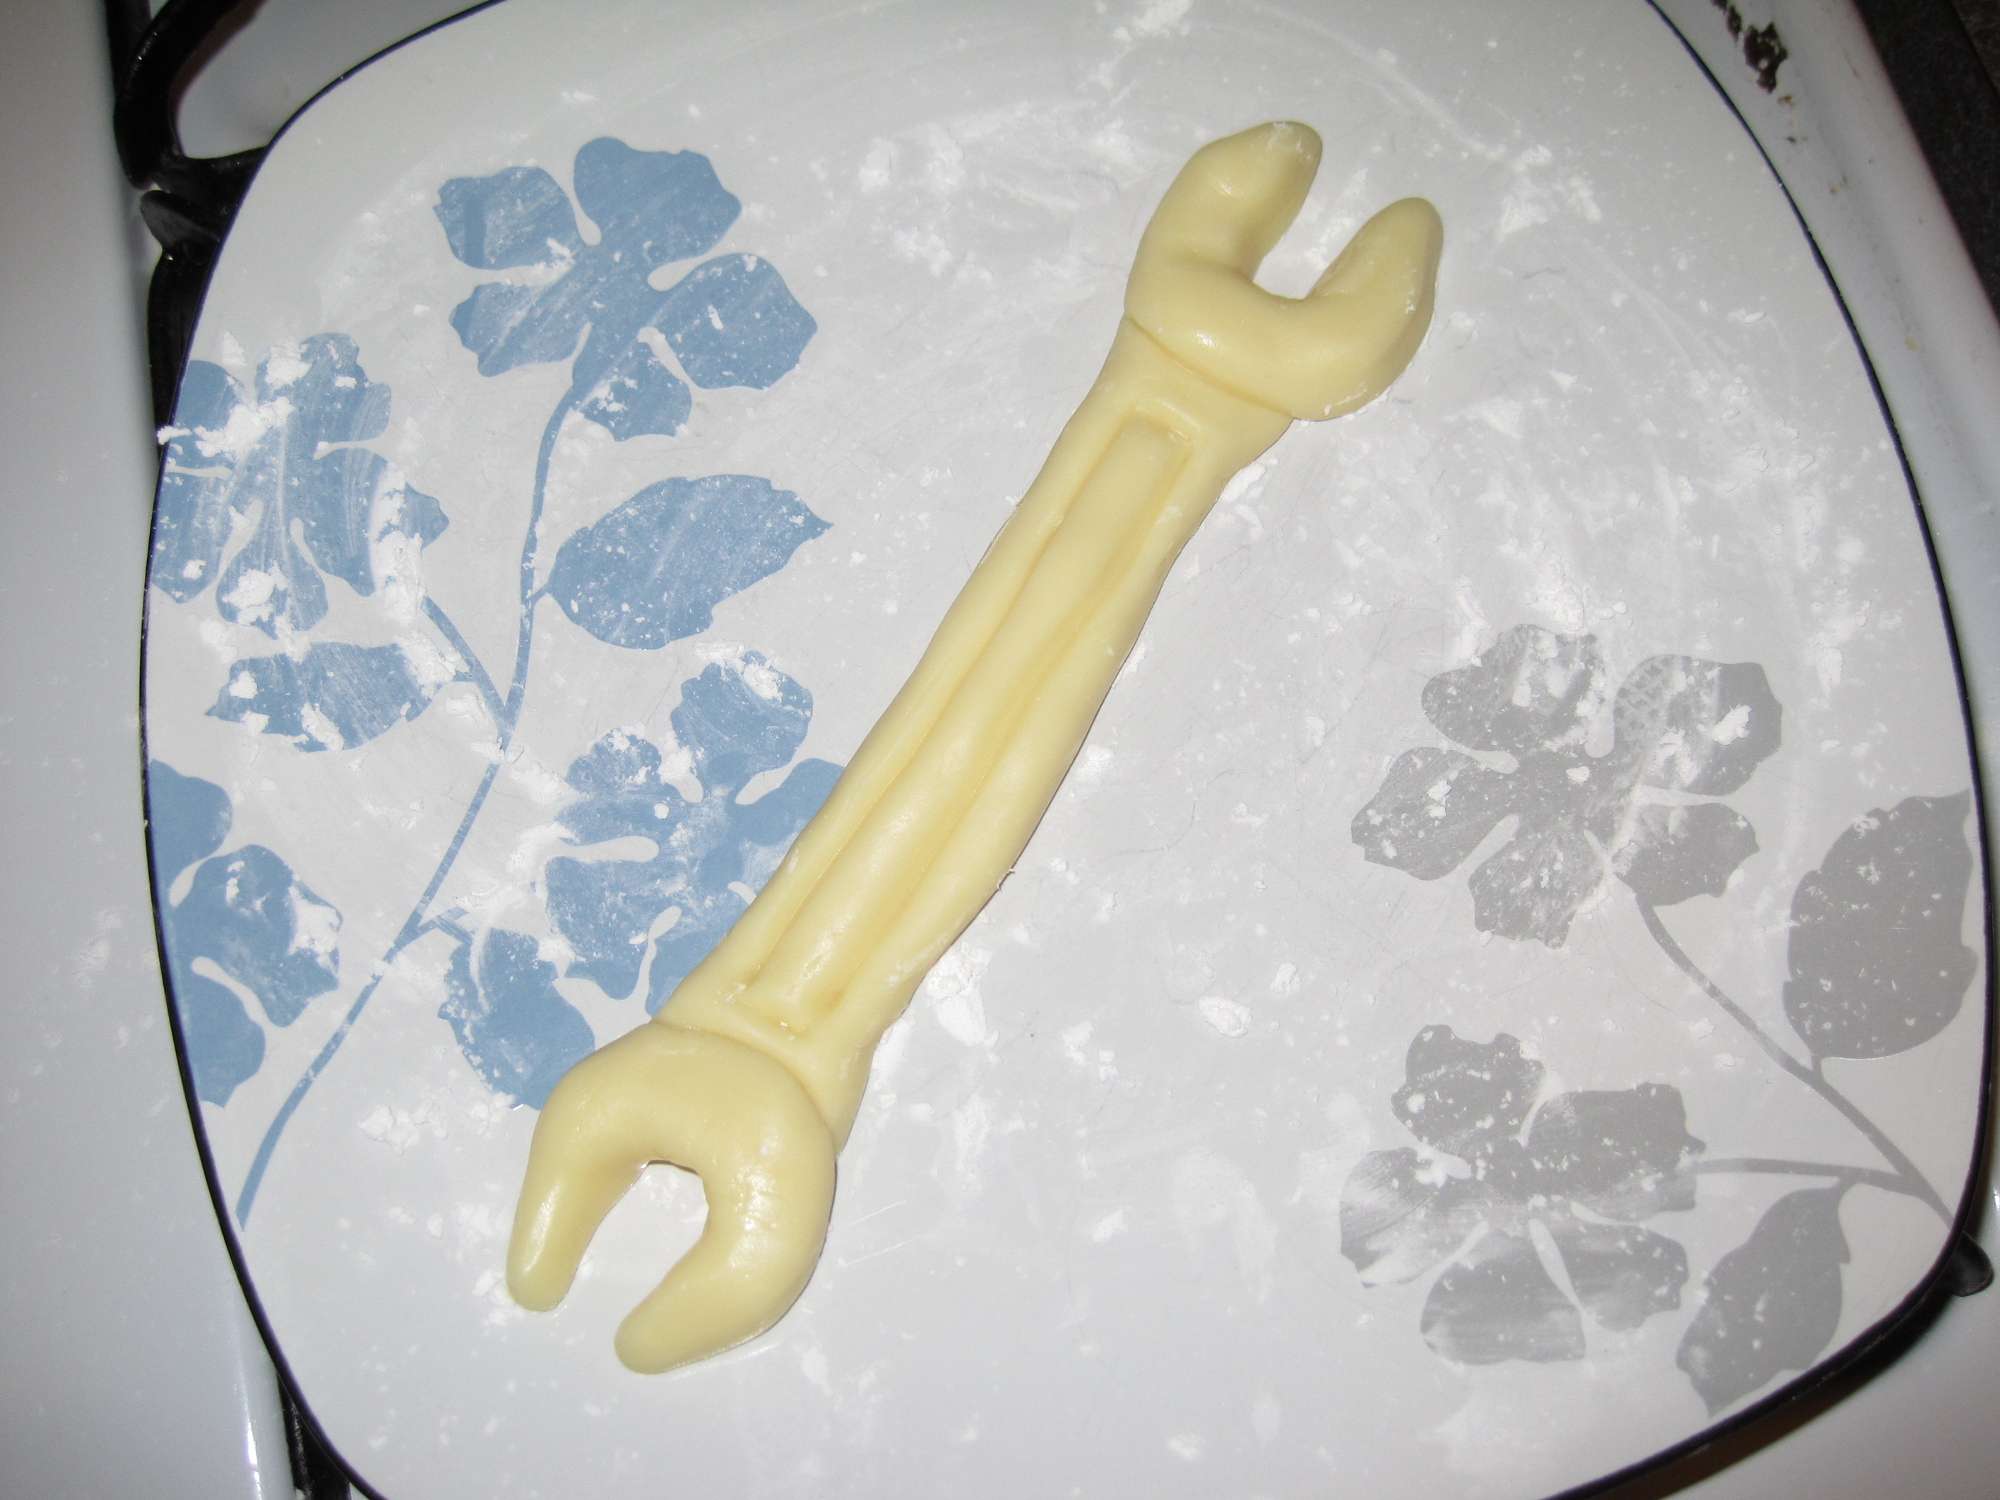
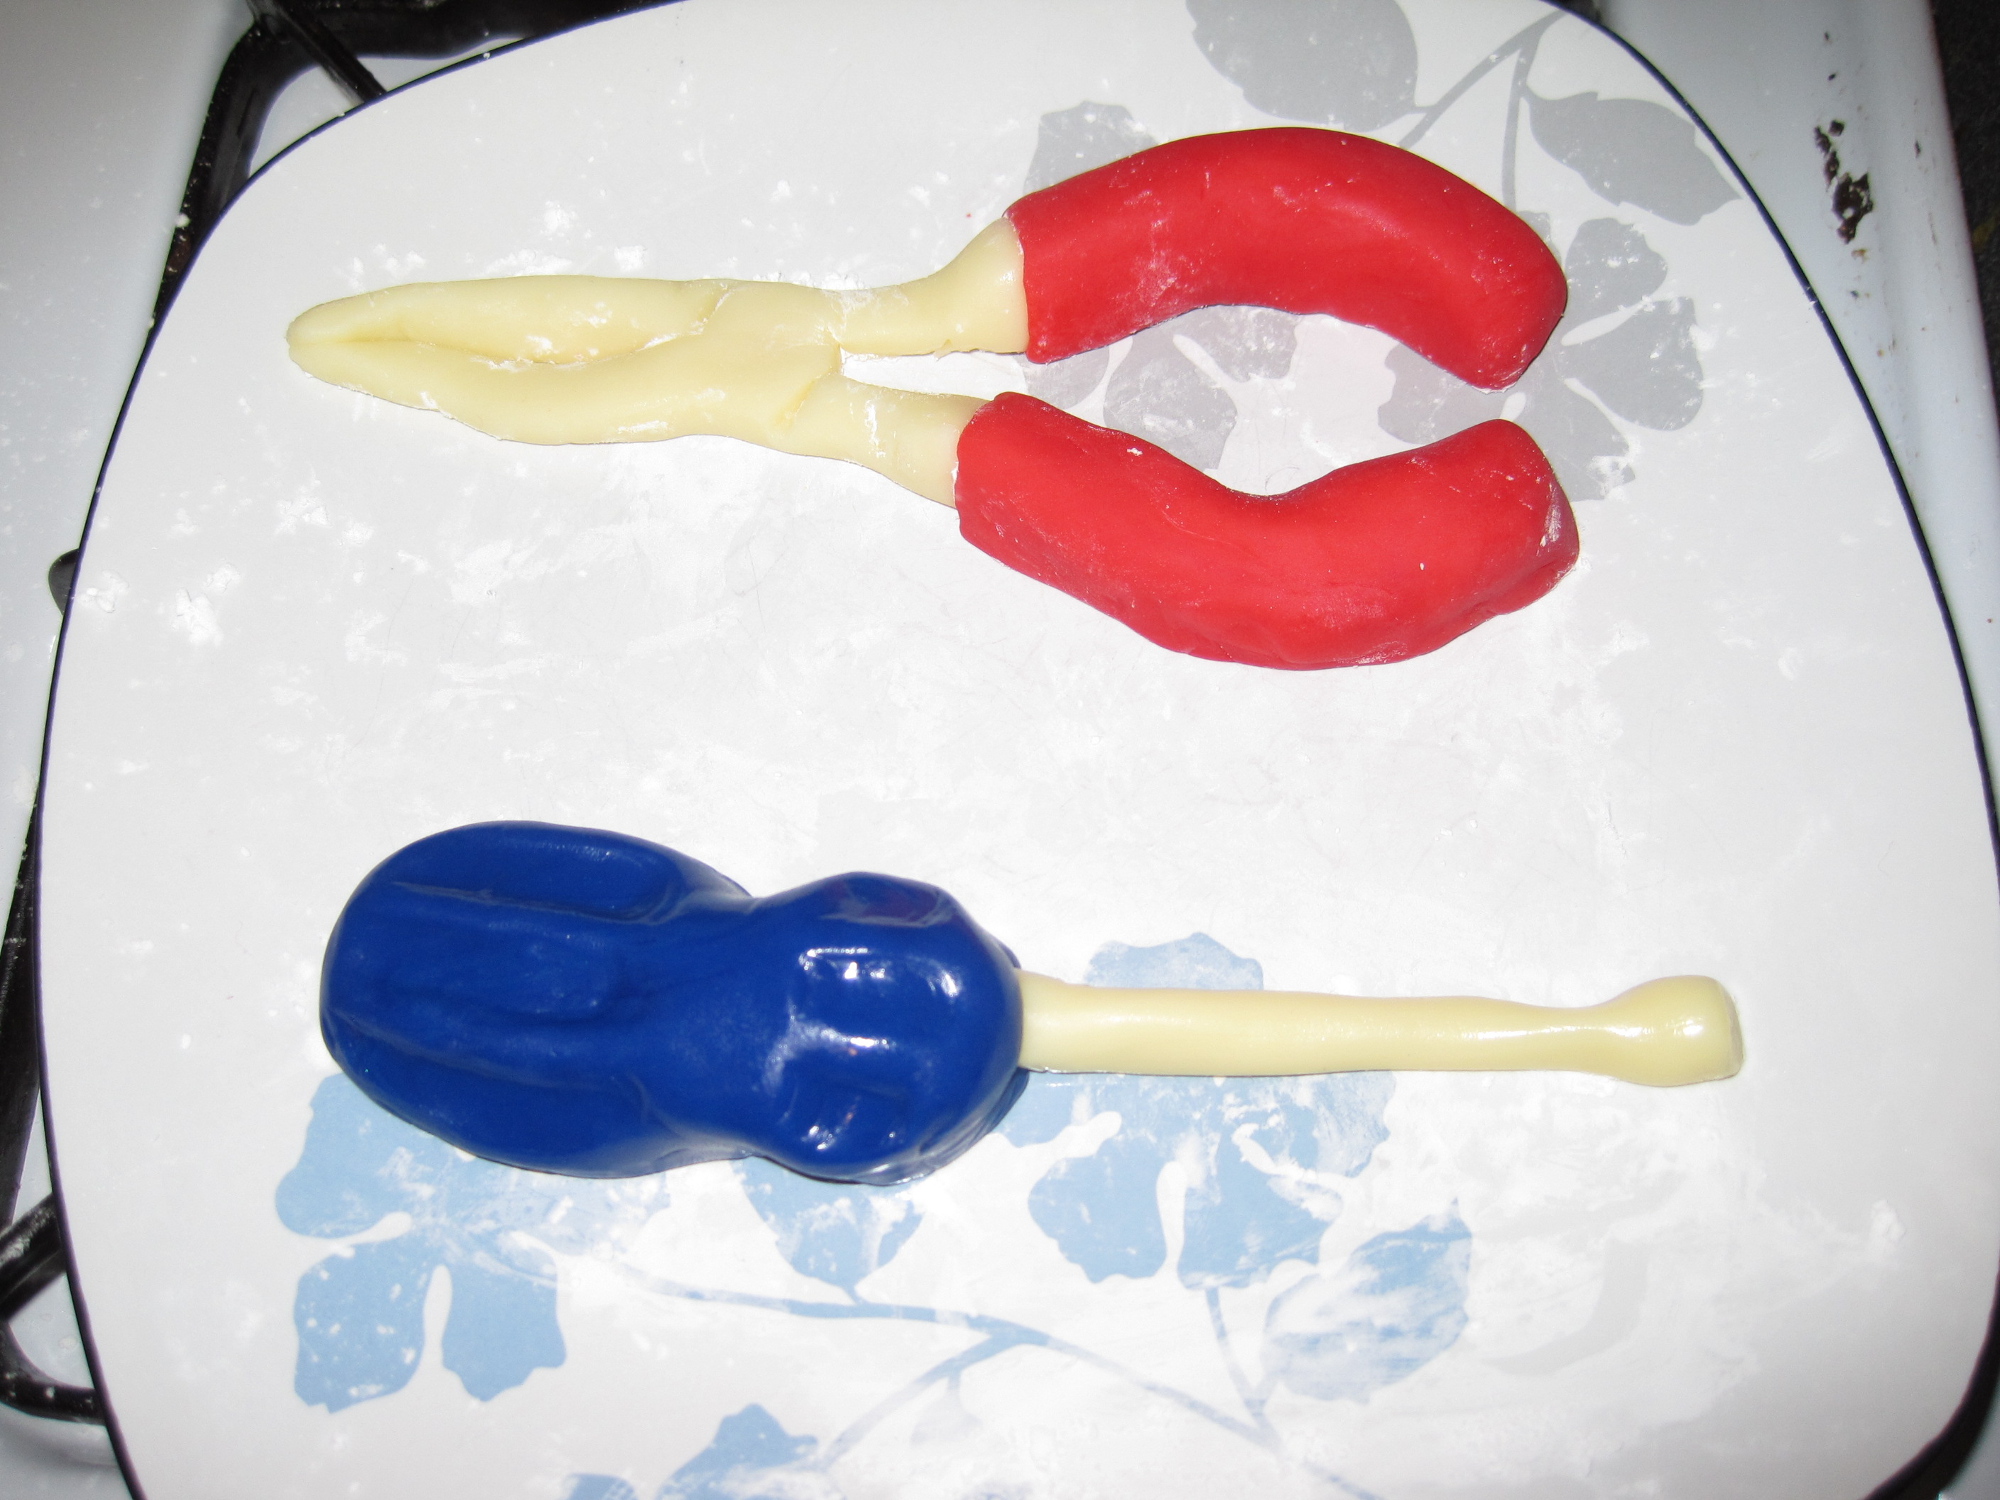
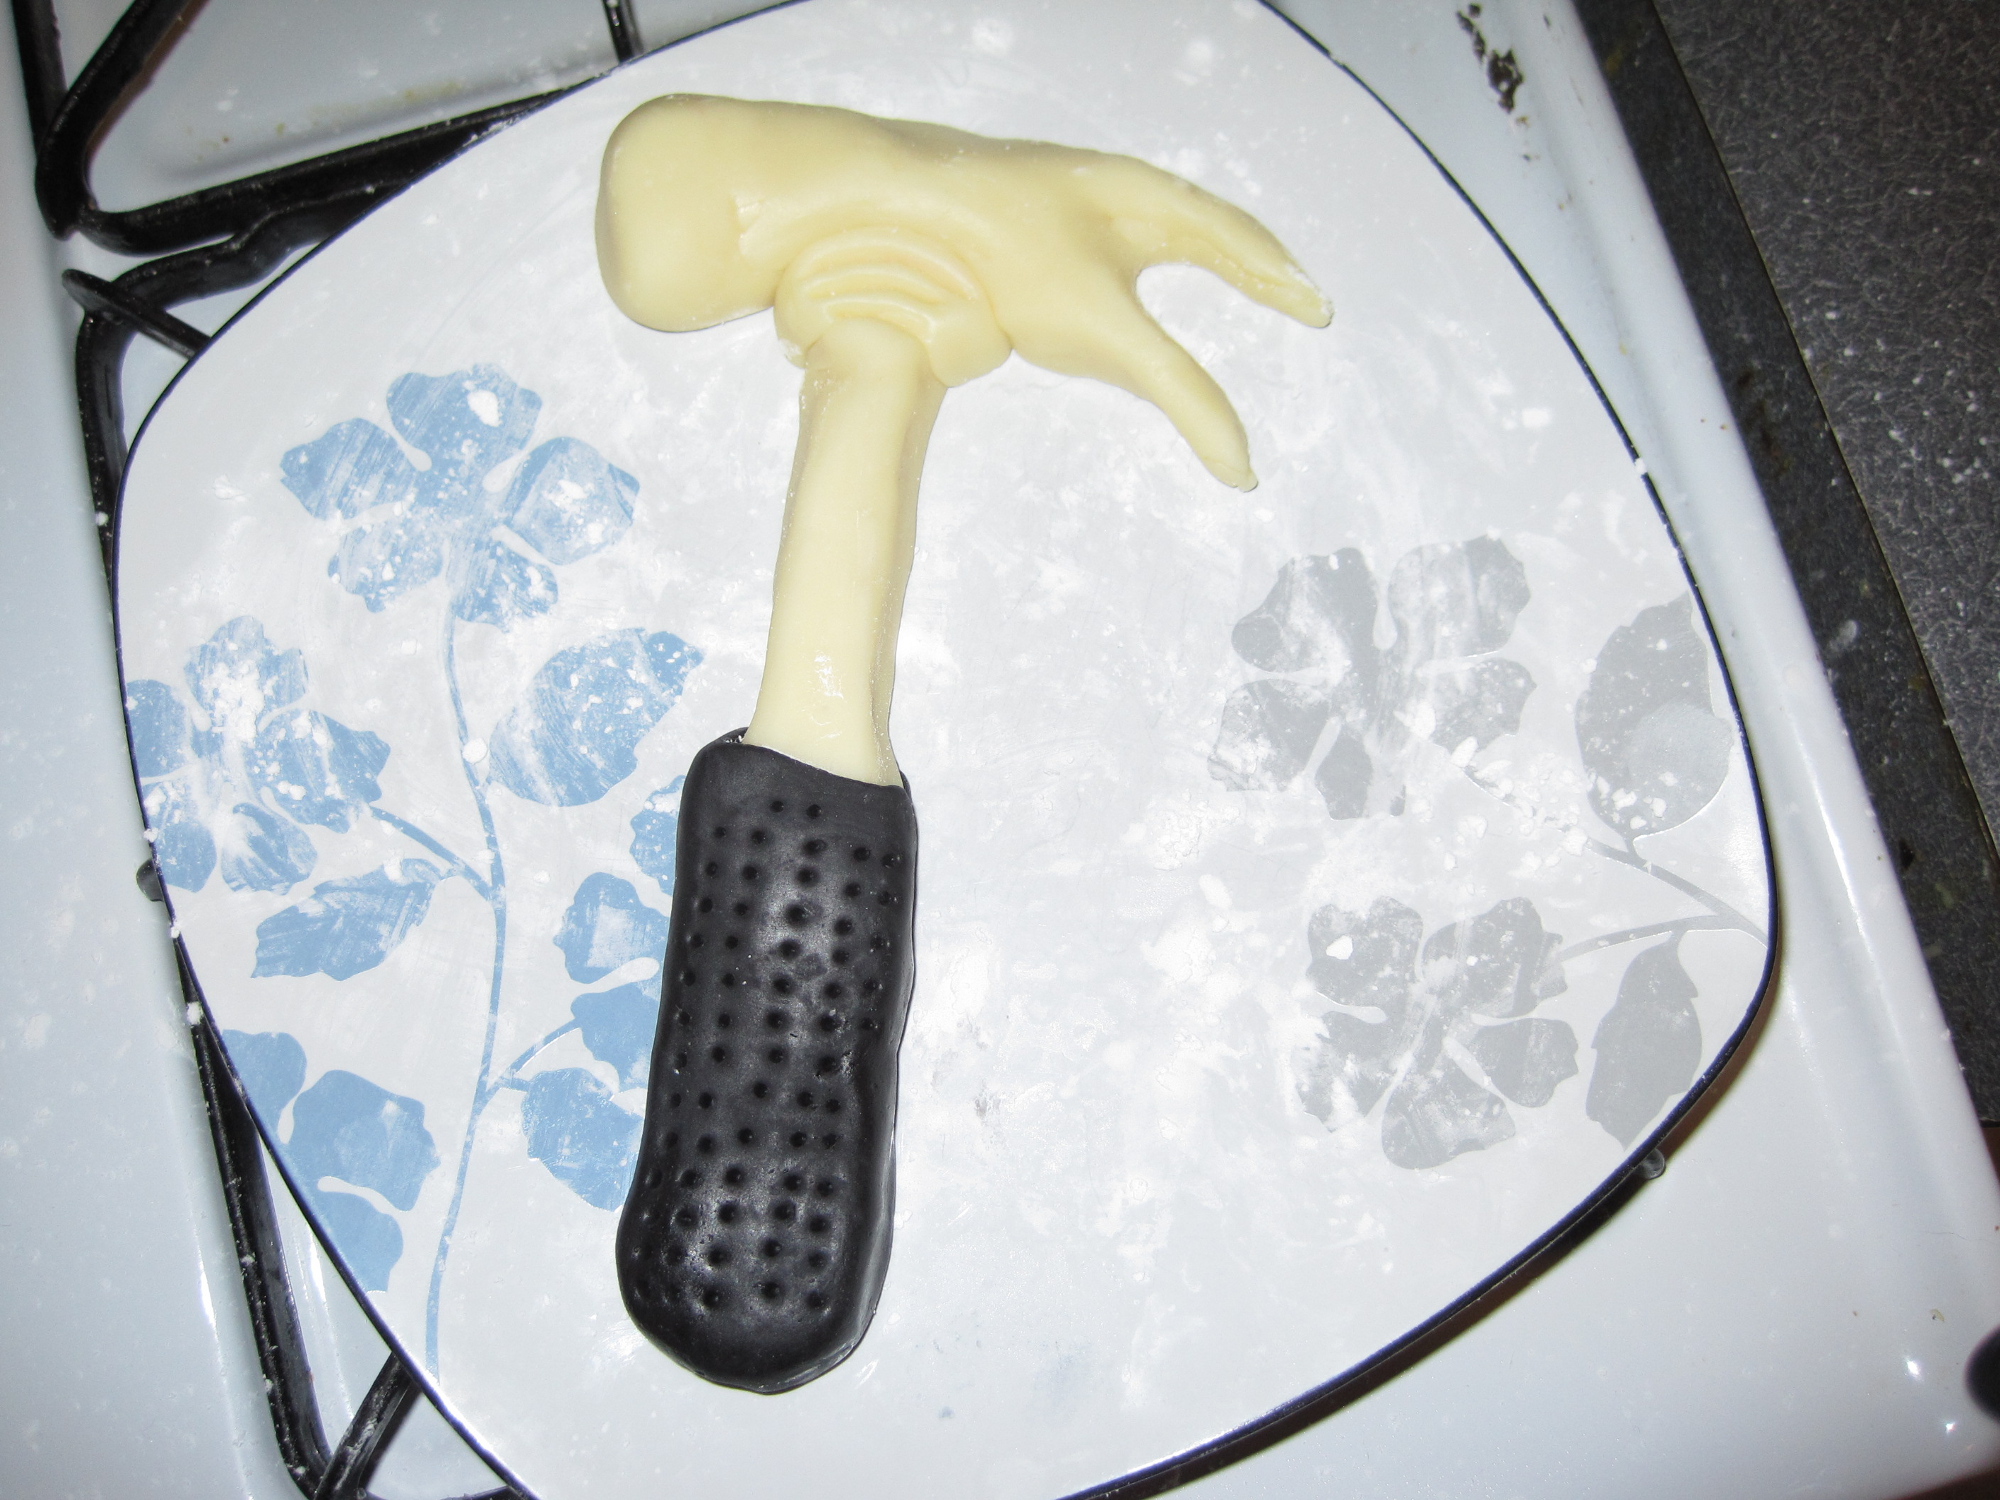
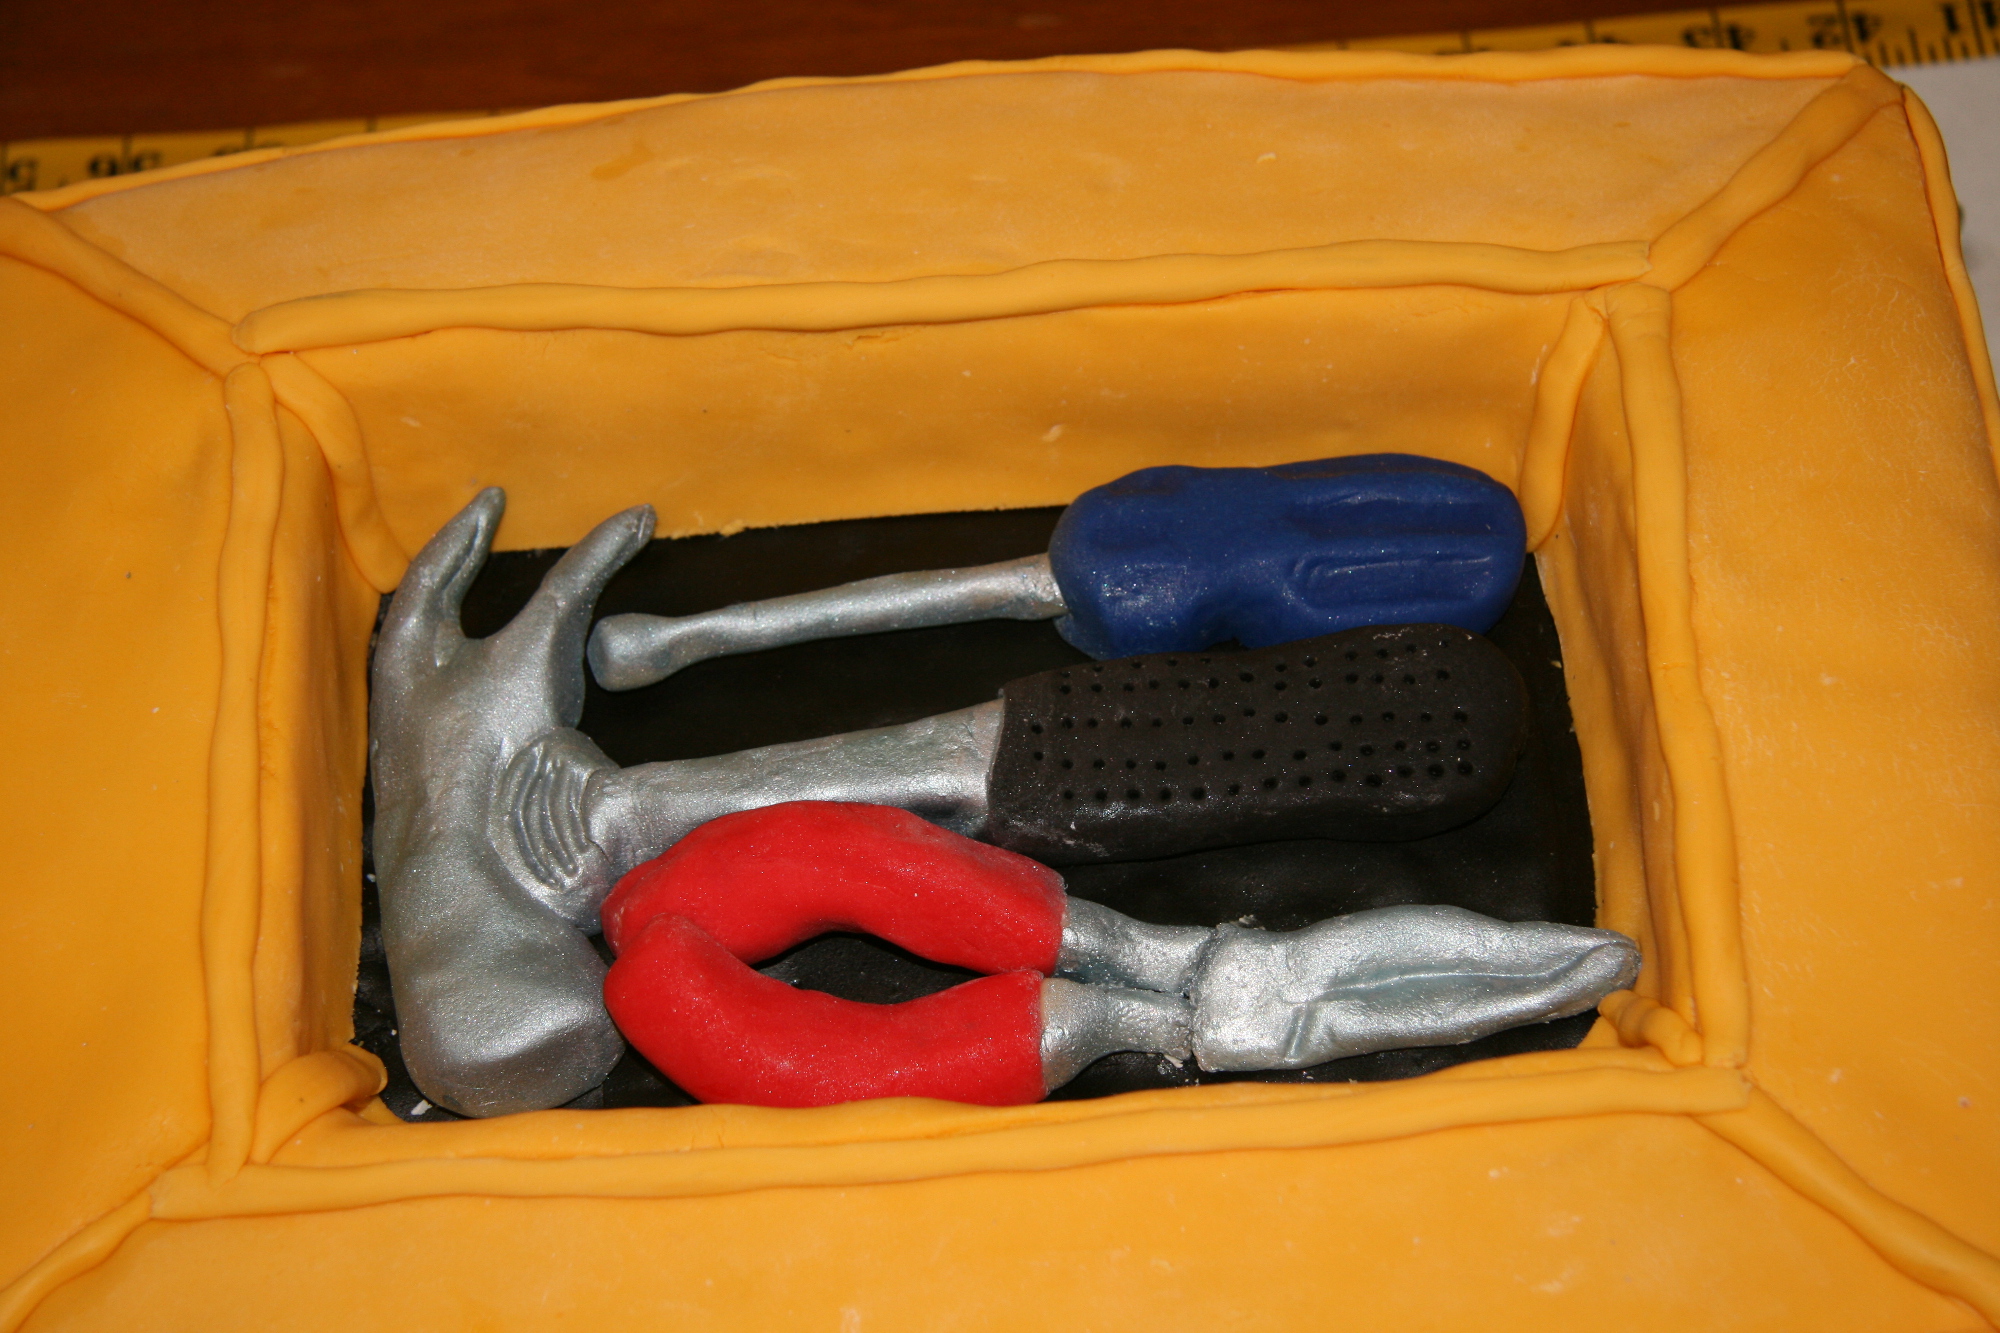
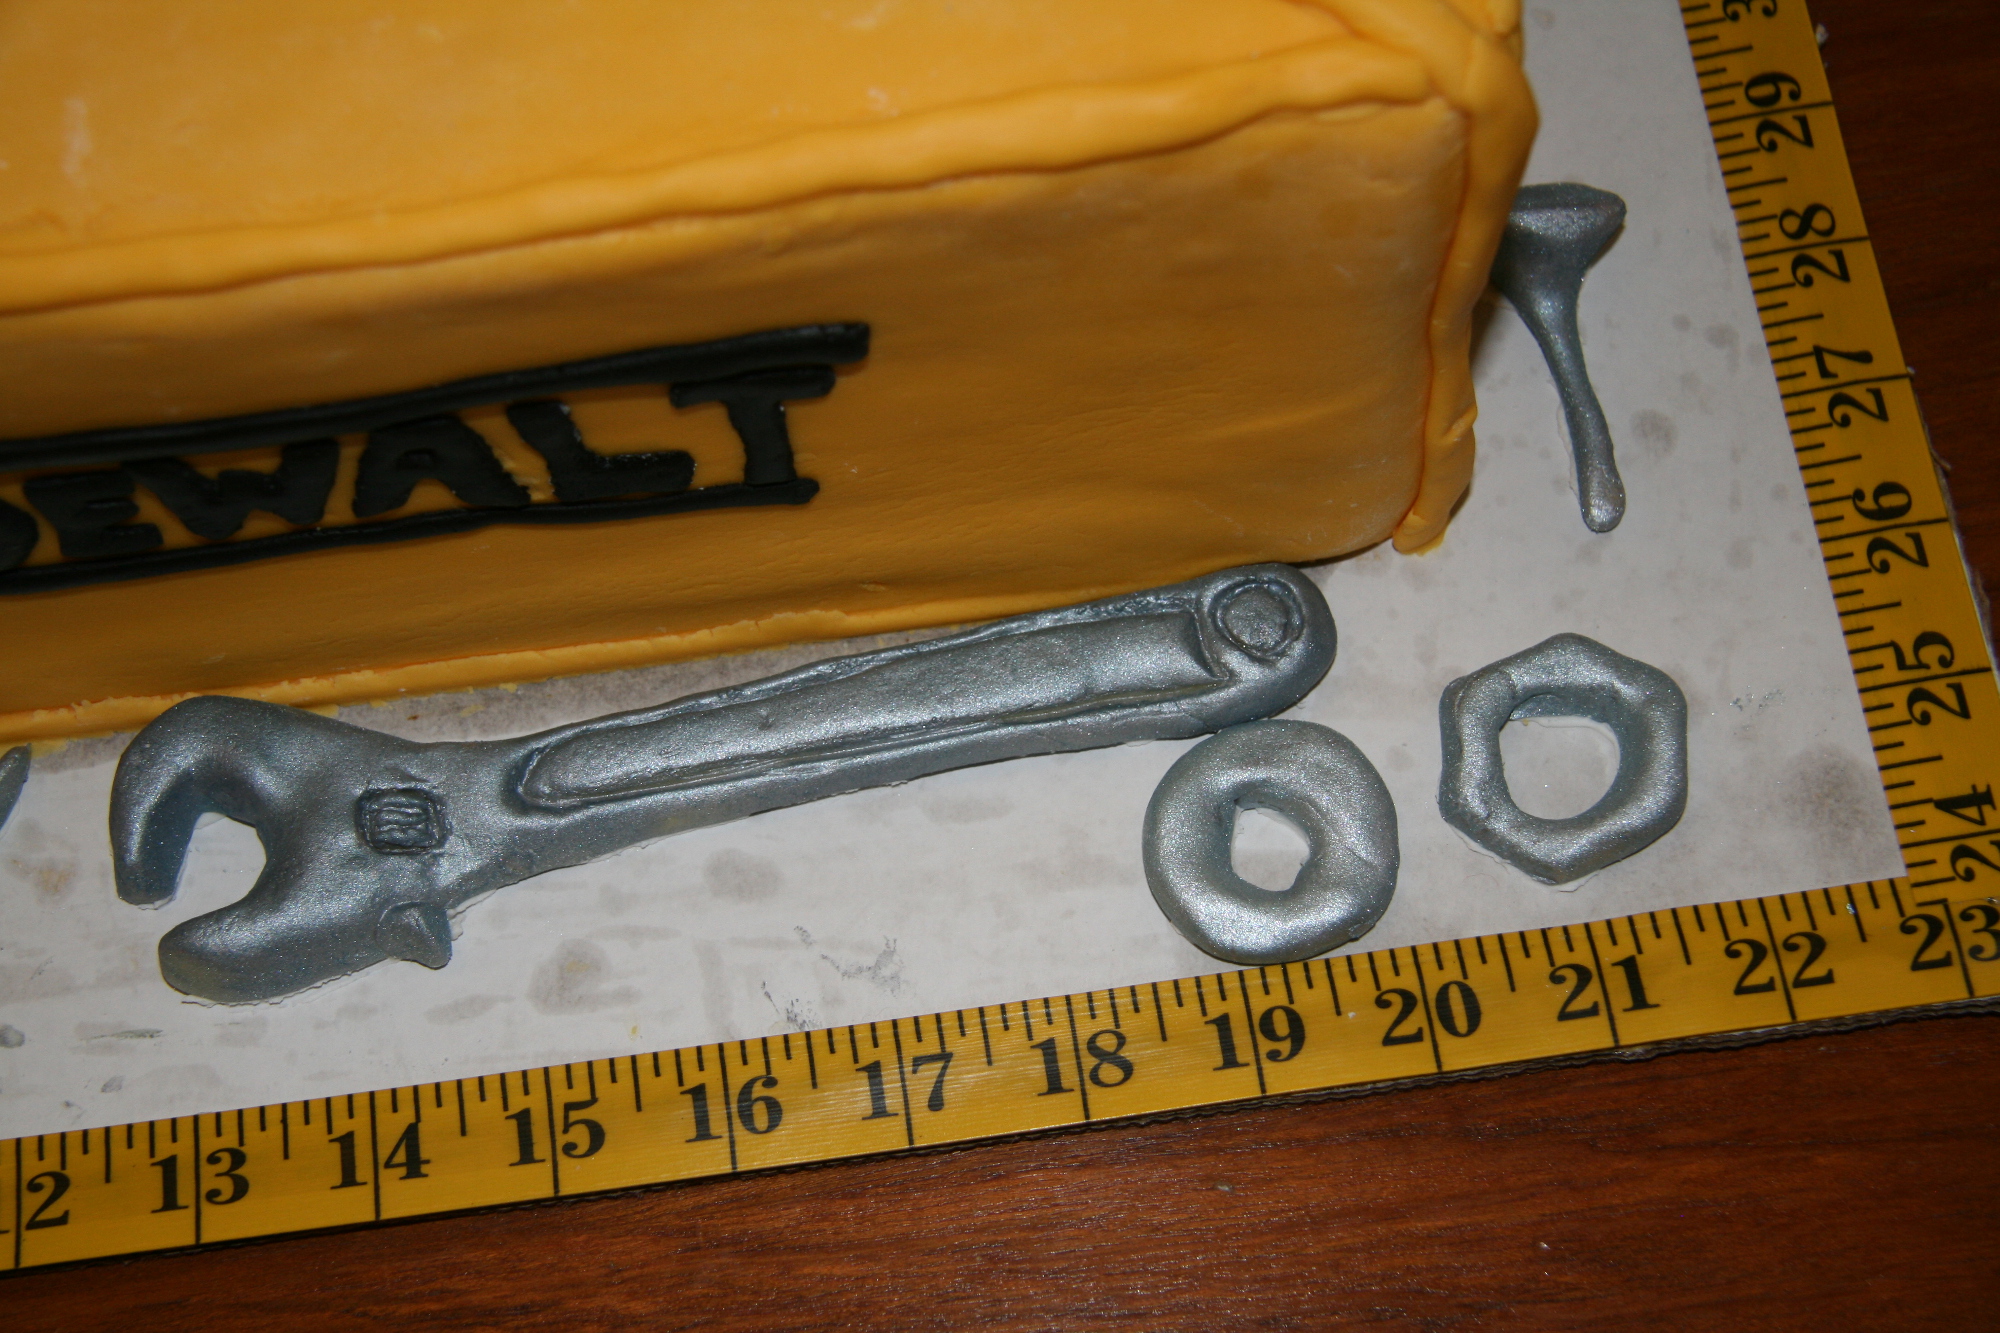
I felt that the tools were the most important part of the cake. If these didn’t look realistic, then the entire cake would be doomed. I started with these early in the week, and spent 3 days on them, making sure that they were exactly as I wanted them. I had my husband’s tools out on the table so that I could use them as a reference point. I made them out of modeling chocolate, since that would be both the easiest and tastiest option.
- 1 lb of high quality white chocolate, chopped
- 7 TBSP light corn syrup
- Melt the chocolate in the microwave at 30 second intervals, at 1/2 power. Stir frequently until there are no more lumps. Be careful not to burn the chocolate.
- Heat the corn syrup for about 15 seconds in the microwave, until it is the same temperature as the chocolate. Pour the corn syrup into the chocolate and mix together with a rubber spatula until combined. As the chocolate cools, the mixture will thicken.
At this point, I needed to knead the modeling chocolate. There was a bit too much oil in the mixture (the above recipe is a rough measurement and depends on the white chocolate you use. Some chocolates have more oil than others). As I kneaded it, I let some of the oil drip out and kneaded the rest back into the chocolate until I had a uniform, pliable texture similar to fondant. This may take a while, so just keep kneading until everything is smooth and uniform. Then double wrap in plastic wrap and let sit over night on the counter.
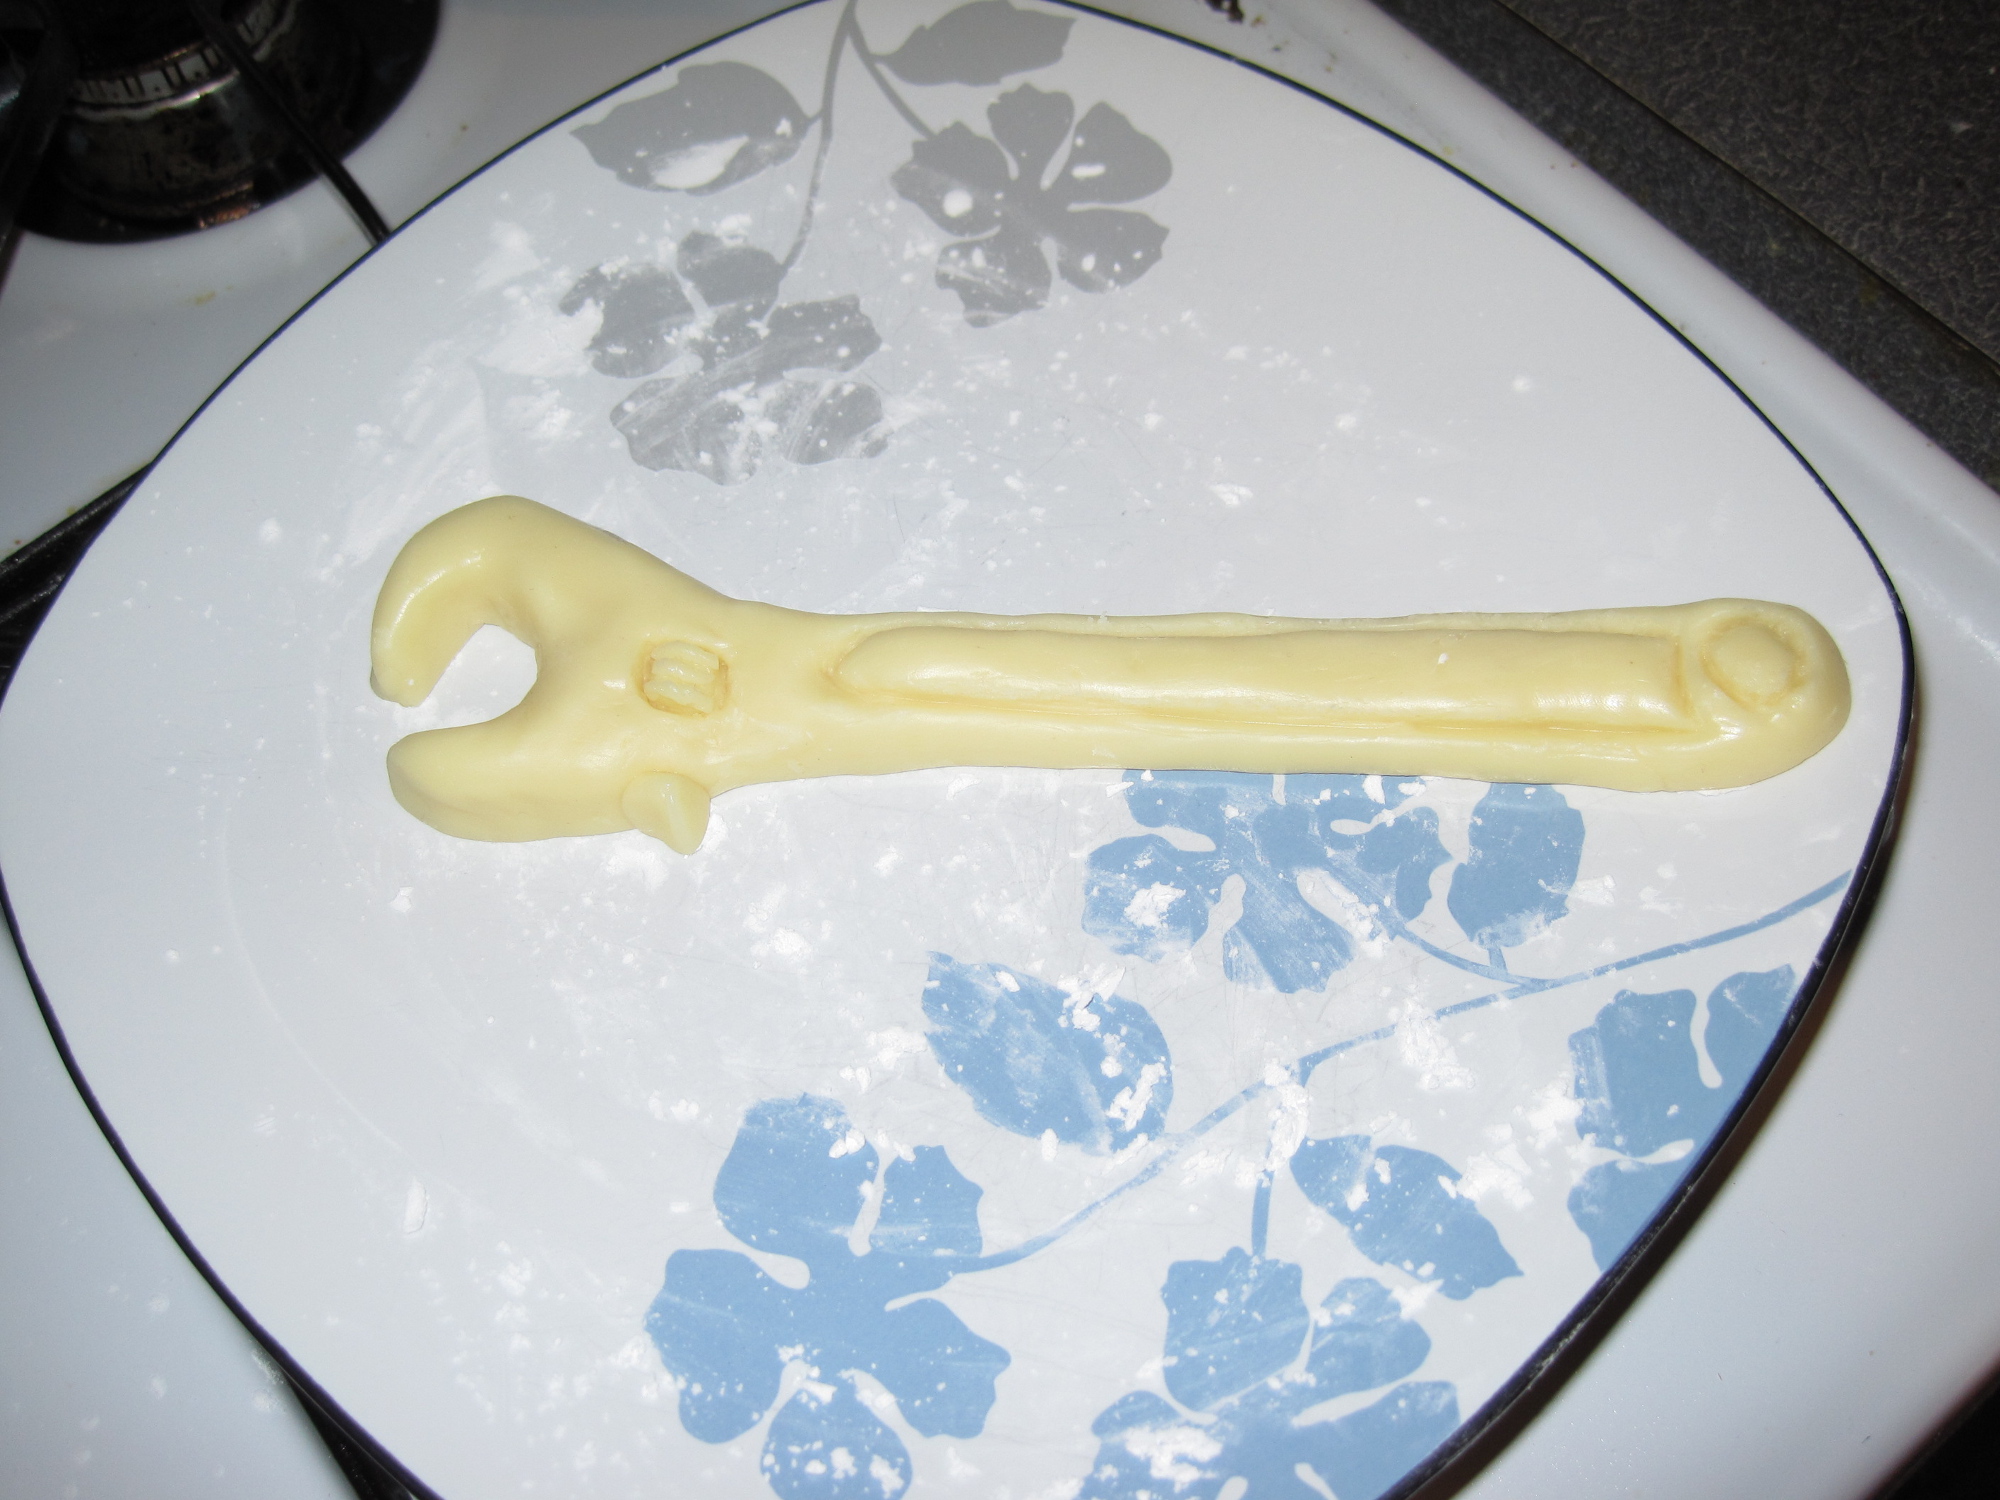
When you are ready to use it, break off a piece and knead it in your hands until it is soft and pliable again. Then you can mold it into anything you want. Keep rinsing your hands in cold water (but make sure you dry them) so that your chocolate does not melt too much. You can use fondant tools to make lines, indentations, and holes so that your figures look more realistic. When you have the figure you want molded, let it set in the fridge for 30 minutes or so. If you are storing figures for more than a day, I would then leave them in open air on the counter (on top of plates or paper towels) so that they do not sweat.
Because of the heat wave, we had our AC unit pointing towards the kitchen at all times, even overnight. This way, the tools were stored in a cool, dry place. This worked surprisingly well, considering the wonderful weather we had.
For any tools that had “rubber handles”, I colored a small piece of chocolate with the Wilton gel color by kneading it in with my hands.
After the tools were set, I sprayed them with edible silver paint. Make sure you do this on a paper towel, so the tools do not stick to the plate. I did the front side, let it sit for several hours, and then did the back side. For the wrenches, nails, screws, washers, and nuts, I just sprayed them together all at once.
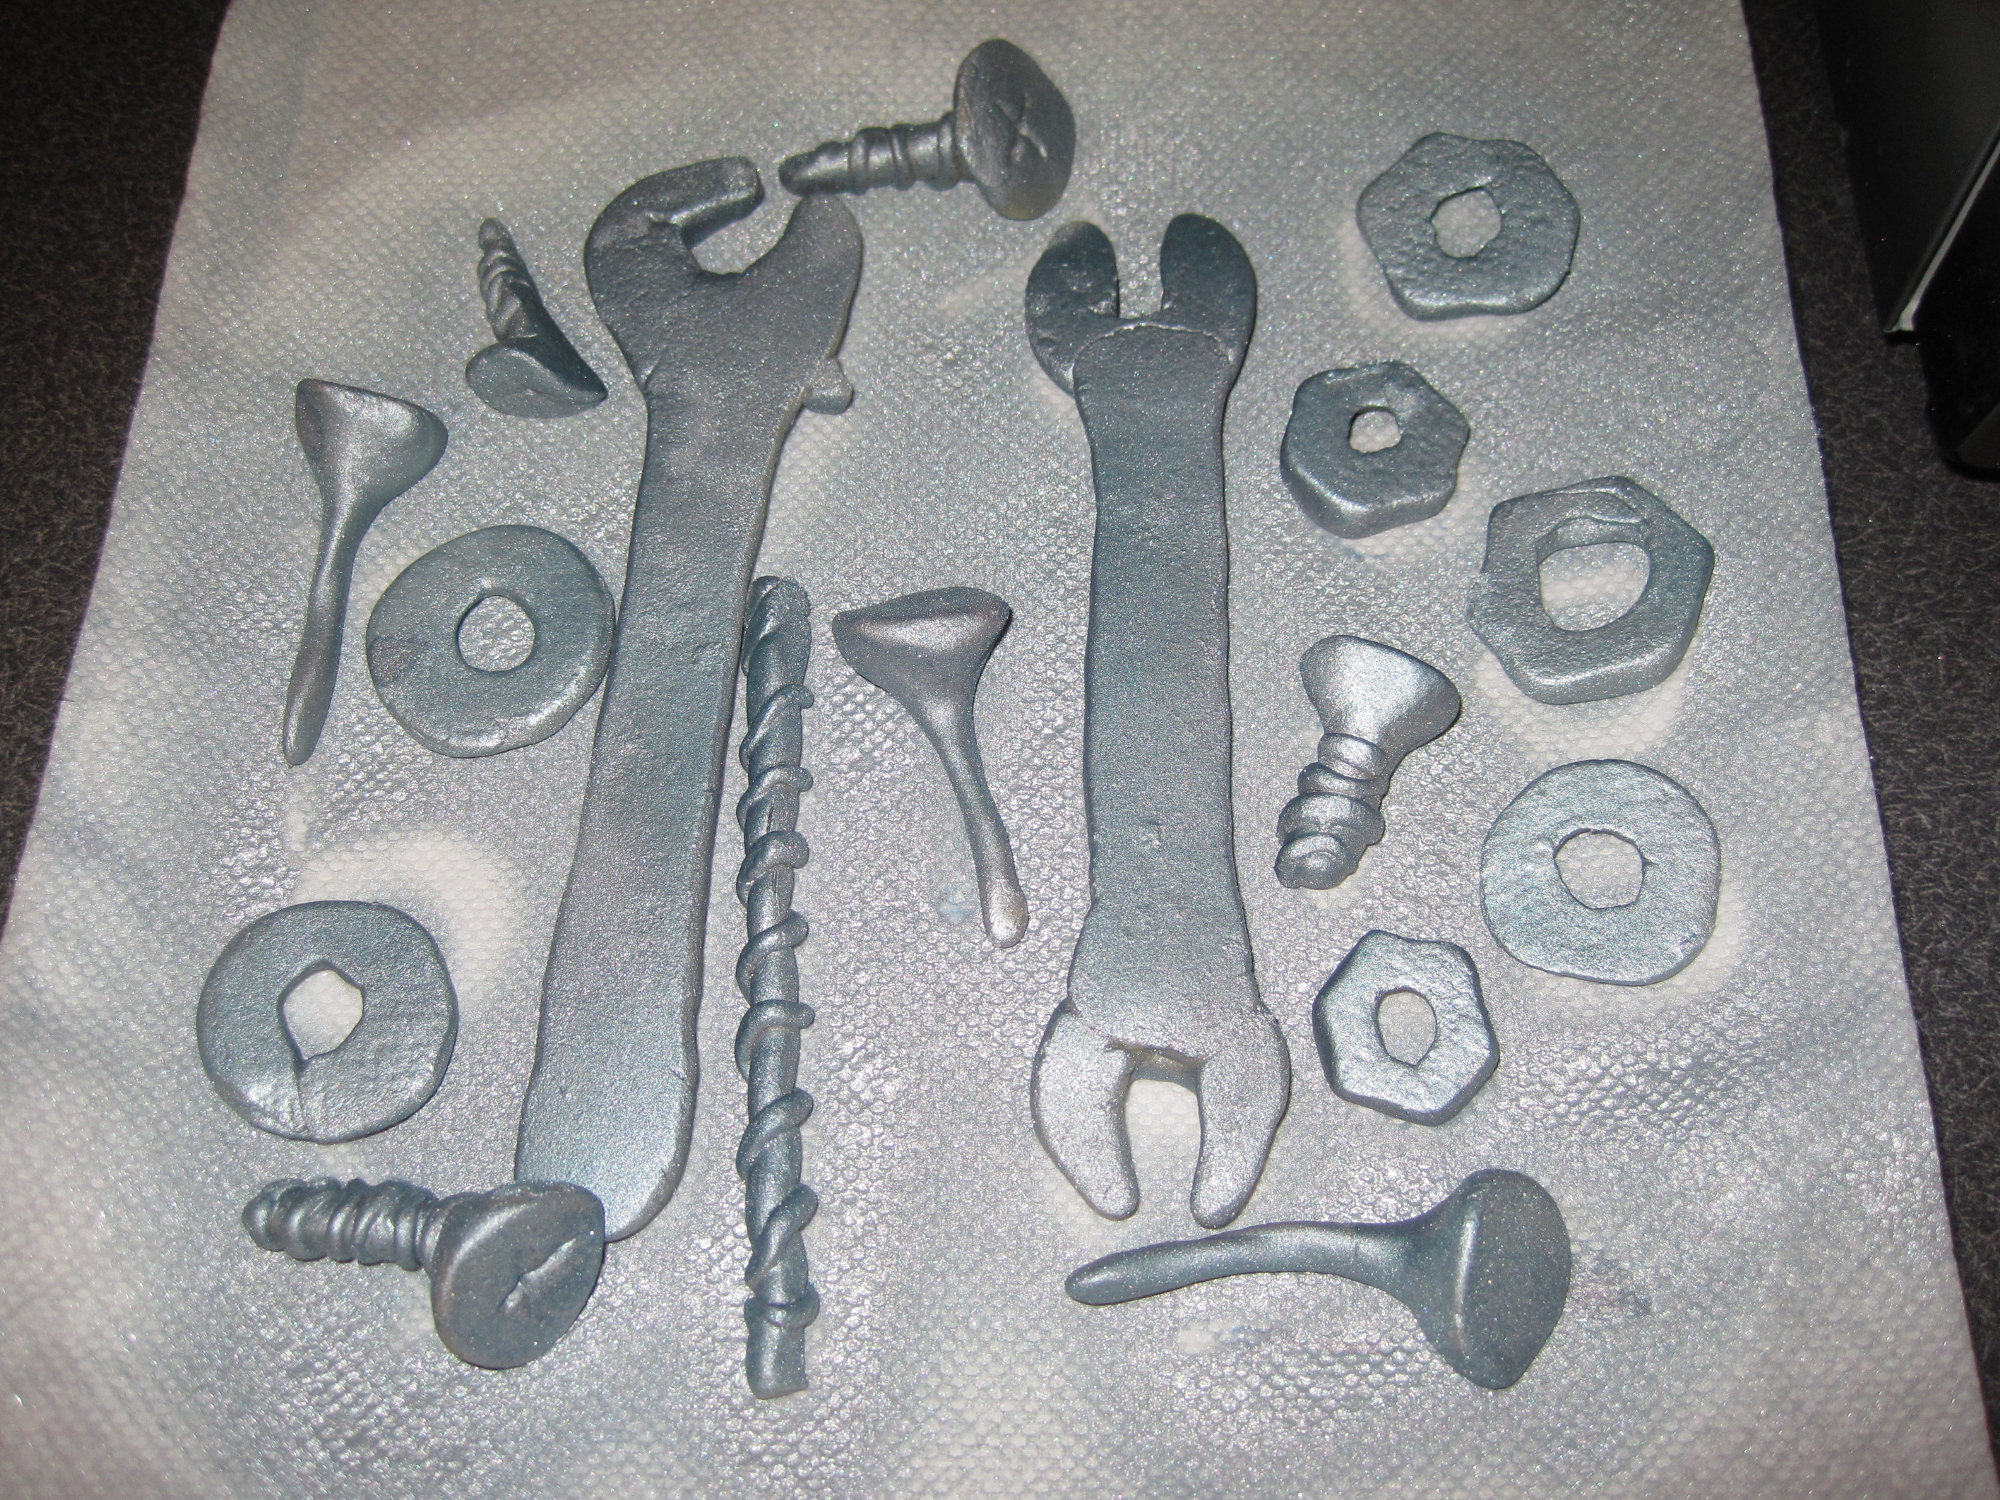
For the tools that had handles, I sprayed them one at a time, gently covering the handle with plastic wrap so that the silver did not get on it. Take the plastic wrap off immediately after spraying, or the chocolate will sweat. If it does, just let it sit in open air to dry.
The cake:
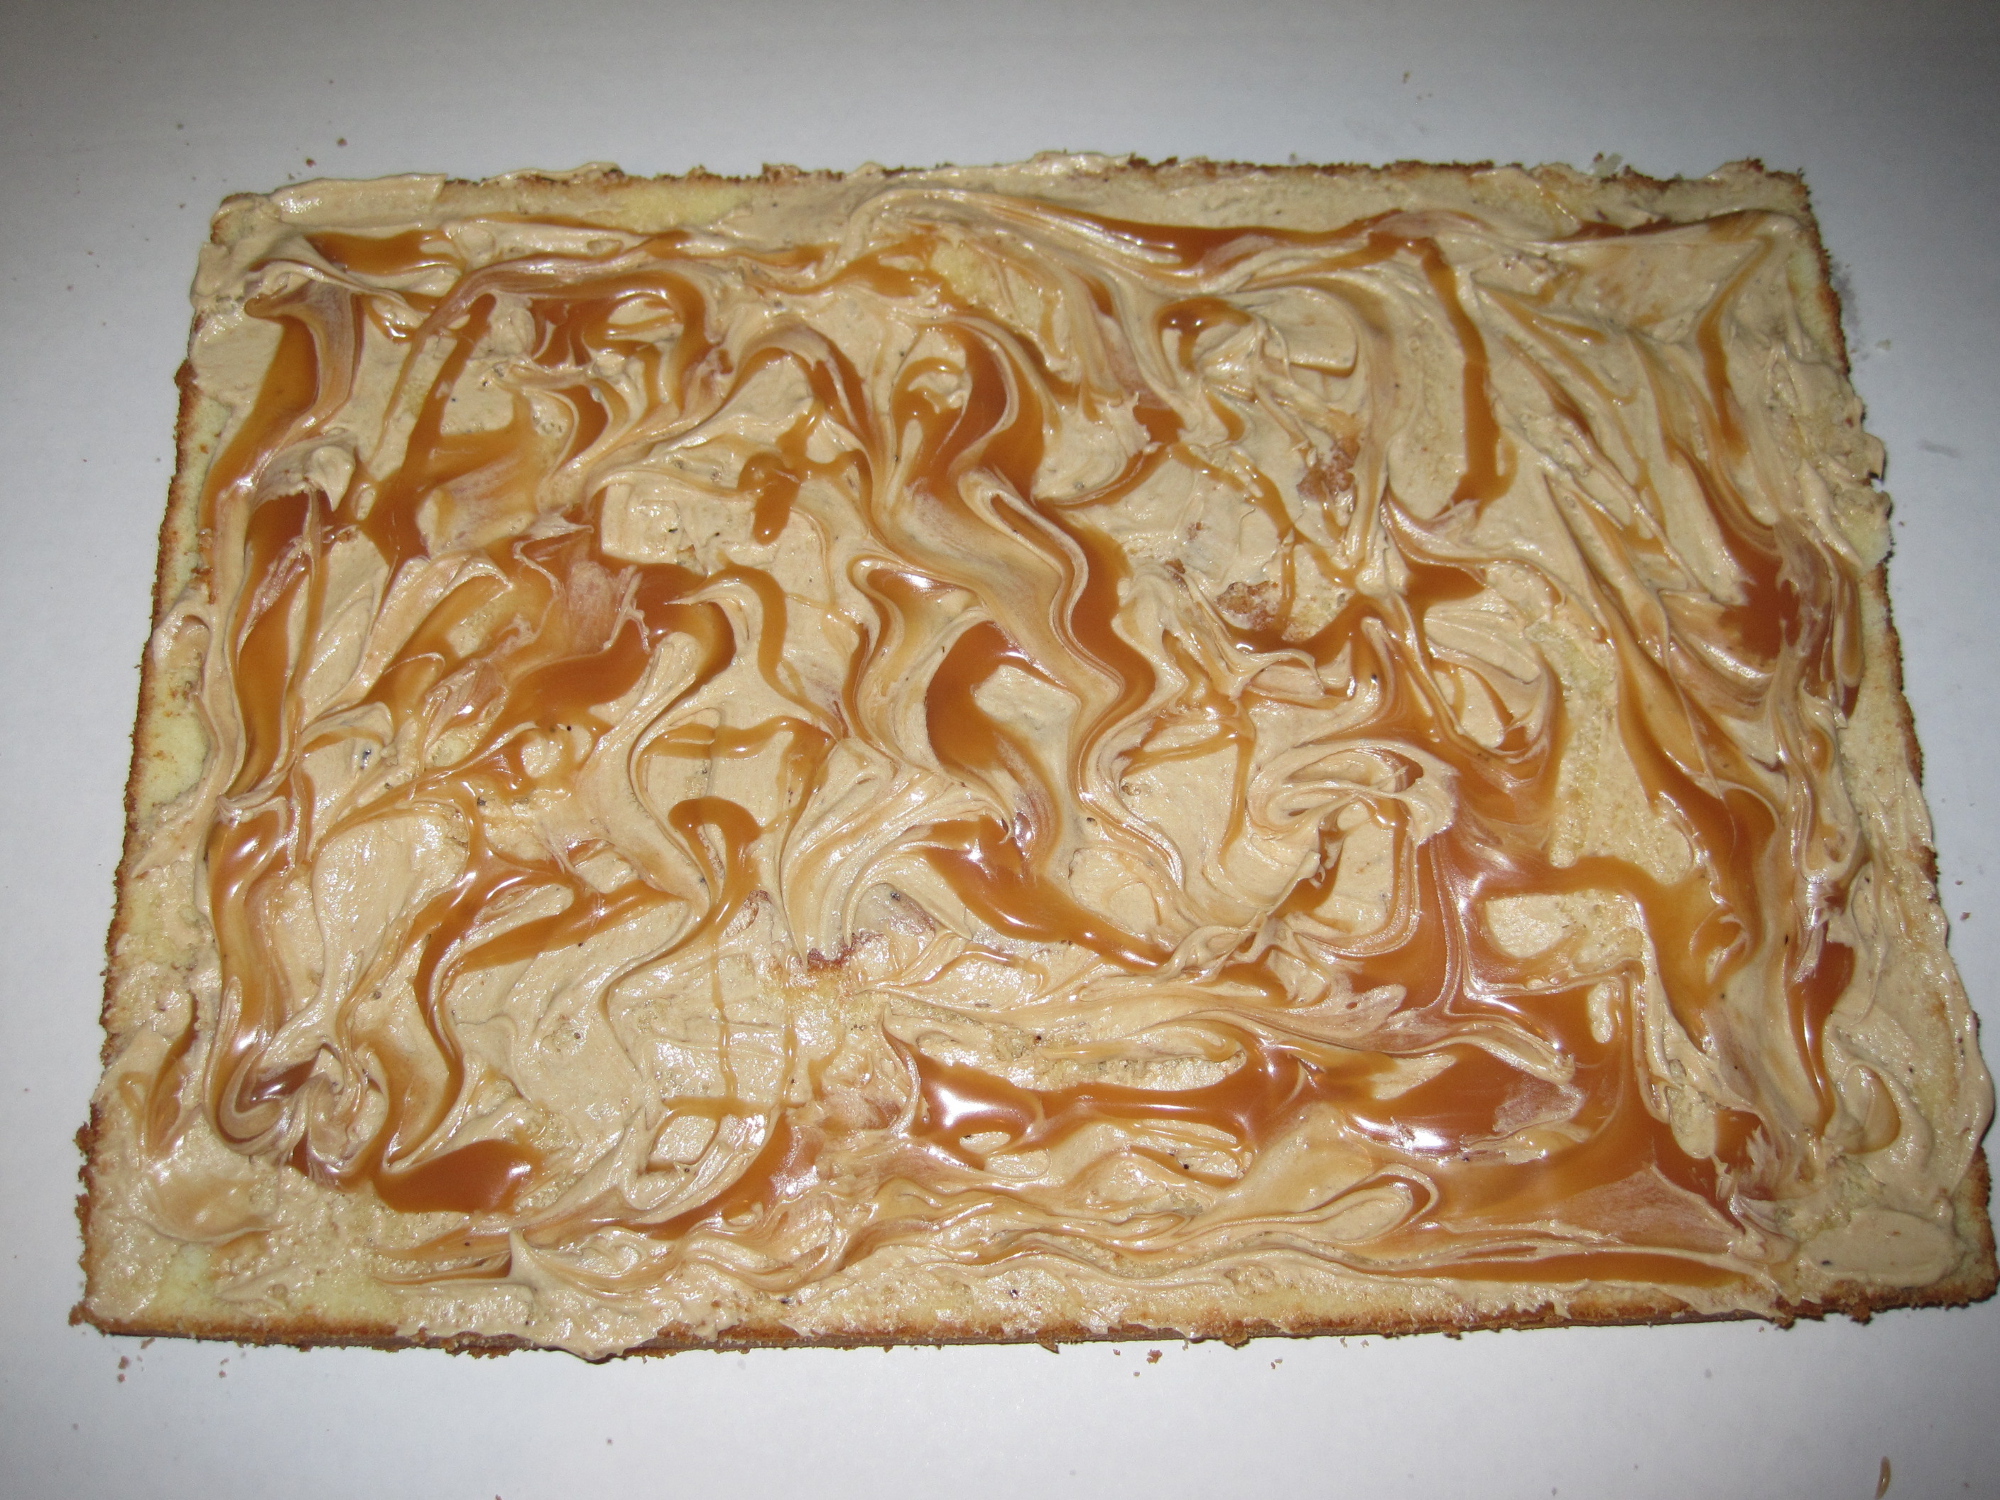
The cake itself was pretty simple. I used the Perfect Pound Cake, frosted with coffee buttercream frosting, and filled with salted caramel sauce. I marbled the icing and sauce between the cakes, and this gave a nice subtle flavor. Next time, I would like to try a full layer of caramel sauce on top of the frosting, to see how that tastes.
For the coffee frosting, I found these great individual packets of instant coffee by Nescafe. This way, whatever you don’t use stays nice and fresh. I used 3 packets for 3 cups of frosting. Just make sure you smash the grounds in the packet with a meat tenderizer so that it becomes a fine powder.

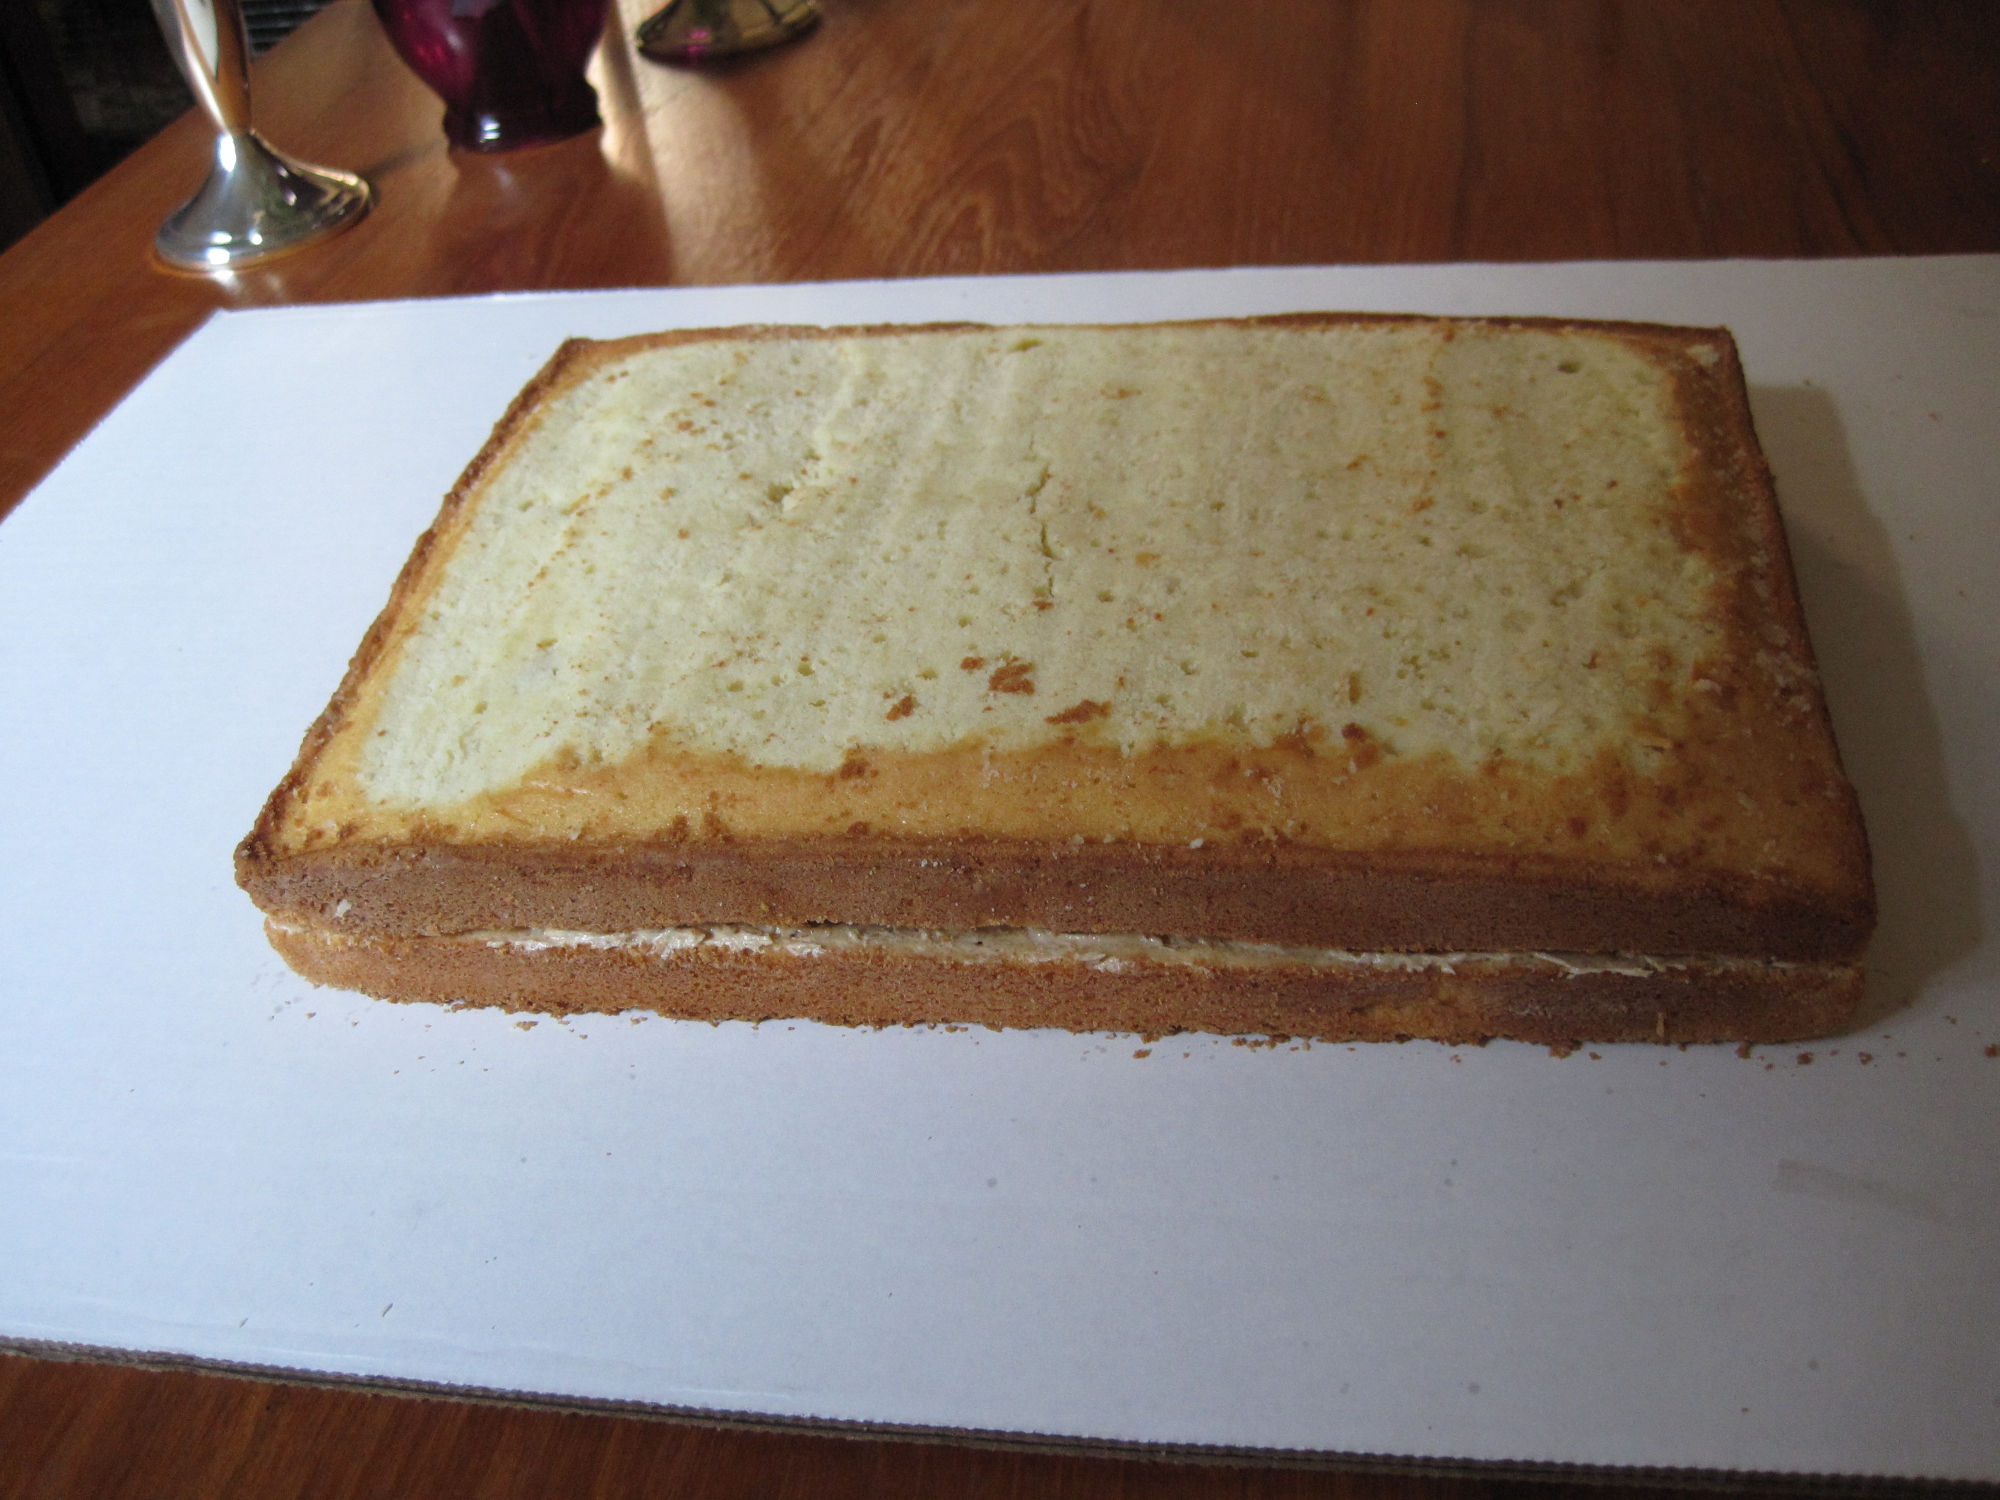
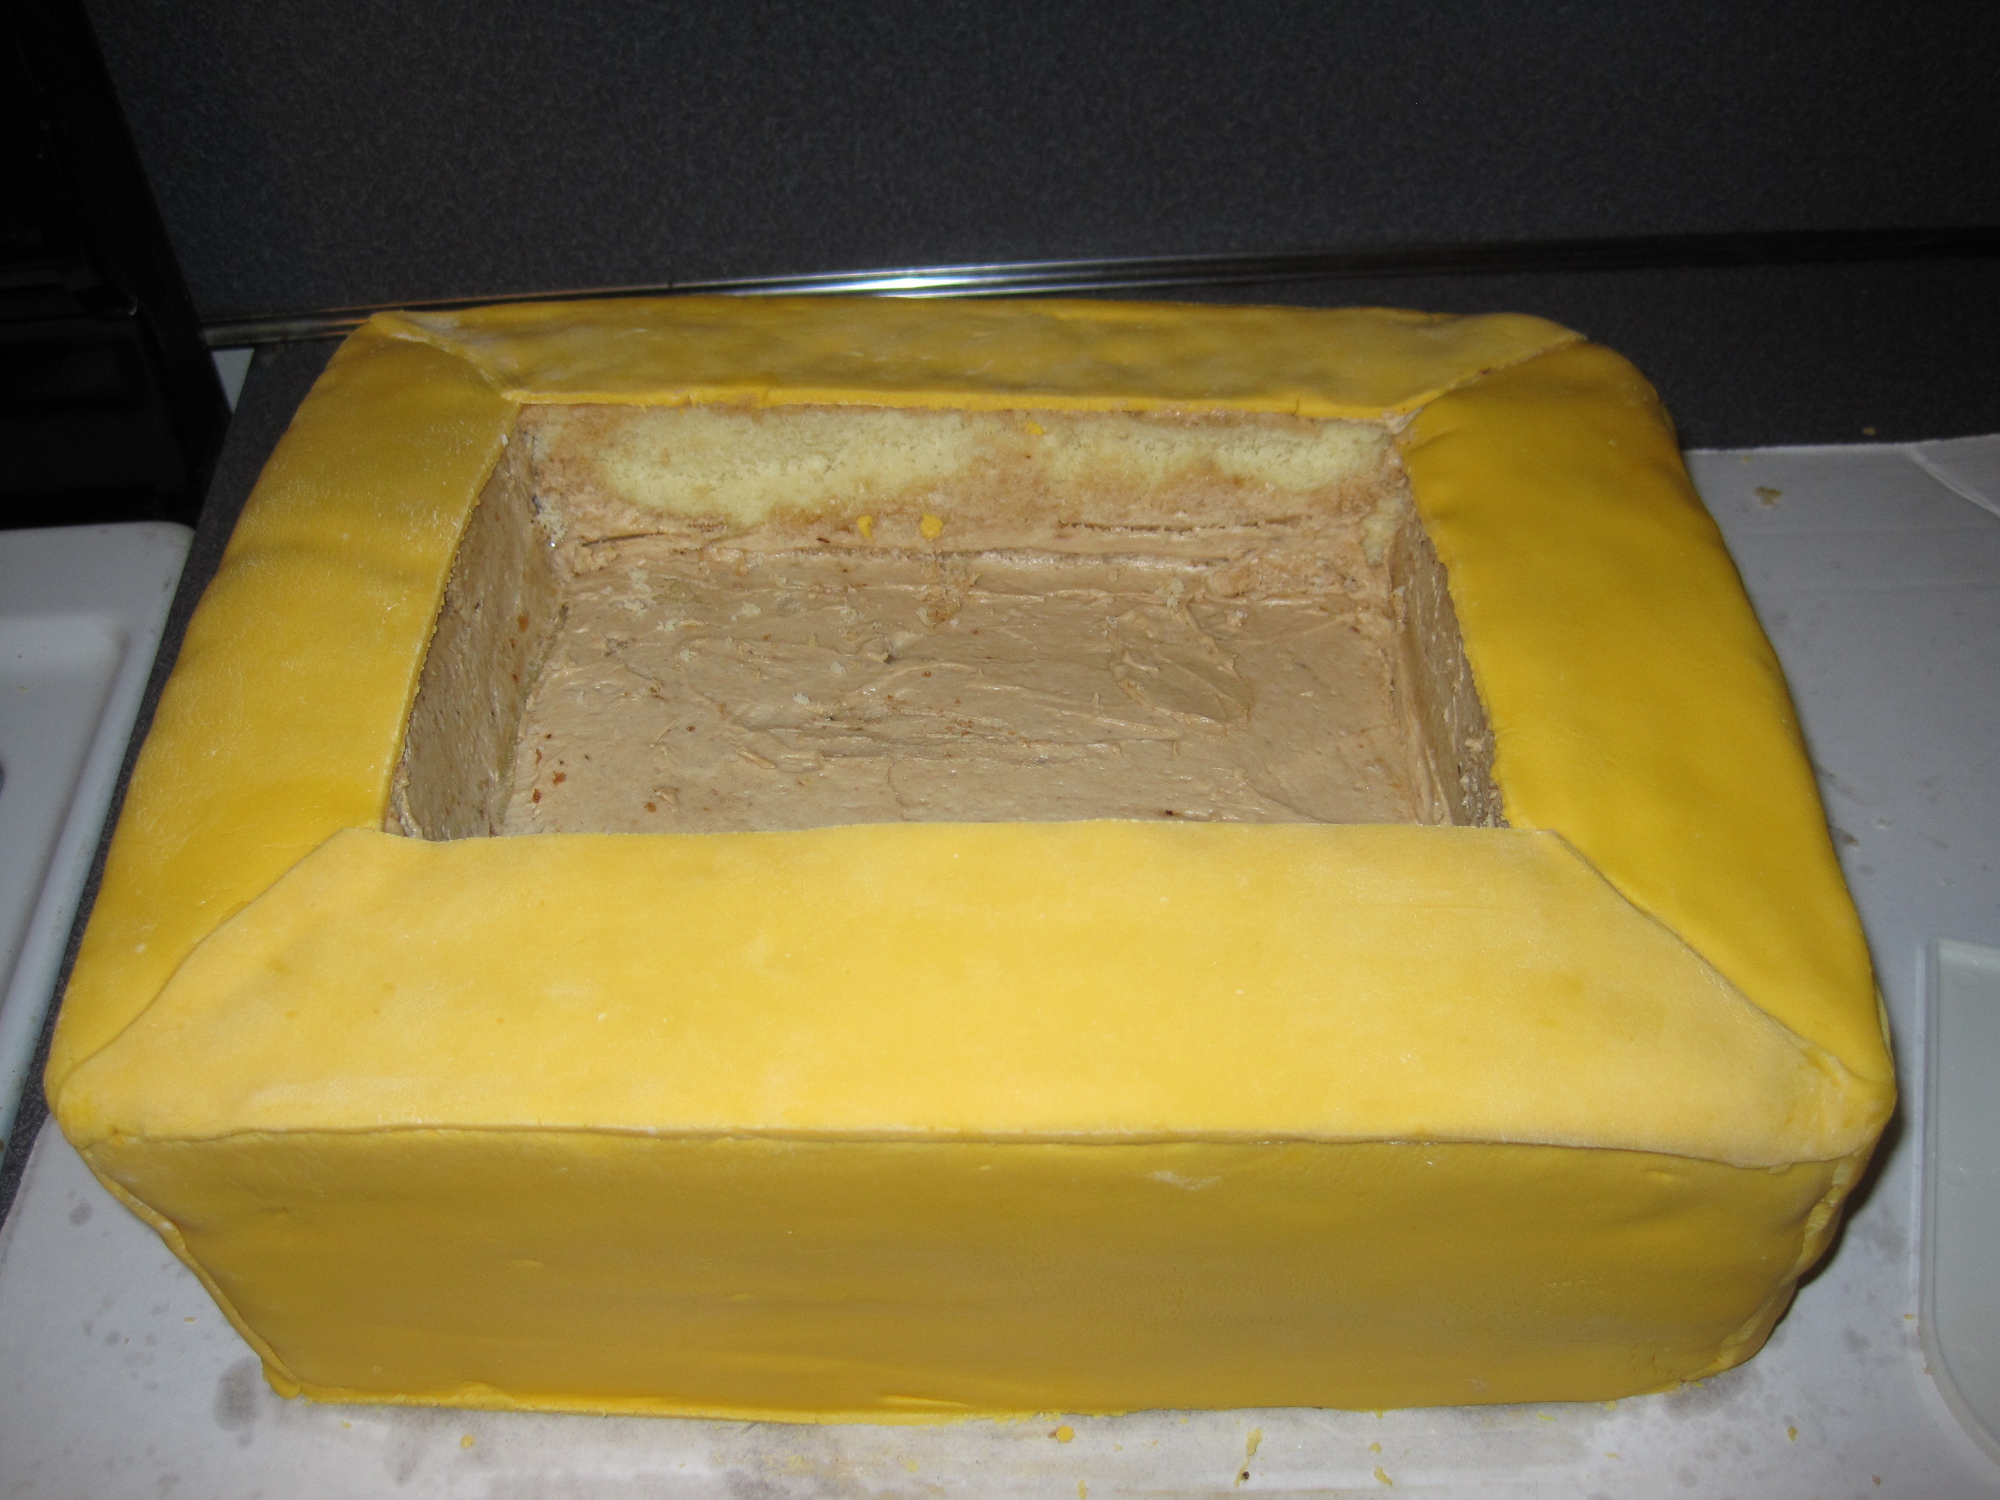
To construct the cake, I made three 9×13 cakes (3 batches of pound cake per pan, for a total of 9 batches). I leveled, torted, and filled the first two cakes as I would do for a normal cake.
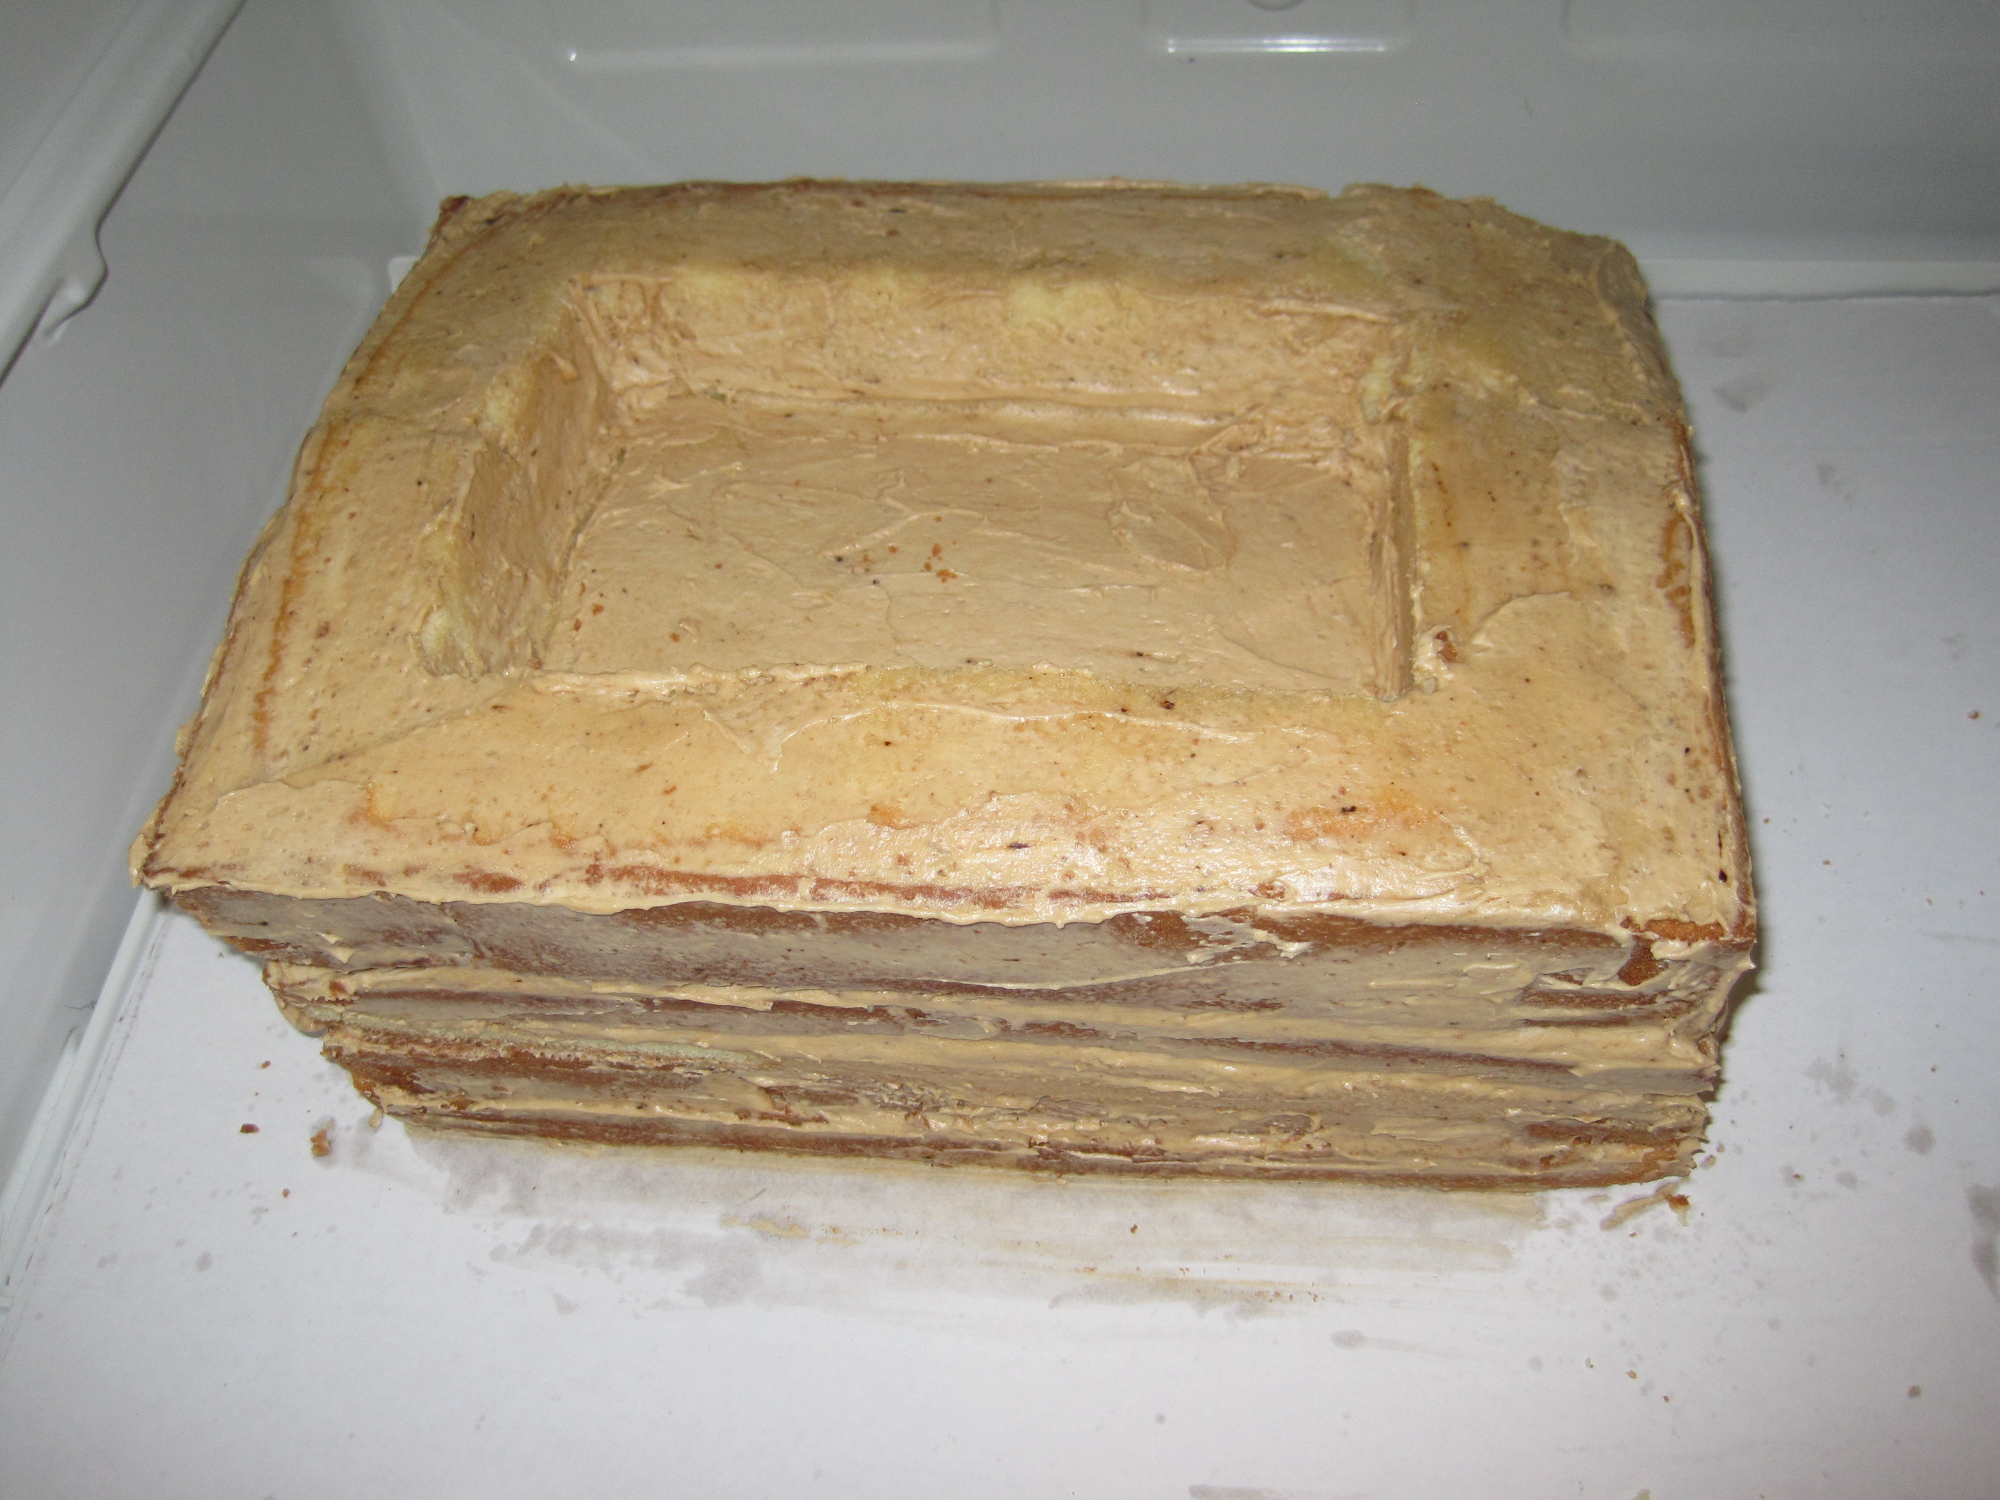
For the third layer, I cut out a square from the middle, to make a recess to hold the tools. I placed the outer frame on top of the cake and frosted the entire surface.
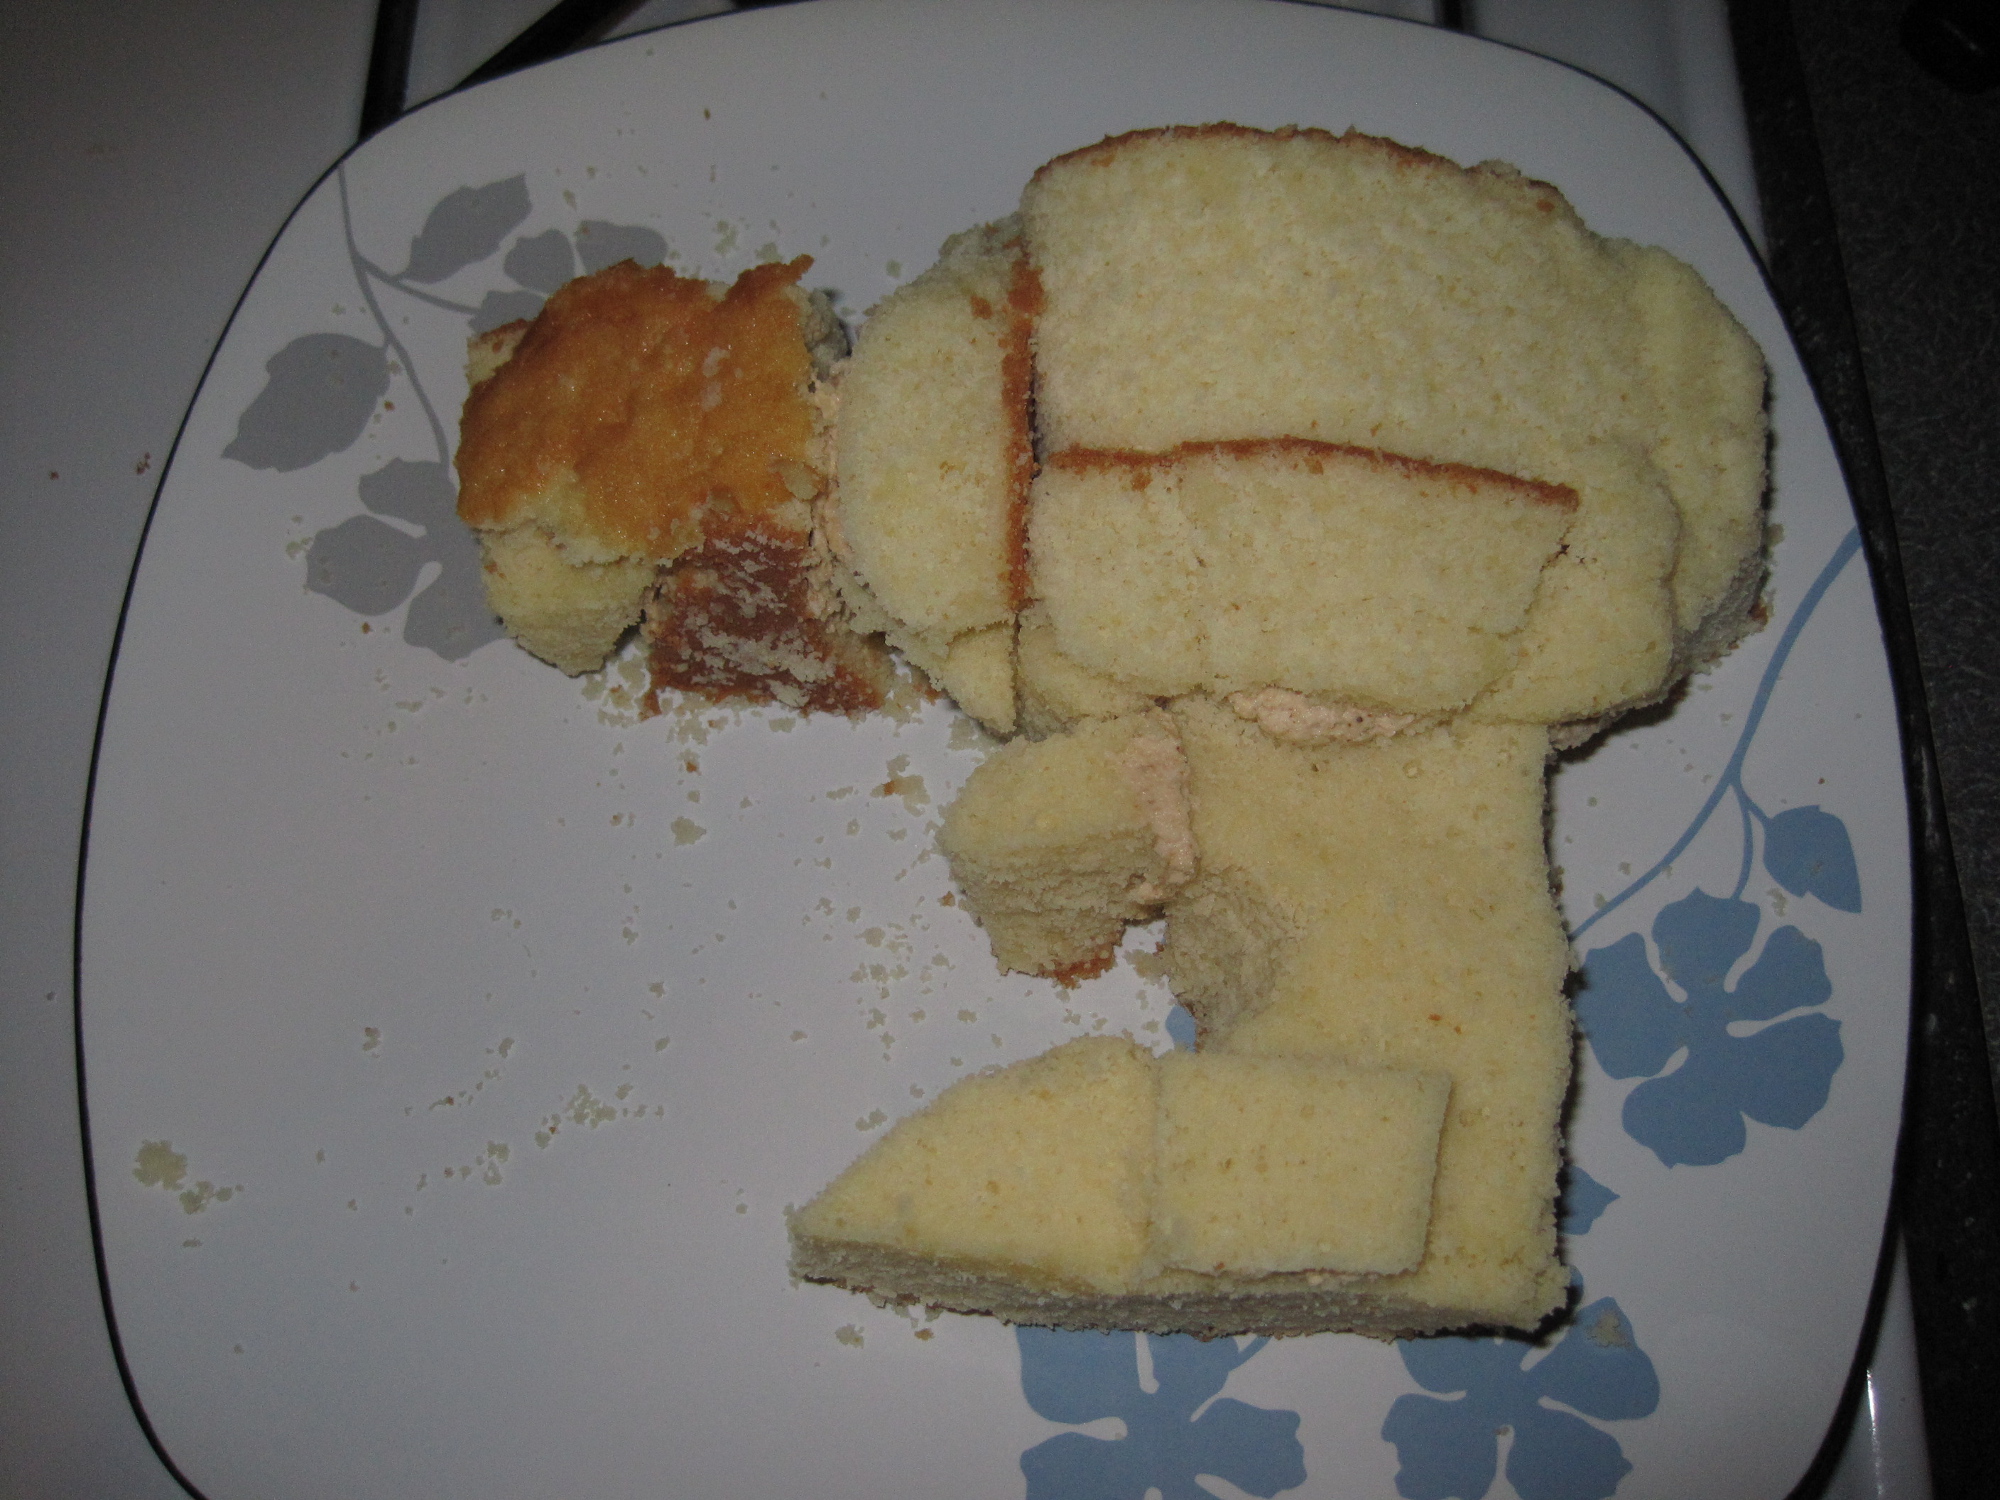
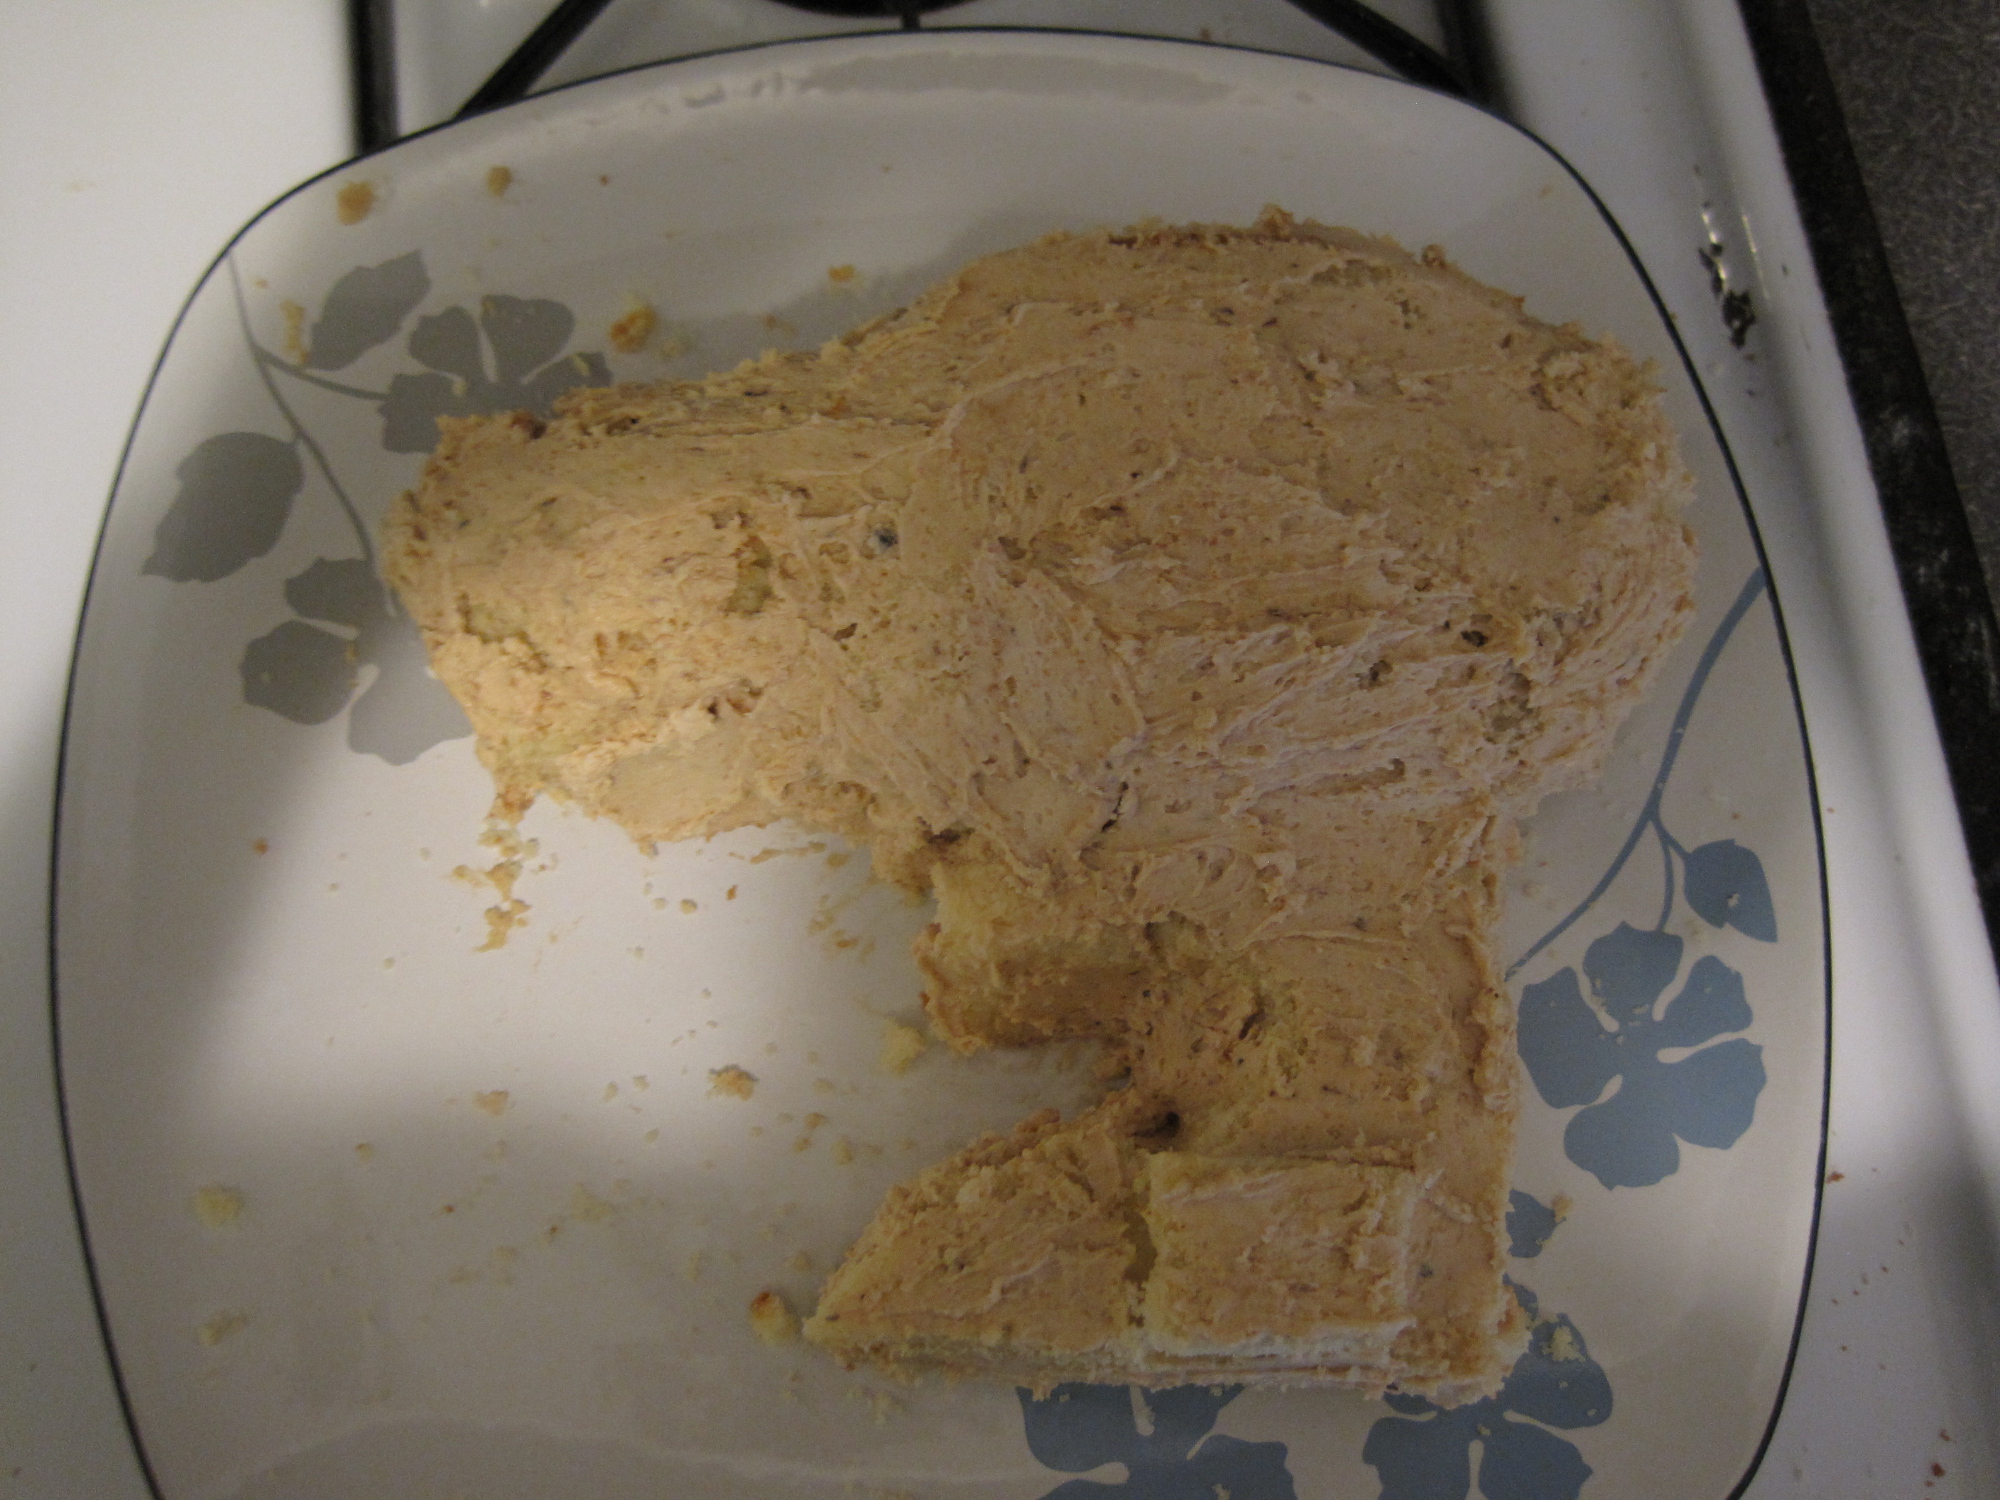
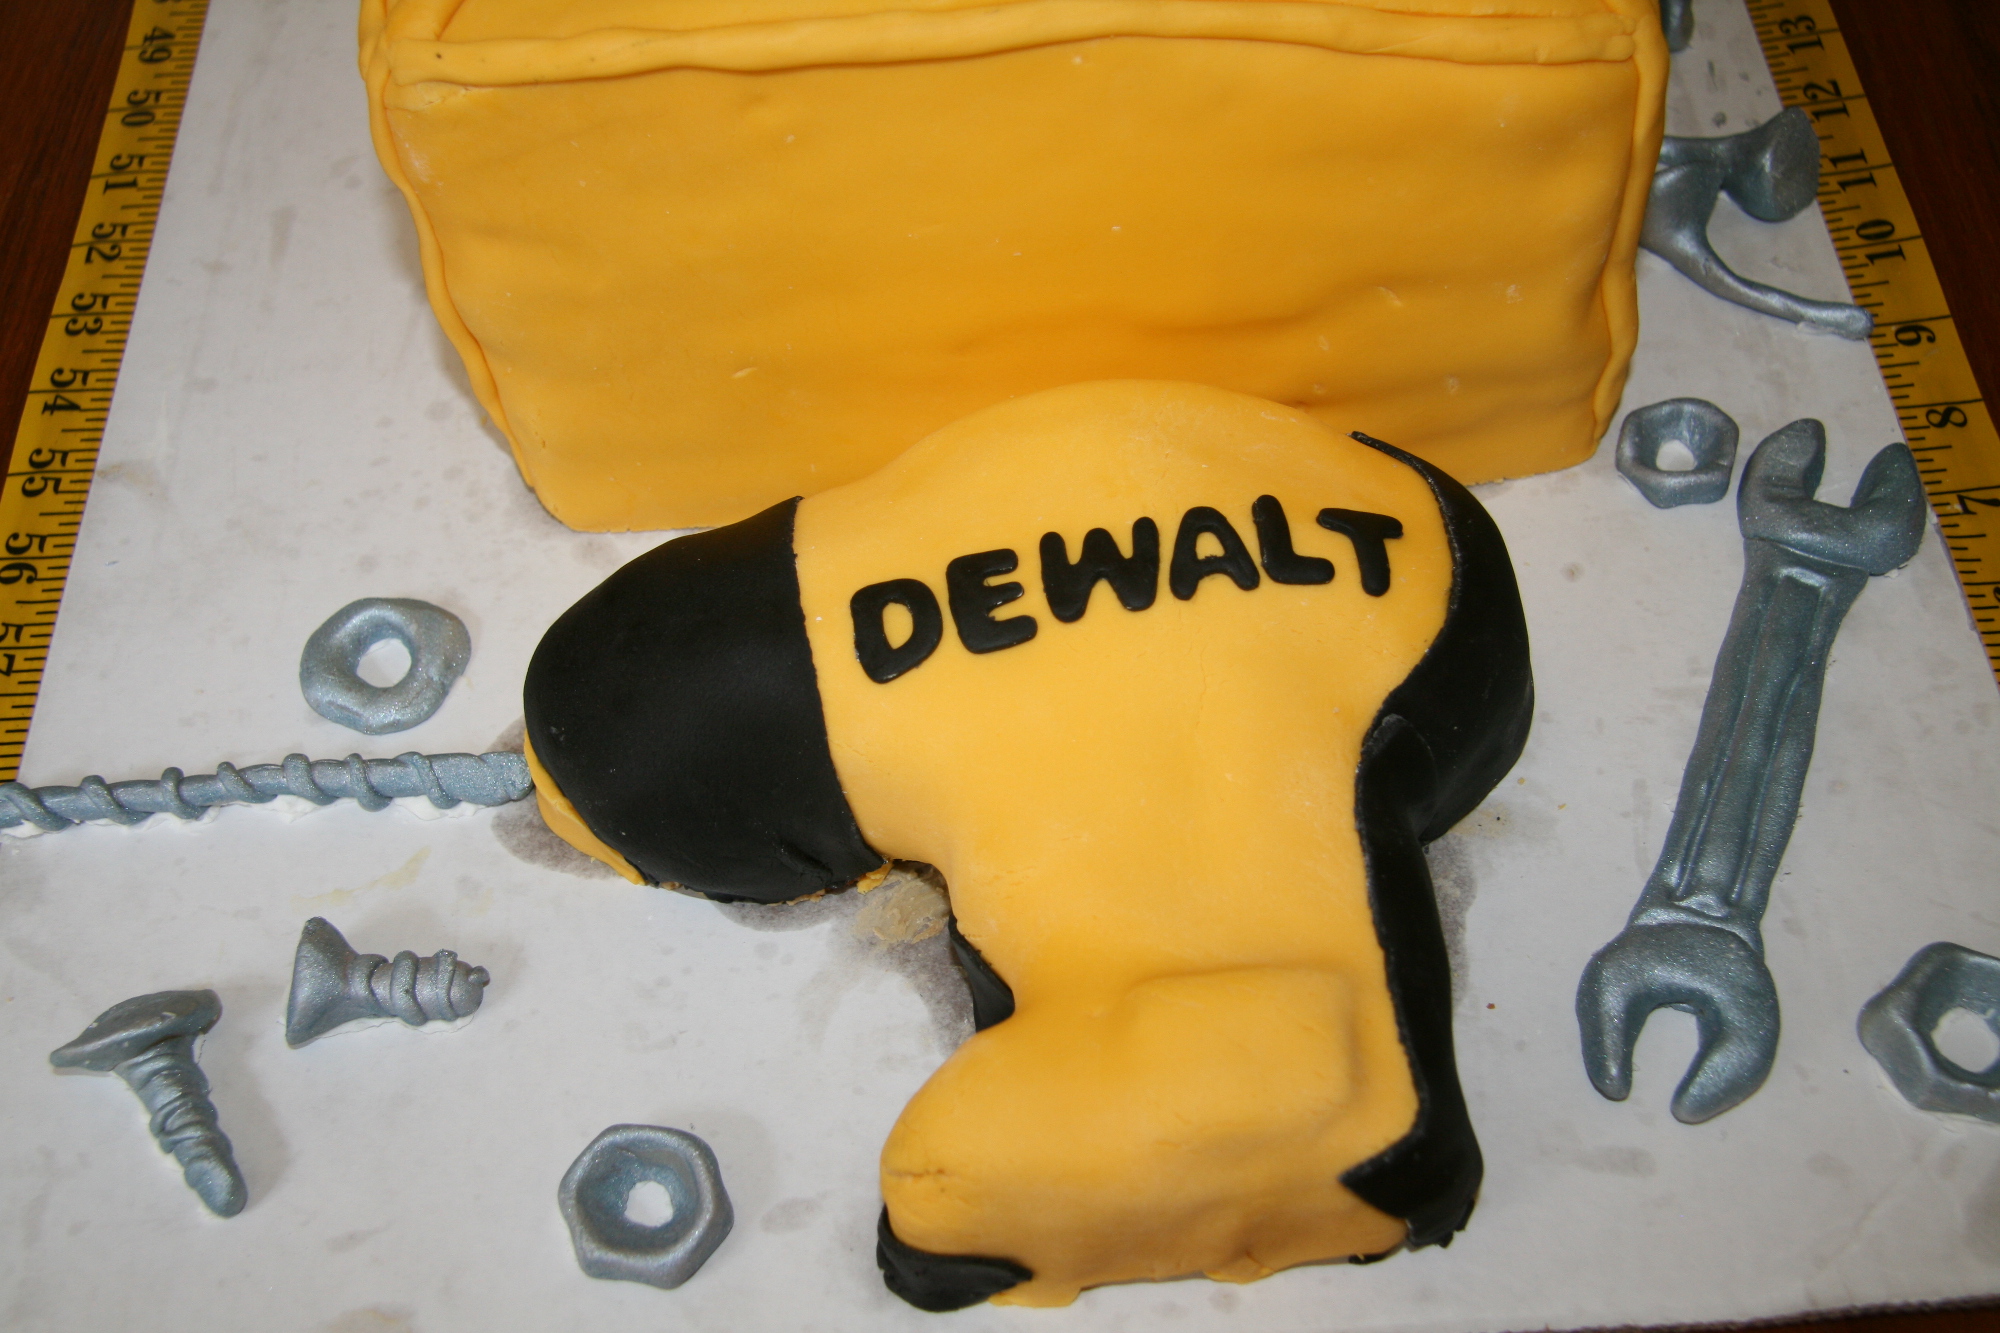
I used the part that I cut out to sculpt the drill:
After everything was frosted, I covered the cakes with marshmallow fondant, which was easily the most difficult part of this process.
The Fondant:
Normally, once rolls out fondant into a single sheet and covers the cake on one motion. The drill was quite easy because it was small. The toolbox however, was quite difficult due to its height. I couldn’t get a sheet big enough to cover the cake fully. Because of the heat, once I put the fondant on the cake, it got covered in frosting. This meant I could not roll it out and try again. So I ruined my first batch of fondant.
The second time, I made and used my fondant right away, without letting it rest overnight. BIG MISTAKE. I could barely roll out the fondant, and it was all crumbly like play doh that has sat out for a while. I realized I had to make yet another batch and let it sit overnight, even though this meant I was getting dangerously close to the rehearsal dinner. I actually had to decorate the cake the day of the party (which I hardly ever do).
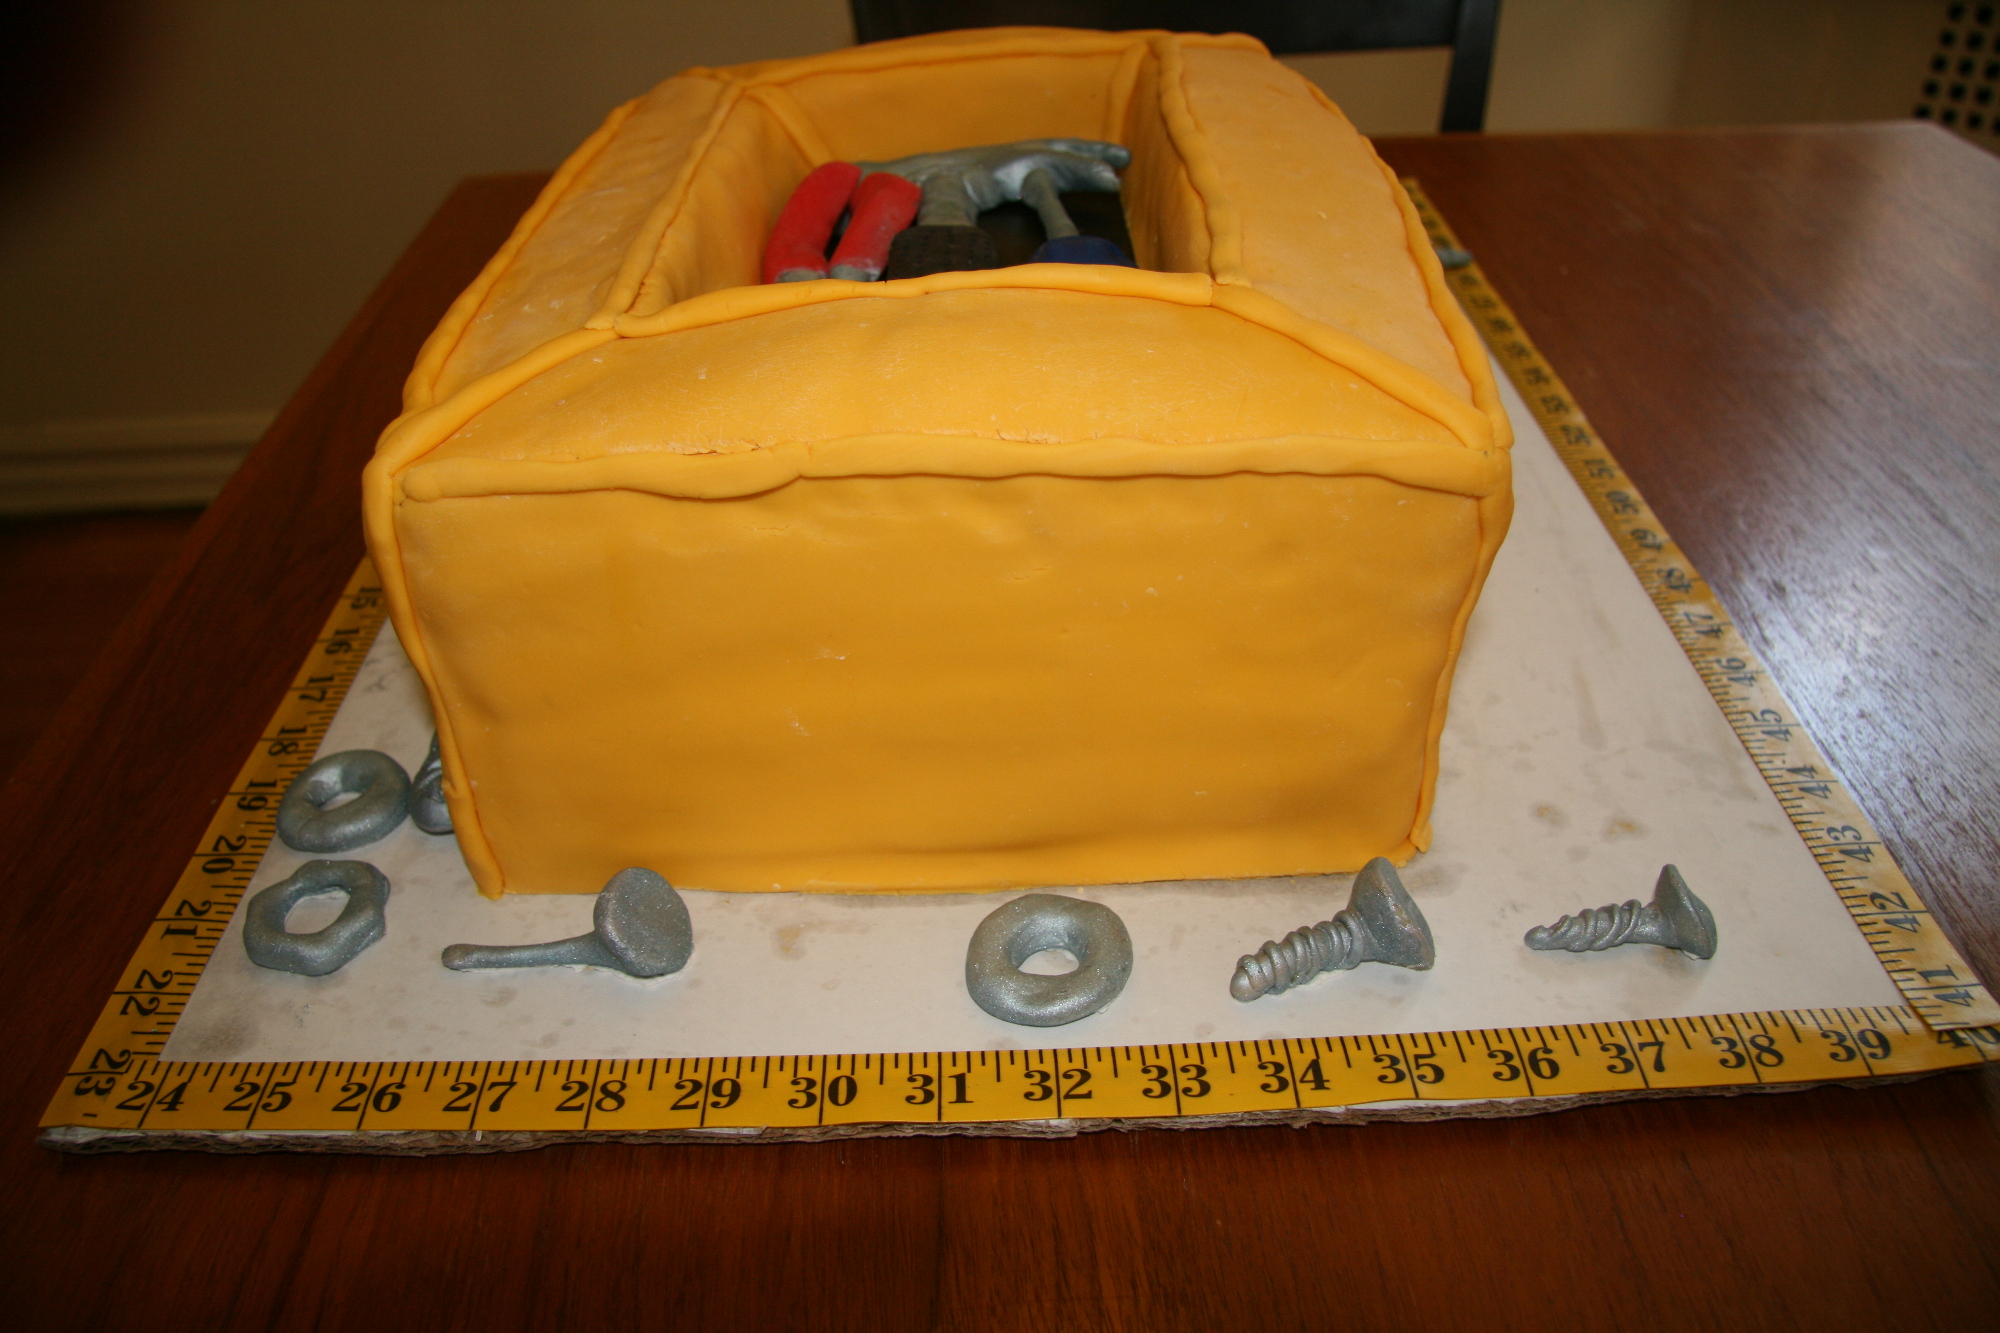
The third time, the fondant came out GREAT! I made even more than before so that I could roll out a big enough sheet to cover the cake. However, I was still unable to get it large enough. I think the problem was that my rolling pin was not big enough. So I decided that I would cover the cake in patches, since it was a box. I figured if any cake design would allow for seams, it would be this one.
My one worry was that if it got hot, the frosting would seep through the seams. So I covered all the seams with fondant that I rolled in my hand to make into a thin snake shape. It made the seams neater, and sealed everything in. To attach to the fondant already on the cake, the painted the back with water to get it to stick.
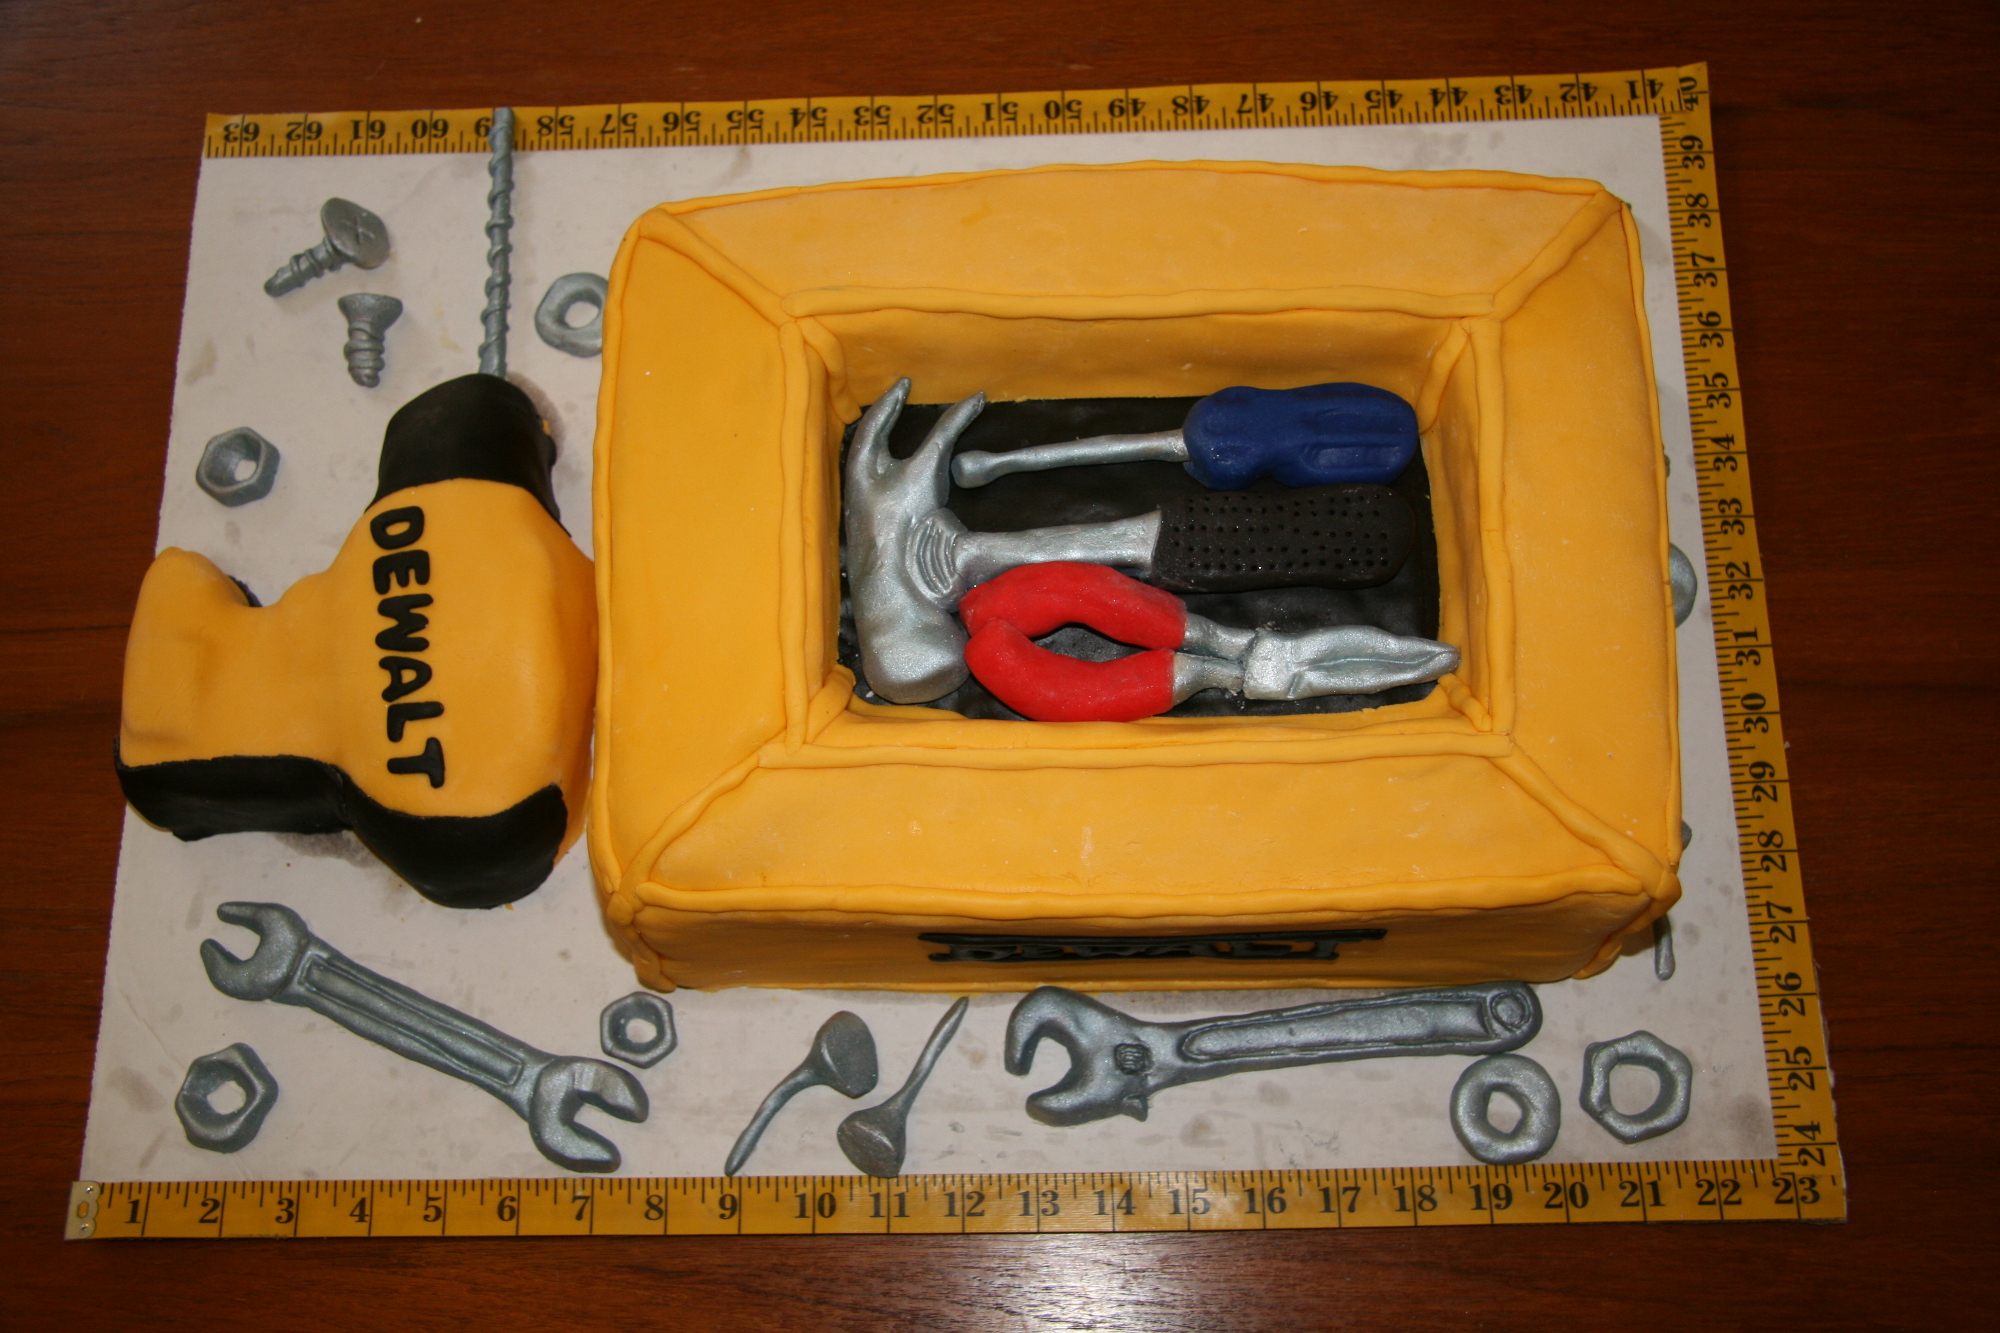
For the DEWALT logo on the toolbox, I hand cut the letters out of fondant. For the logo on the drill, I used fondant cutters in the shape of letters.
After that, I glued a tape measure around the cake board and added my tools. I attached them with royal icing so they would be secure for the car ride.
All in all, for a cake that I had serious doubts that I would finish in time, I was quite happy with the end result. And more importantly, so were the bride and groom!

Wow, that’s awesome!!