
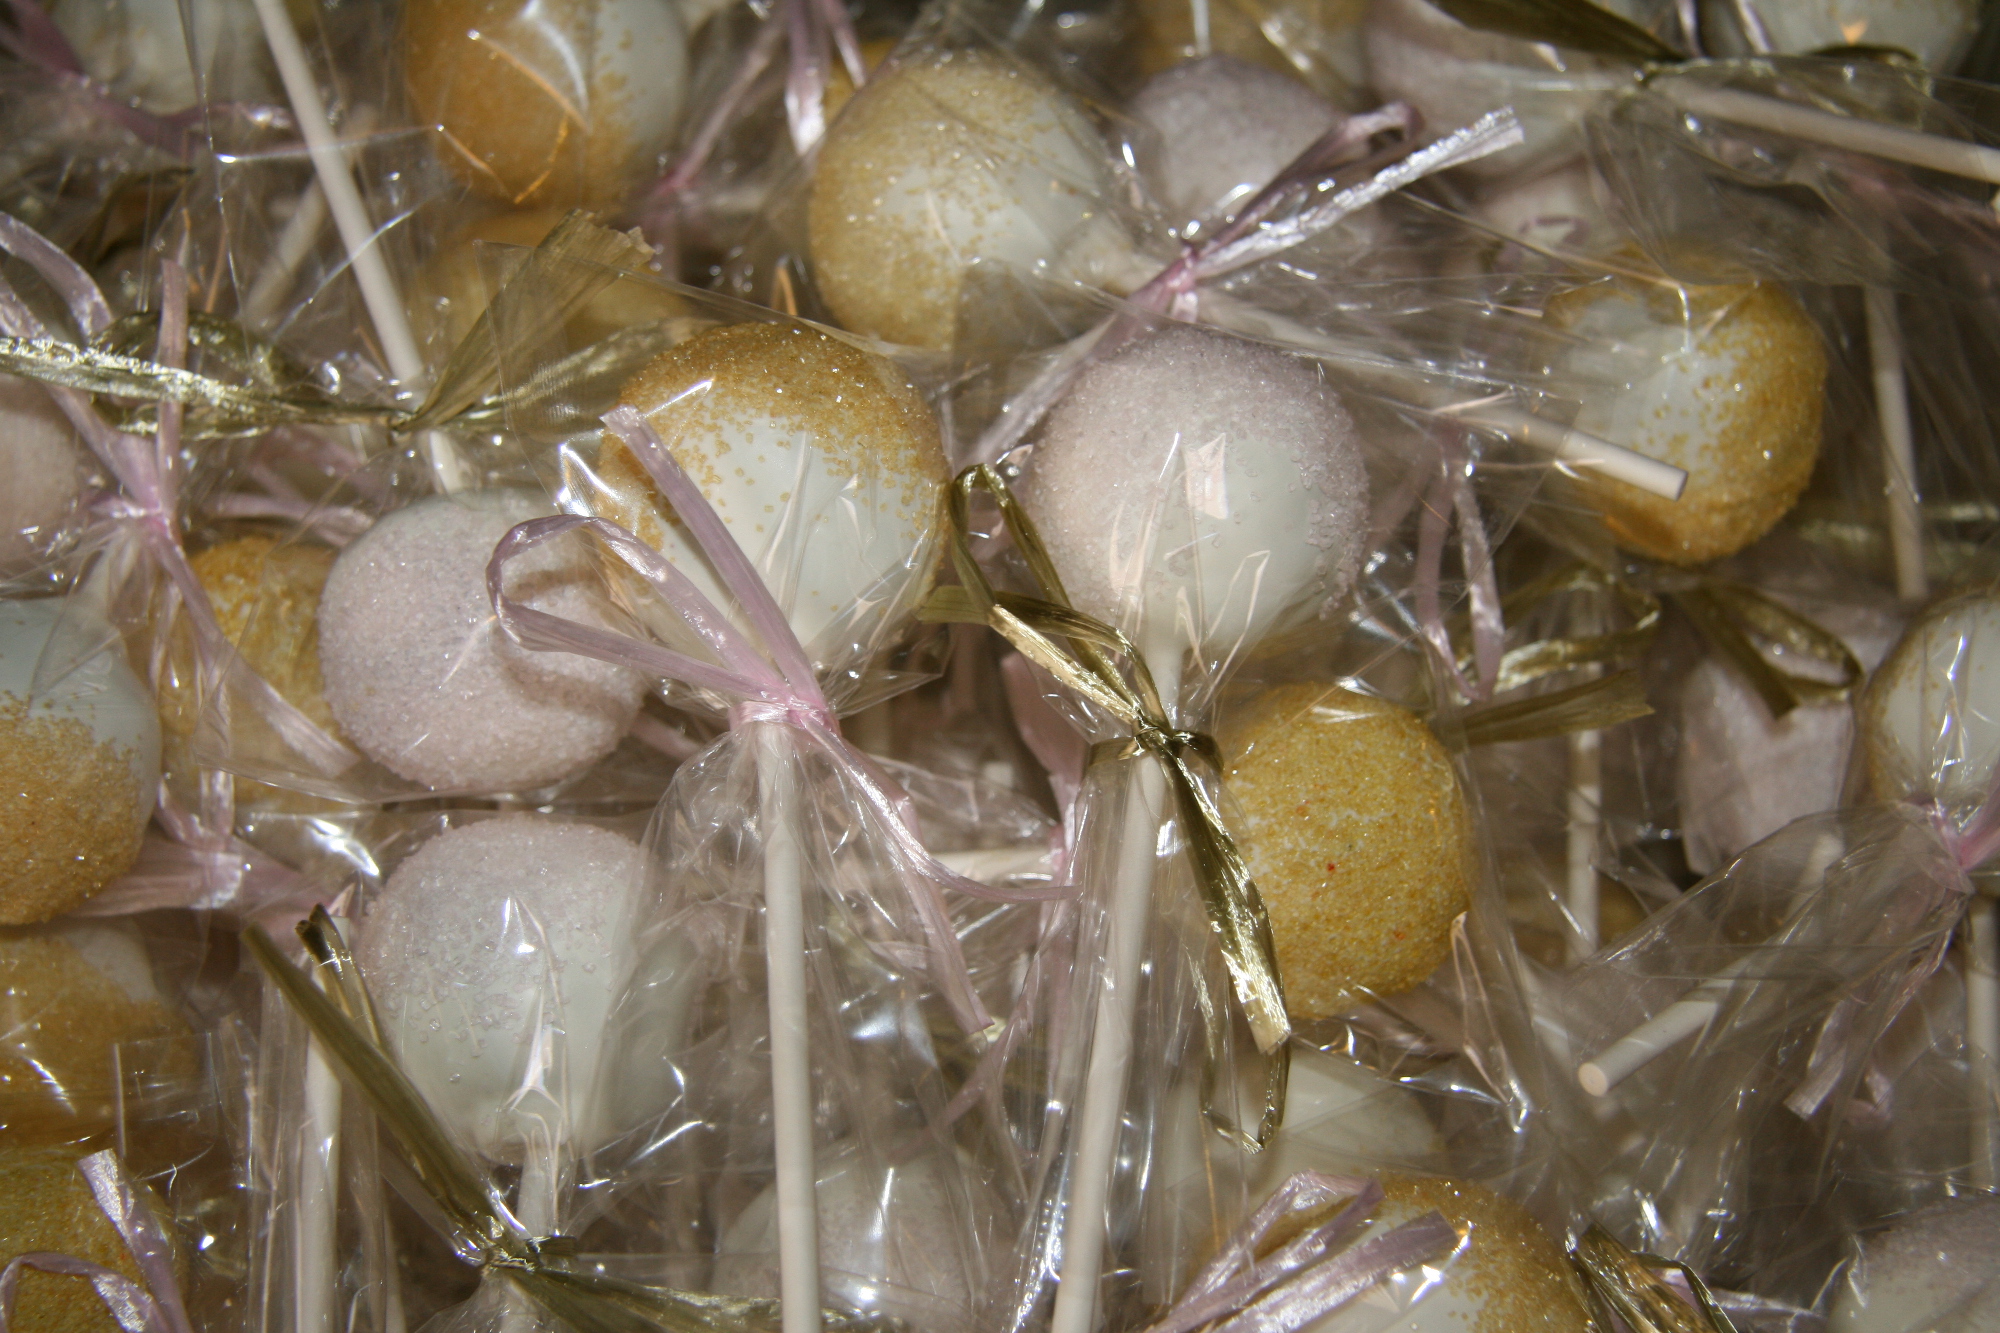
My cousin is getting married at Oheka Castle in July, and she recently had an amazing fairytale-themed bridal shower. She requested cake pops, after I made bridal shower cake pops for my sister-in-law’s shower (check out the above link for detailed directions on how to make cake pops). I wanted to do something totally different this time, so I decided to make a set of cake pops that would sit at everyone’s place setting. I ended up making about 130 red velvet cake pops, and brought 122 perfect ones to the shower.
The color scheme of the shower was light pink, gold, and white. So I decided to dip all the pops in super white chocolate, and sprinkle with either soft pink or gold sanding sugar. I love how the sugar looked like fairy dust! It was also a yummy addition to the outer shell of the pop. I covered them with 3″x5″ treat bags, and added gold raffia ribbon to the pink pops, and pink raffia ribbon to the gold ones. I was quite happy with the result. They looked so pretty on the tables!
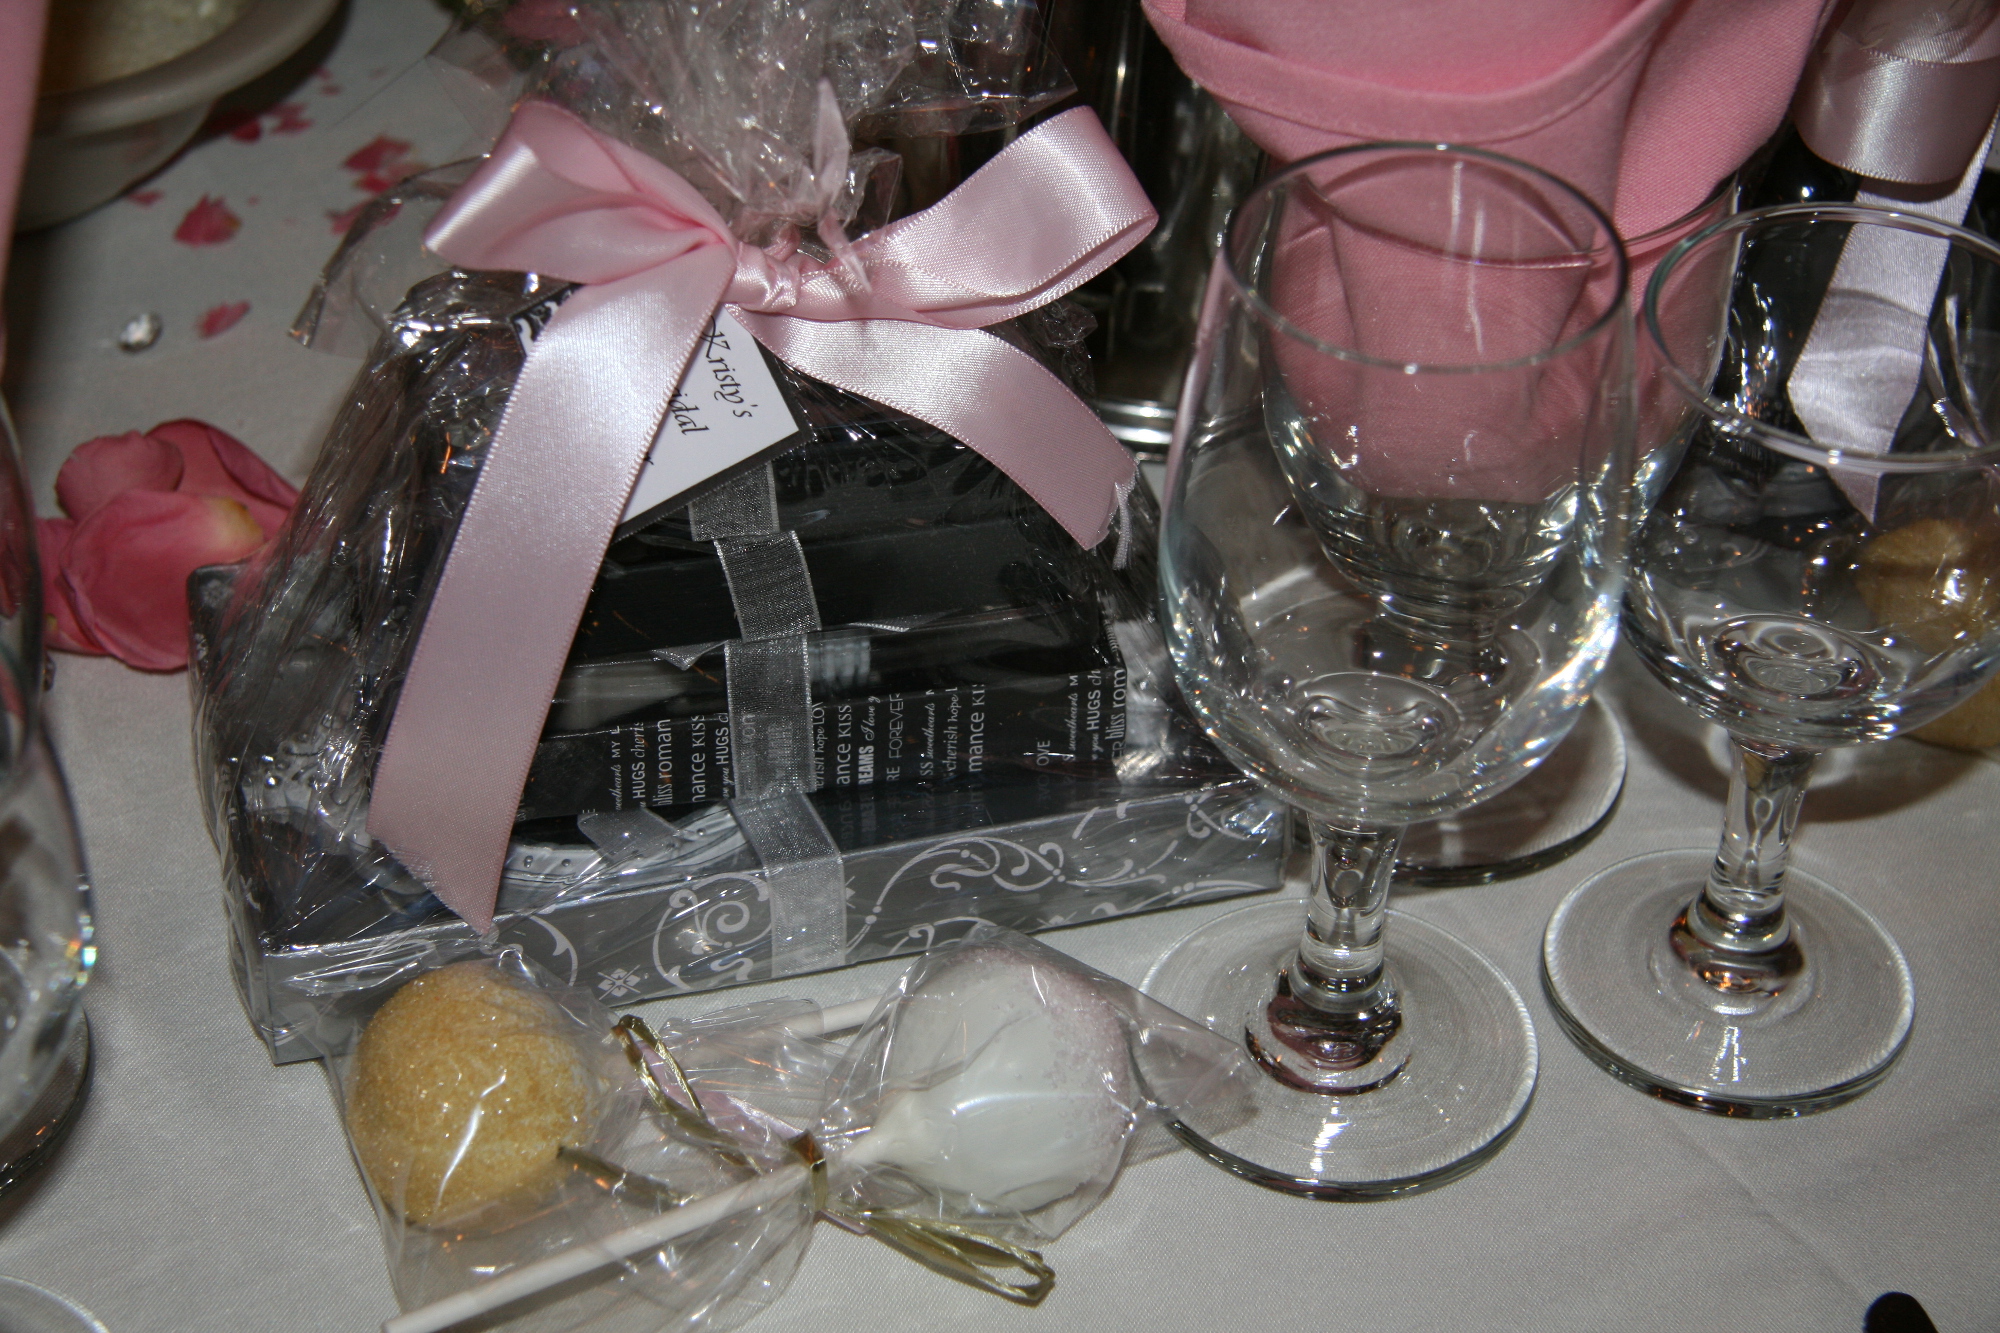
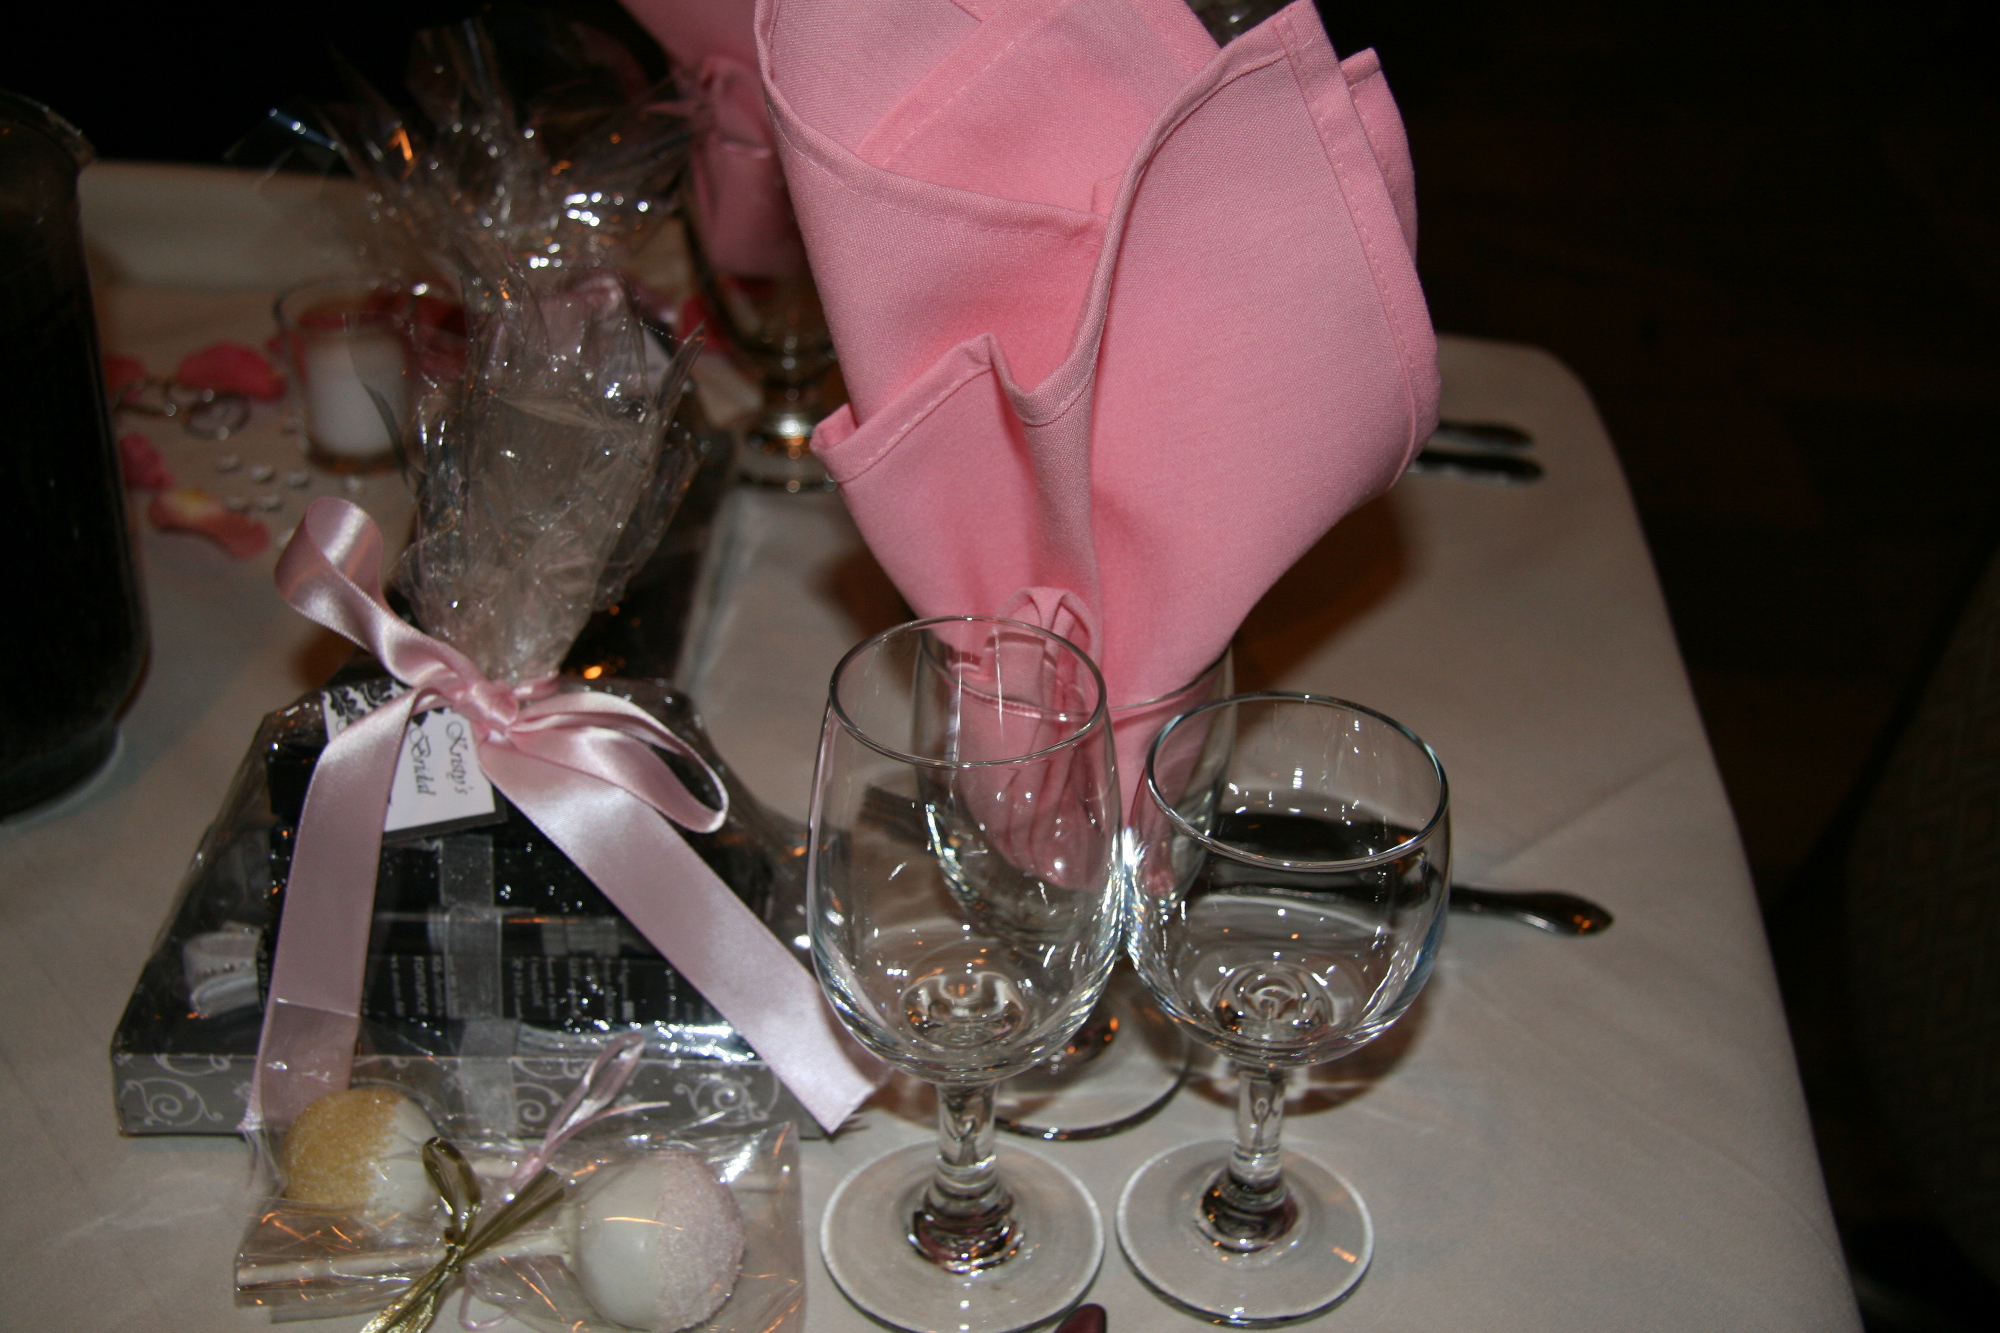
I got a ton of compliments on the cake pops, but most importantly…the bride loved them! She sent me this beautiful picture, making use of a new (and gorgeous) bridal gift to display her cake pops at home.
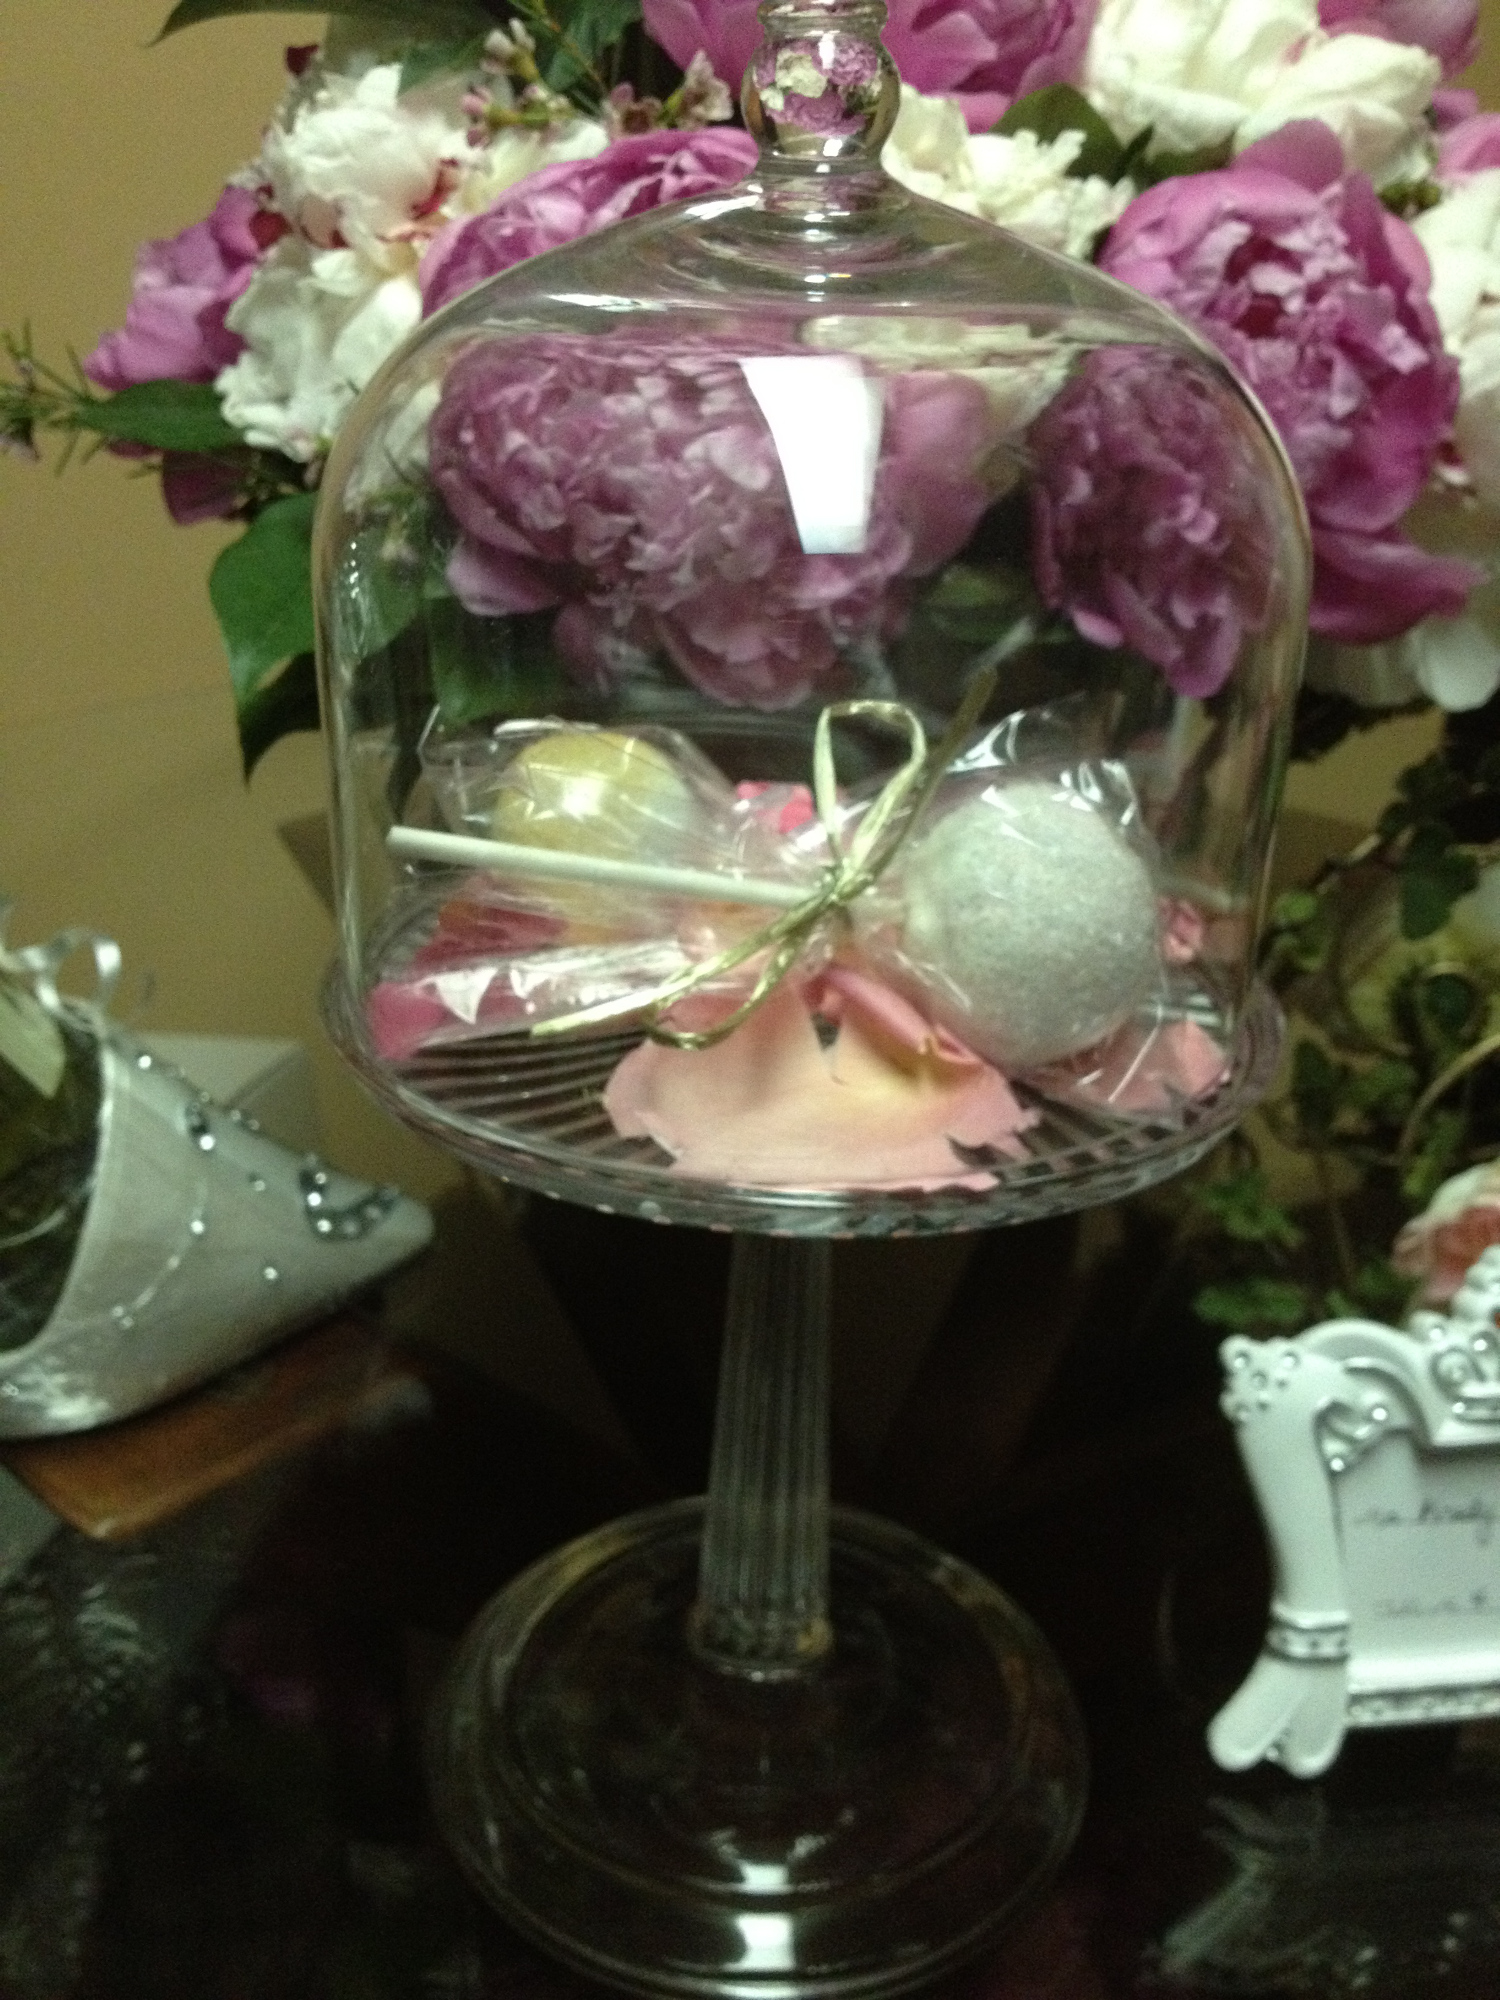
Photo courtesy of the bride
While I’m not an expert on cake pops by any means, I have learned some new tips and tricks that I think you may find useful.
1. One cup of frosting per one dozen cupcakes makes for the perfect texture. The pops stay on the sticks, and they are soft and rich.
2. One dozen cupcakes yields 22-25 cake pops, depending on the size of the pop.
3. Buttercream is the best frosting to use (even for red velvet) because then you can leave the pops out to dry without worry of having the frosting go bad (more on this later)
4. Once you break up the cupcakes and put them in your Kitchenaid mixer, put it on medium speed and let it go for 10 minutes. Go and check your email, get a cup of coffee…the longer it mixes, the more the cupcakes get broken up. It should end up being a fine sandy texture. If you have big pieces still in the bowl, let it go a little longer.
5. Add the frosting and let that mix until you have a completely smooth mixture. It should be the consistency of a firm dough.
6. When you dip the lollipop stick in melted chocolate (I prefer the Merckens melts), make sure the chocolate is full strength (i.e. don’t add any shortening chips to thin out the chocolate). Also, make sure you have a thick coating of chocolate on the stick before putting it in the cake ball and twisting. You should end up with button of chocolate at the base of the stick.
7. For dipping the pops in chocolate, microwave it in a Pyrex measuring cup, 30 seconds at a time at 50% strength. Mix in between microwaving, and only microwave until the chocolate is just melted. Add shortening chips so that the chocolate flows smoothly from the spoon back into the cup. Pour into a deep but small bowl, as this will be easier for dipping.
8. Here is what I’ve learned about cracking: If your cake is too cold, or your chocolate too hot, you will have problems. So take out your pops from the fridge while you are melting your chocolate. Then, let your chocolate sit for 5 minutes before you start to dip. Lastly, take each pop and lightly mold it in your hand before dipping. This will help get the perfect round shape, and the warmth of your hand will get the chill out of the cake. Once the cake seems soft and pliable, you are ready to dip.
9. I like to do two coatings of this thinner chocolate, rather than a single coating of thicker chocolate. I think it looks prettier, and the texture is nicer once you eat the pop. I dip once up to the chocolate button on the stick, and let it drip for about 5 seconds. Then I dip a second time.
10. Hold the pop upside down and tap the end of the stick gently until you have no more chocolate dripping. Turn the pop over and wait another 5-10 seconds before adding any sprinkles or decorations.
11. I like to spoon the sanding sugar directly onto the pop, twisting it around to get the sugar everywhere. If you dip the pop in the sugar, you are more likely to displace the chocolate and everything will look smooshed (a very technical baking term).
12. Place the cake pops in a Styrofoam block to dry. I find that having them dry on the counter for 45 minutes or more (until they are fully dry and room temperature) helps to prevent cracking*. Then place in the refrigerator for 10 minutes to firm up before bagging. If you pops survive the fridge without cracking, then they are safe and you can just store them in the fridge until your event.
*Even with all these precautions, I still had some cracking. I think it is inevitable, but this method really helps to limit how many cake pops crack.
Follow these tips, and your cake pops will live happily ever after! 🙂
