
After years of decorating mainly with buttercream, I recently decided to take the plunge into using fondant for my cakes. I was always hesitant, since many people don’t like the taste fondant. However, a friend told me that marshmallow fondant was easy to make and tasted way better than the store-bought stuff. So I looked it up online and decided to give it a shot.
It’s amazing how two recipes can have the same ingredients in the same amounts, but turn out wildly different because of the instructions. My first attempt was a complete mess. I ended up with a dry, crusty mass that looked nothing like fondant. When I added some water, I ended up with wallpaper paste. That batch went into the trash, and I went back to the internet to find some clues as to where I went wrong.
I found a great two-part tutorial on marshmallow fondant (part 1; part 2) that used a Kitchenaid mixer to do all the work. She went step by step through the whole process, and even told me which things to grease with crisco so the marshmallow’s don’t stick (a fatal flaw in my first recipe). Making fondant requires a LOT of kneading, so definitely use a stand mixer if you have one.
I’m going to go through the steps here, in case you don’t want to take the time to watch the video.
Marshmallow Fondant (recipe from About.com)
Makes 1.5 lbs of fondant
8 ounces miniature marshmallows (4 cups not packed)
4 cups confectioners sugar
2 TBSP water
Food coloring or flavored extracts, optional
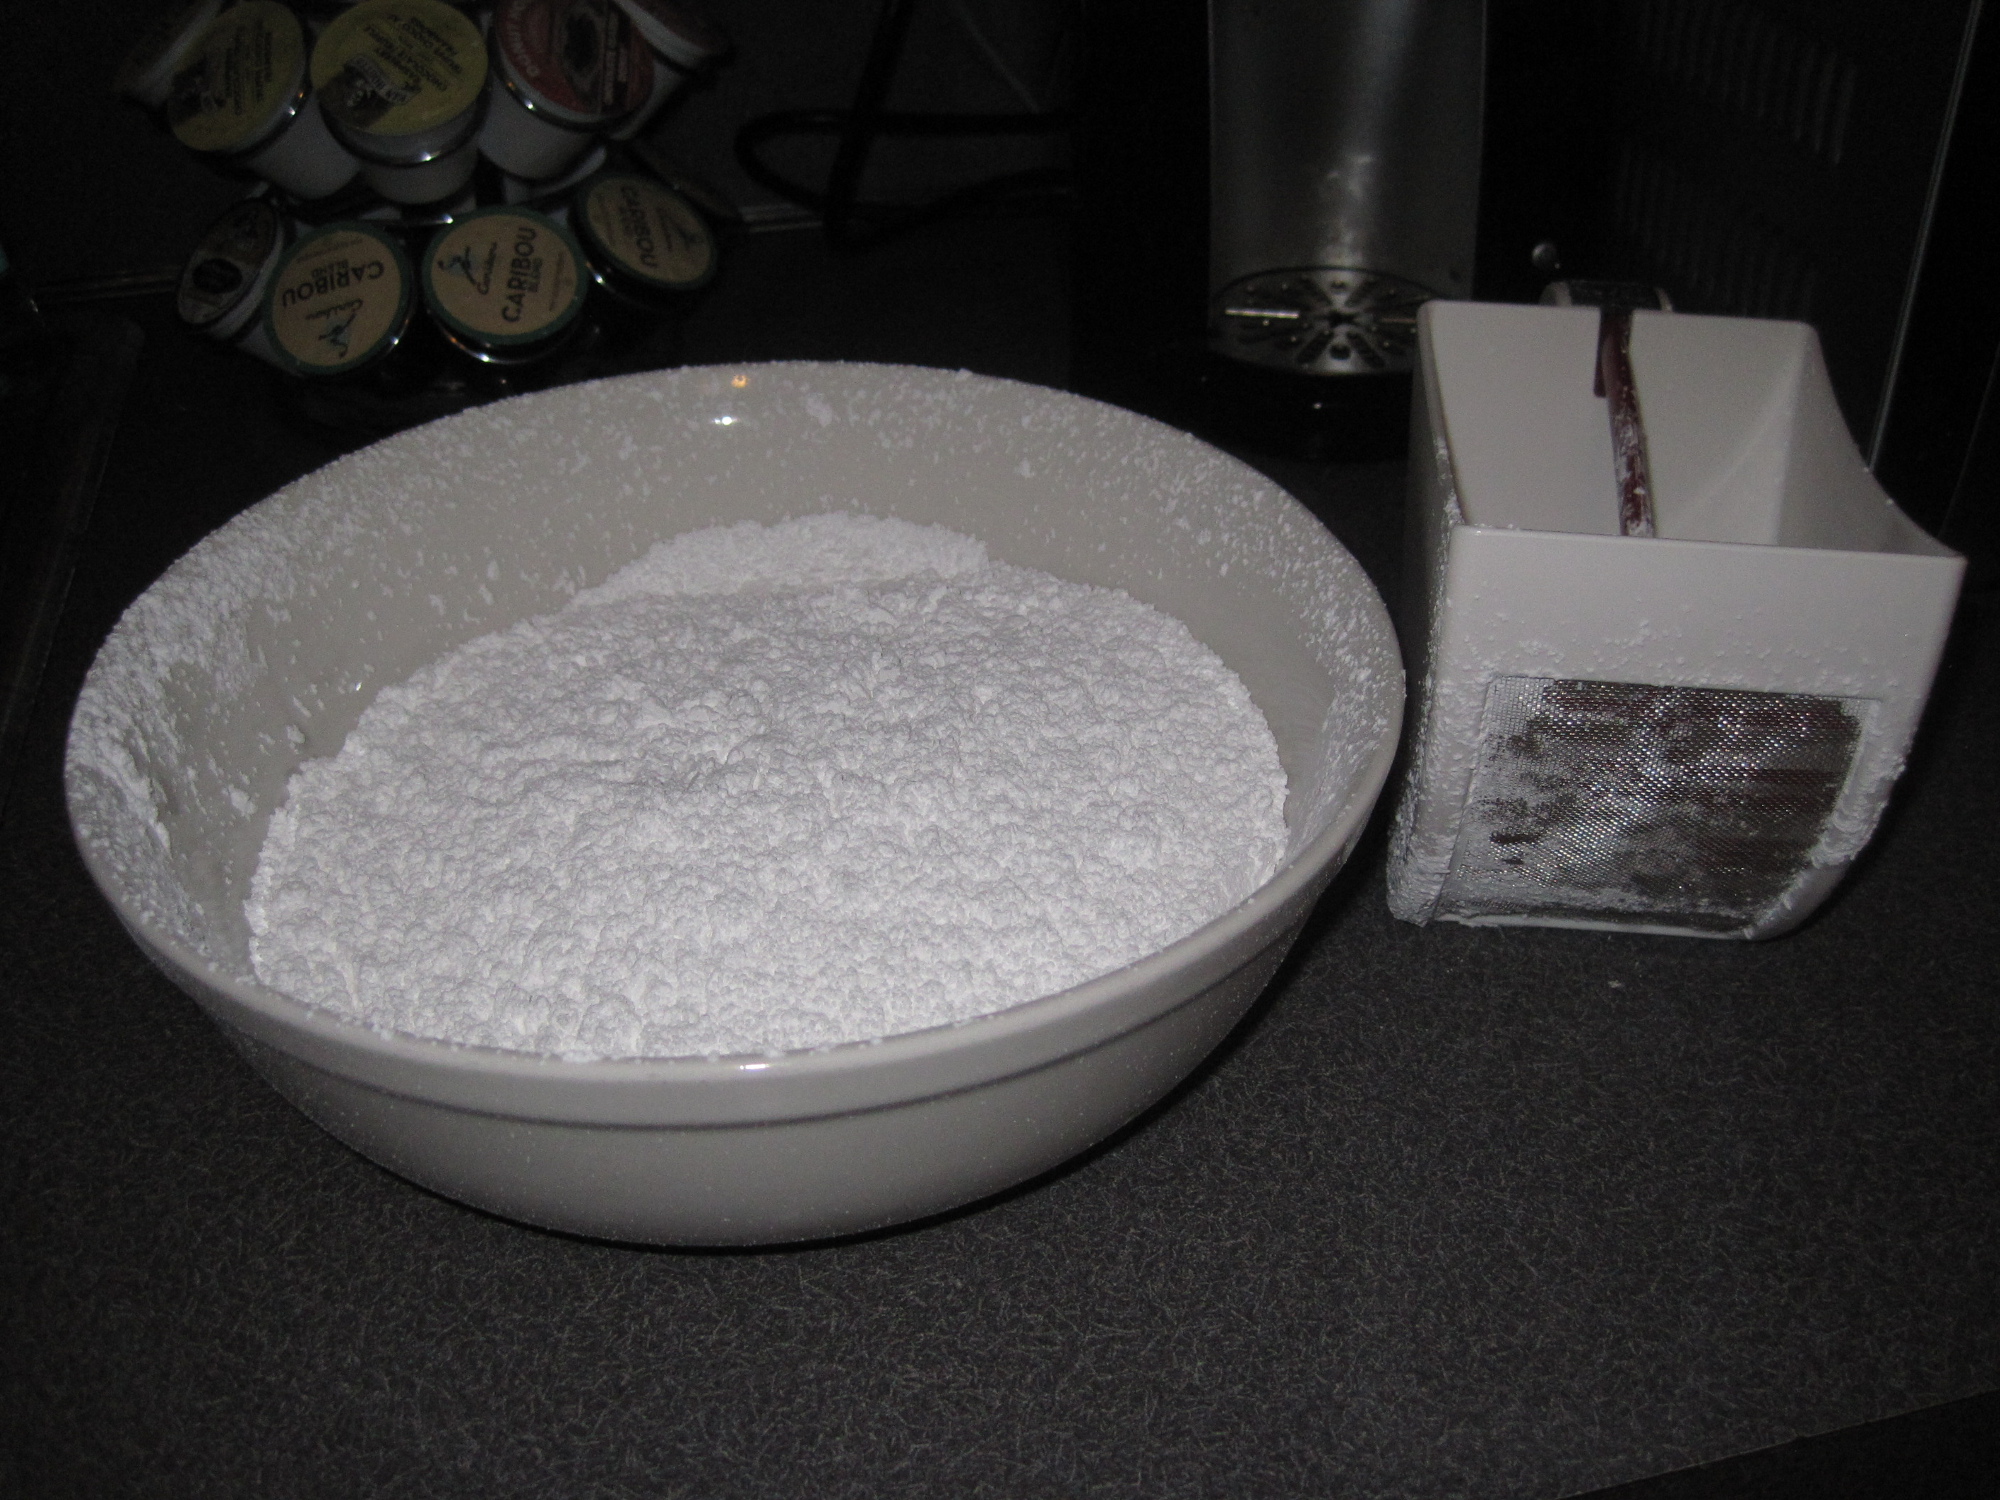
1. Sift the 4 cups of confectioner’s sugar into a bowl. It is really important that the sugar is sifted, so you don’t get large clumps in your fondant. I have the Cuisipro Scoop and Sift Flour Sifter and it’s great. It makes a little mess, so sift over a large bowl if you can.
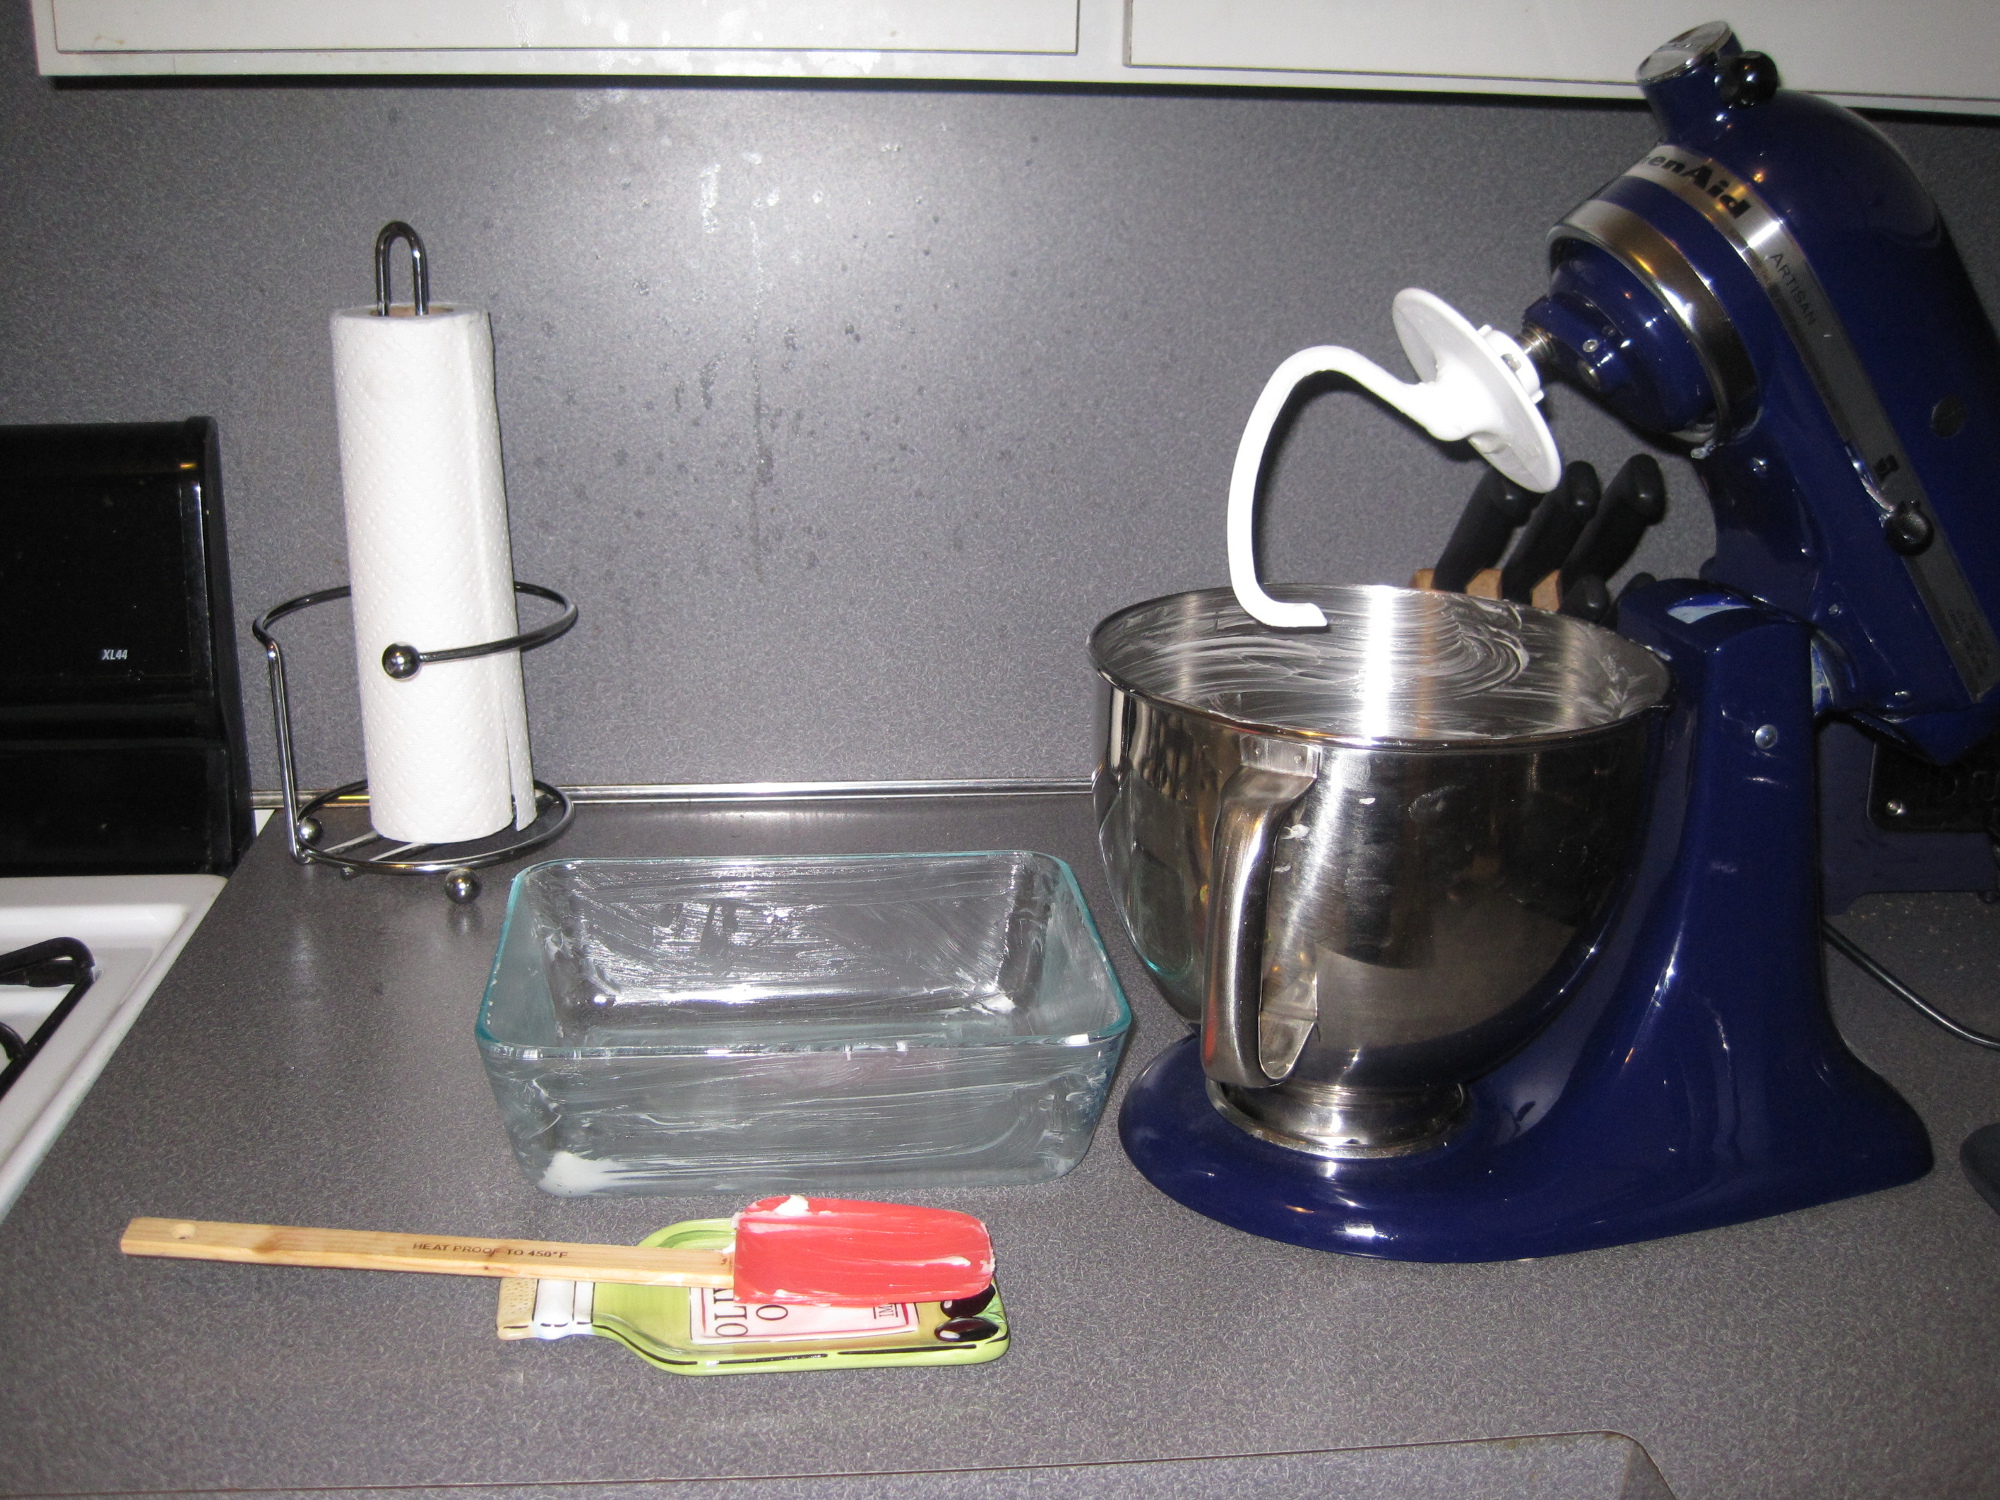
2. Grease EVERYTHING that will come in contact with the marshmallows: the bowl you use to microwave the marshmallows, the rubber spatula you use to stir, the Kitchenaid mixer bowl, and the Kitchenaid dough hook.
3. Put the marshmallows and water in a microwave bowl and microwave for 1 minute. Stir the marshmallows with the greased spatula and add any color or flavoring that you want. I added blue coloring and vanilla in this case.

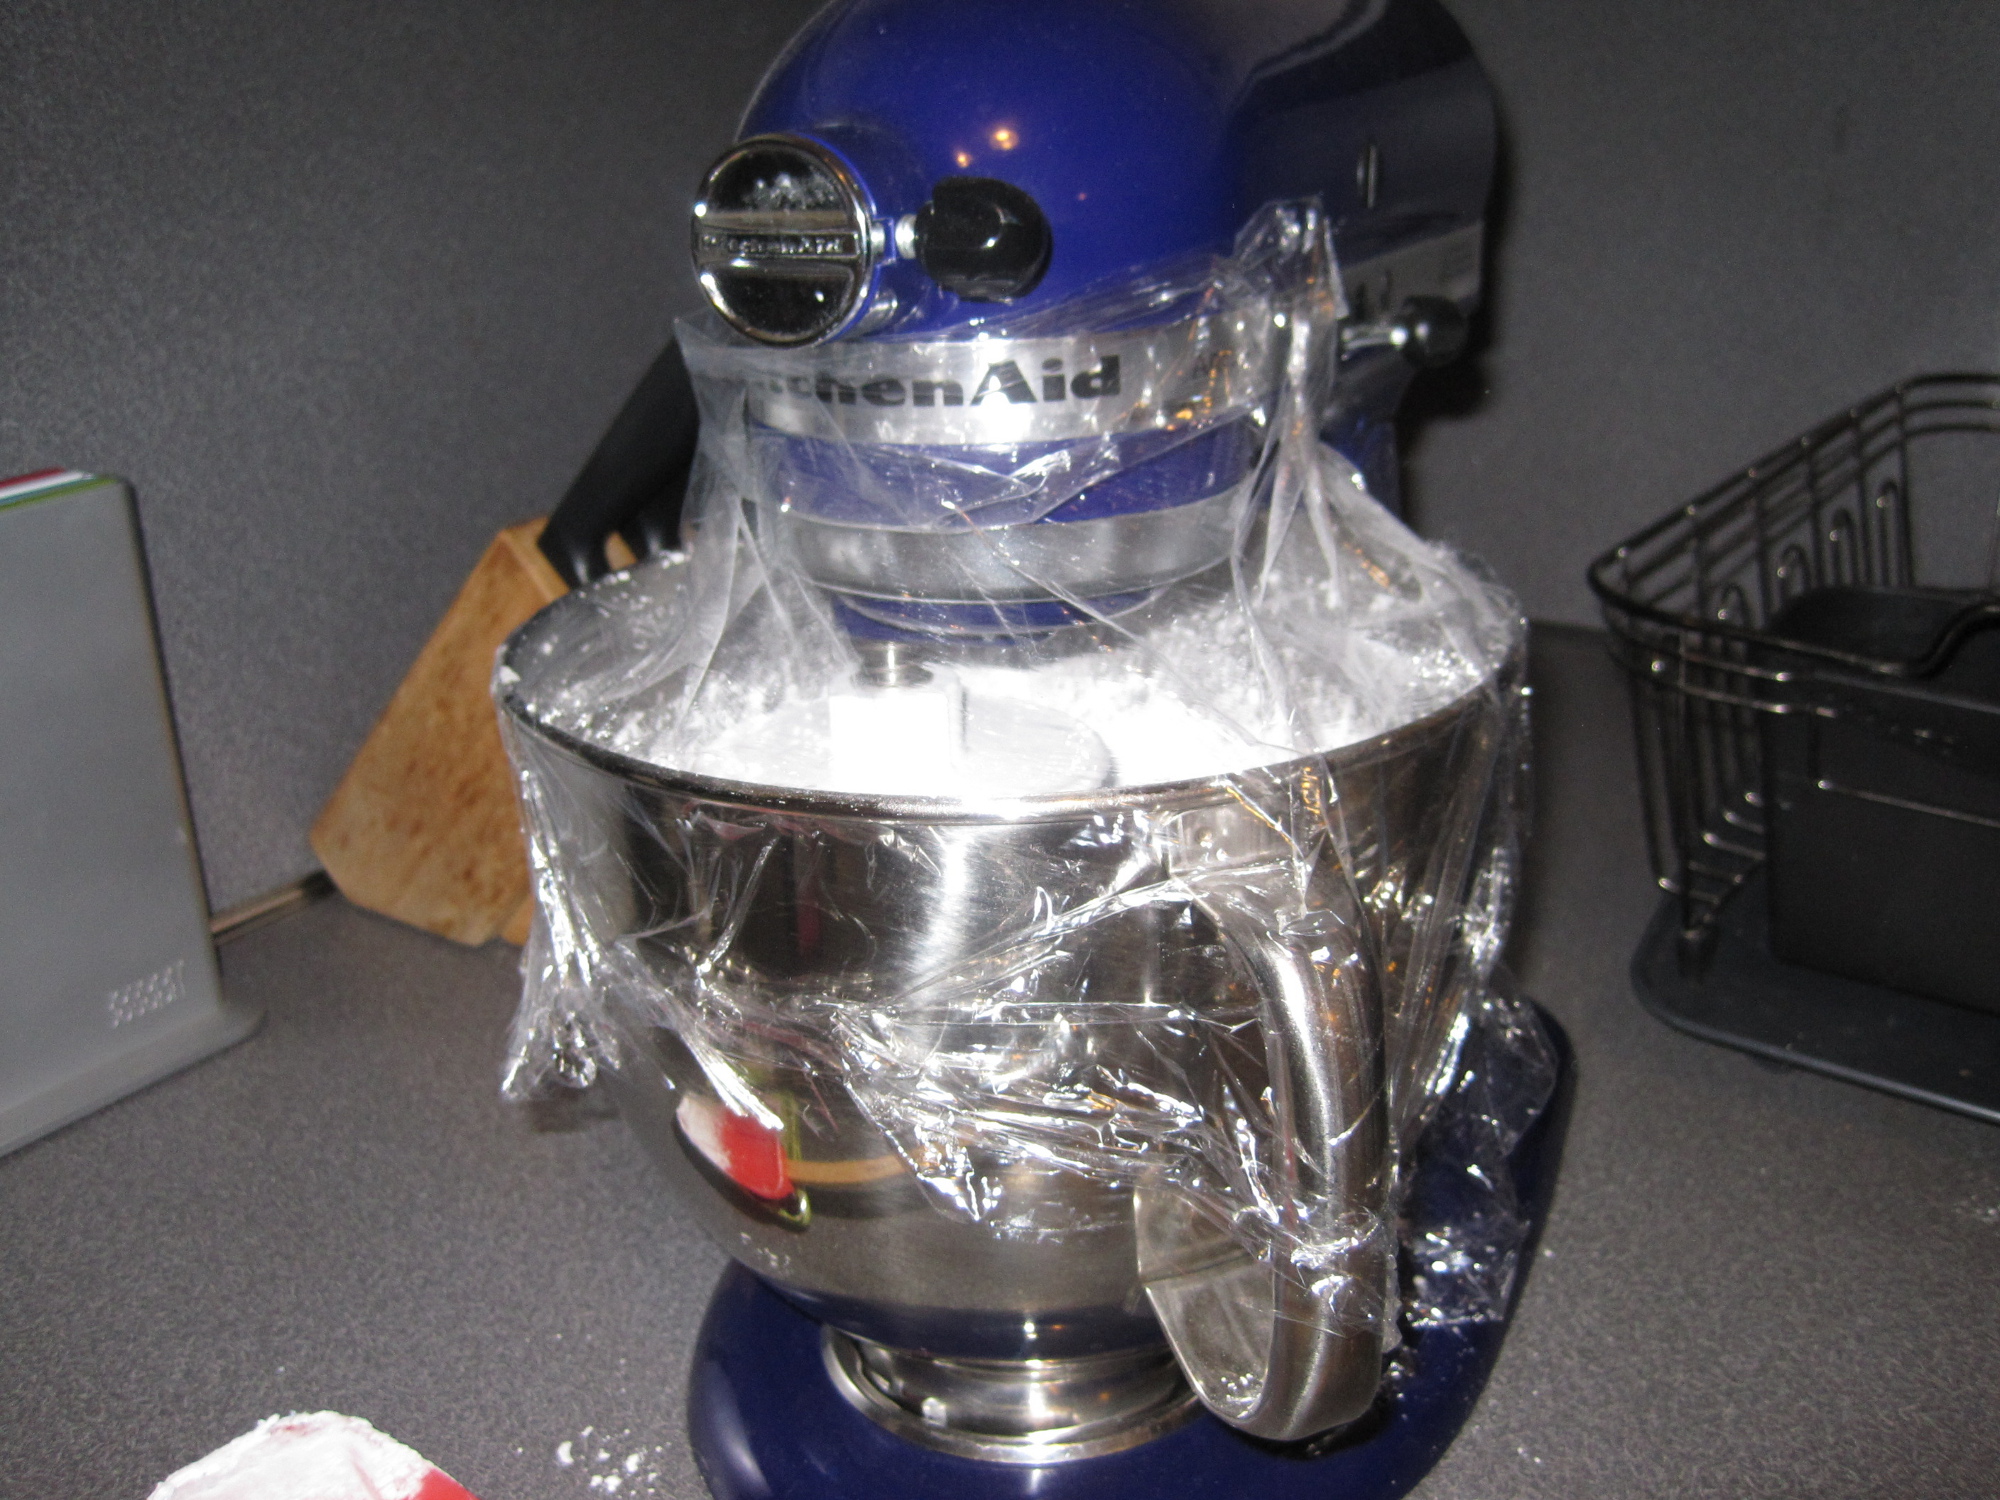
4. Add 3 cups of the sifted confectioners sugar into the mixer bowl. Add the marshmallows. Mix on medium speed until most of the sugar is incorporated. It should still be sticky. To prevent a huge mess on your counter, wrap the mixer and bowl in plastic wrap while it is mixing.
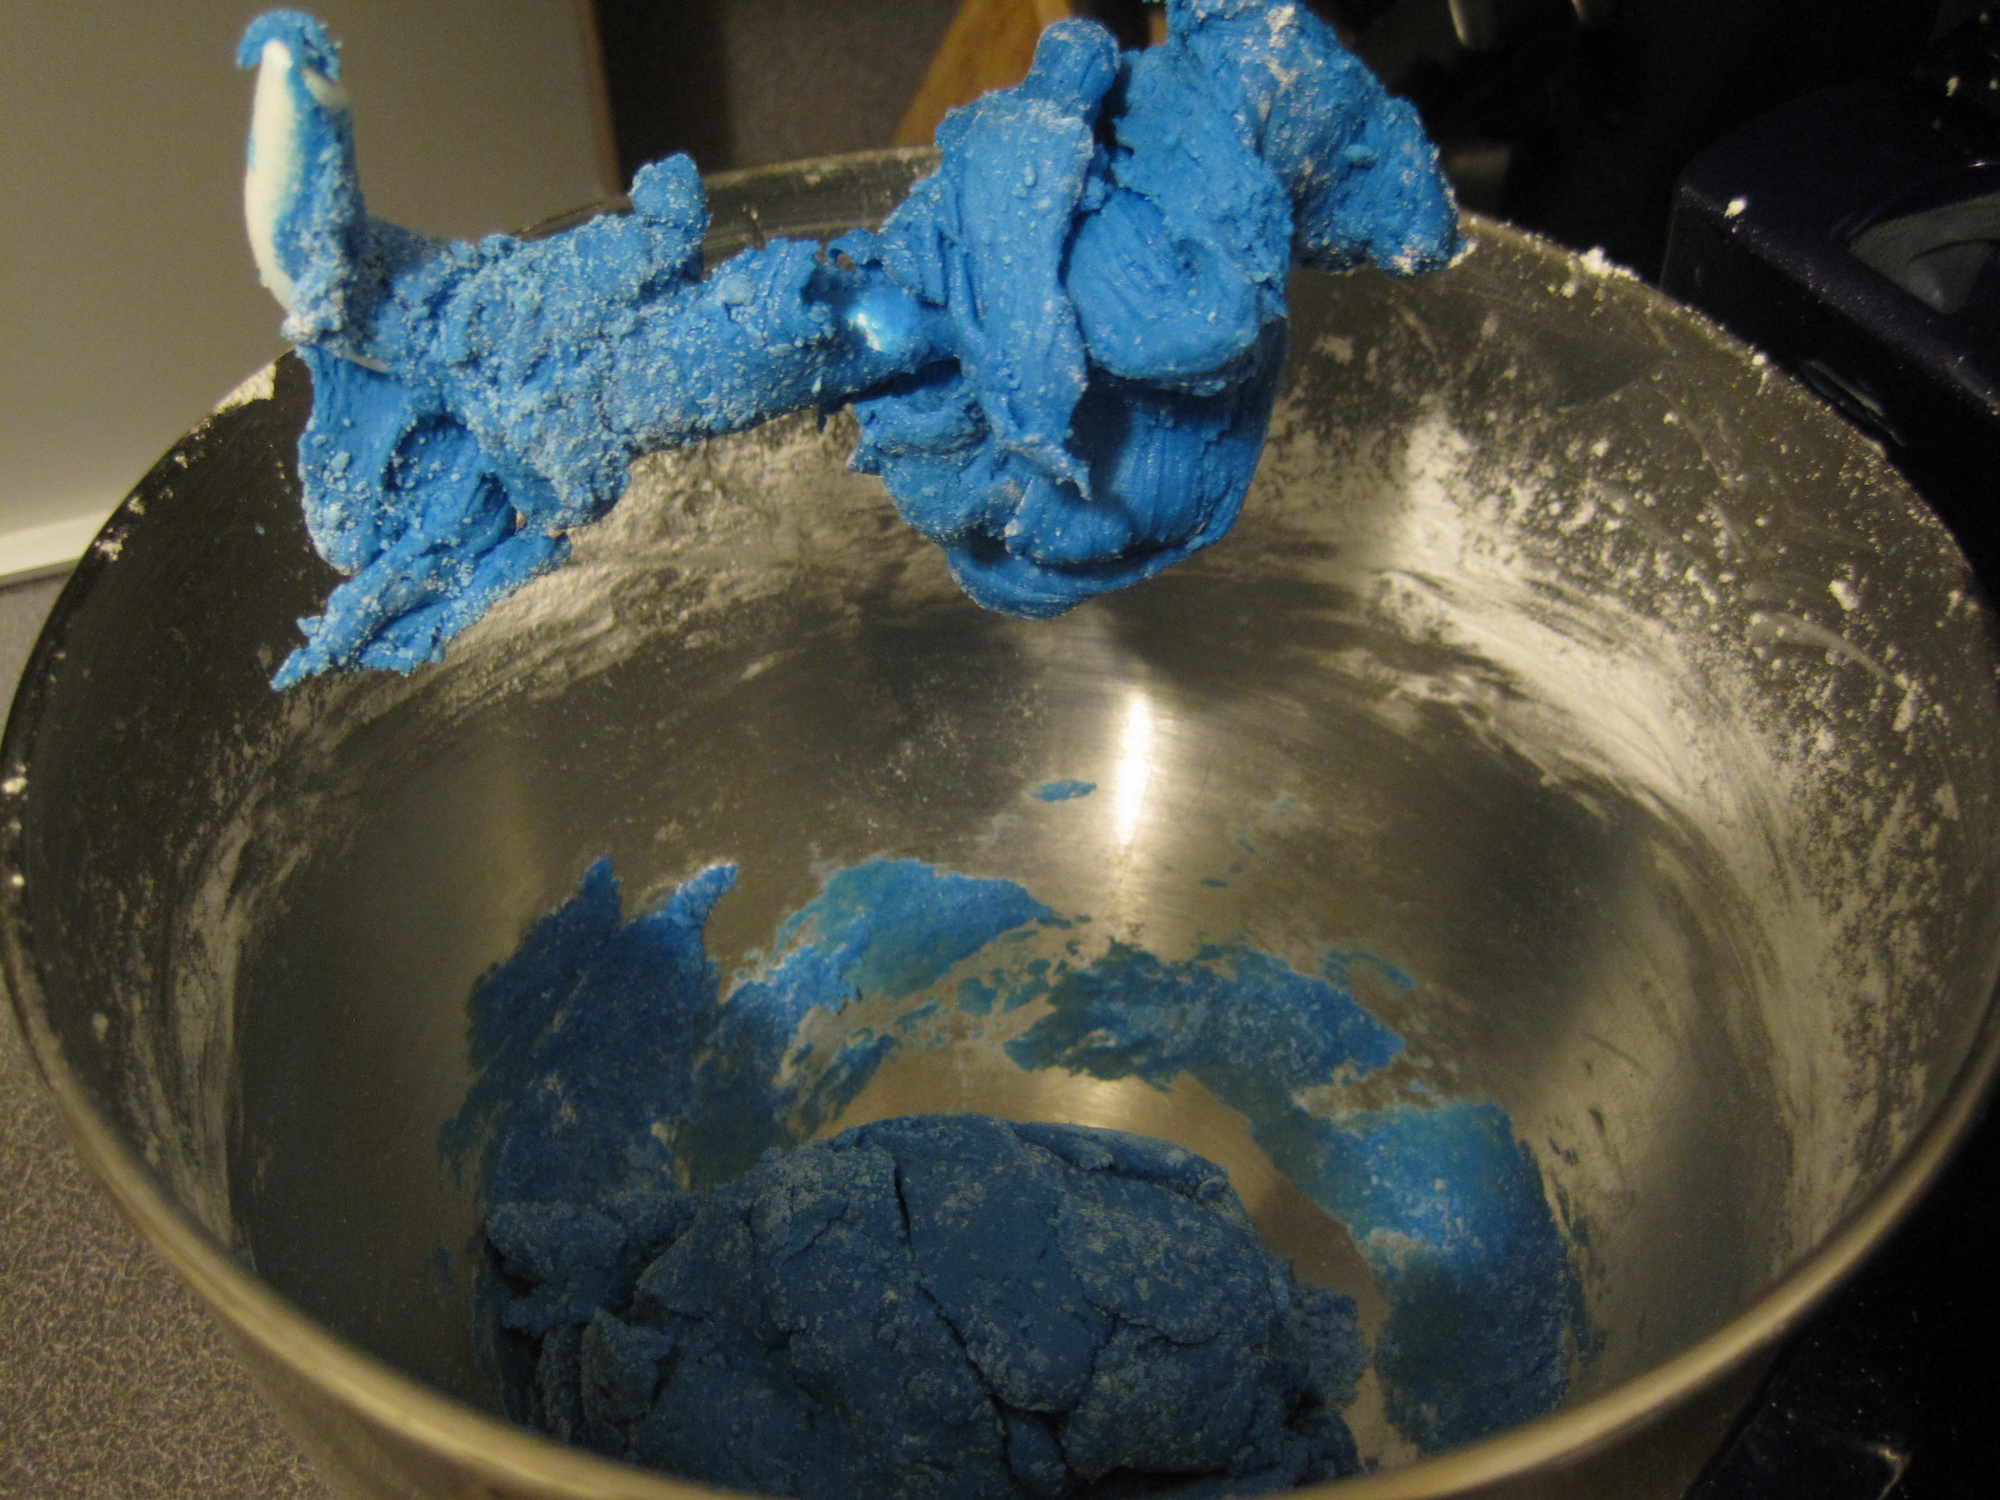
5. Add about 3/4 cup more confectioners sugar, and mix again, until this sugar is incorporated into the mixture. In the end, the fondant should be firm and not sticky. There will be a little bit of sugar that is not mixed in, and that is normal. It should look like this:
6. Grease your working surface and hands with Crisco and take the fondant out of the mixer. Kneed onto the surface until all the sugar is mixed in, and the fondant is firm and shiny. Wrap in plastic wrap and put in the fridge for a few hours.
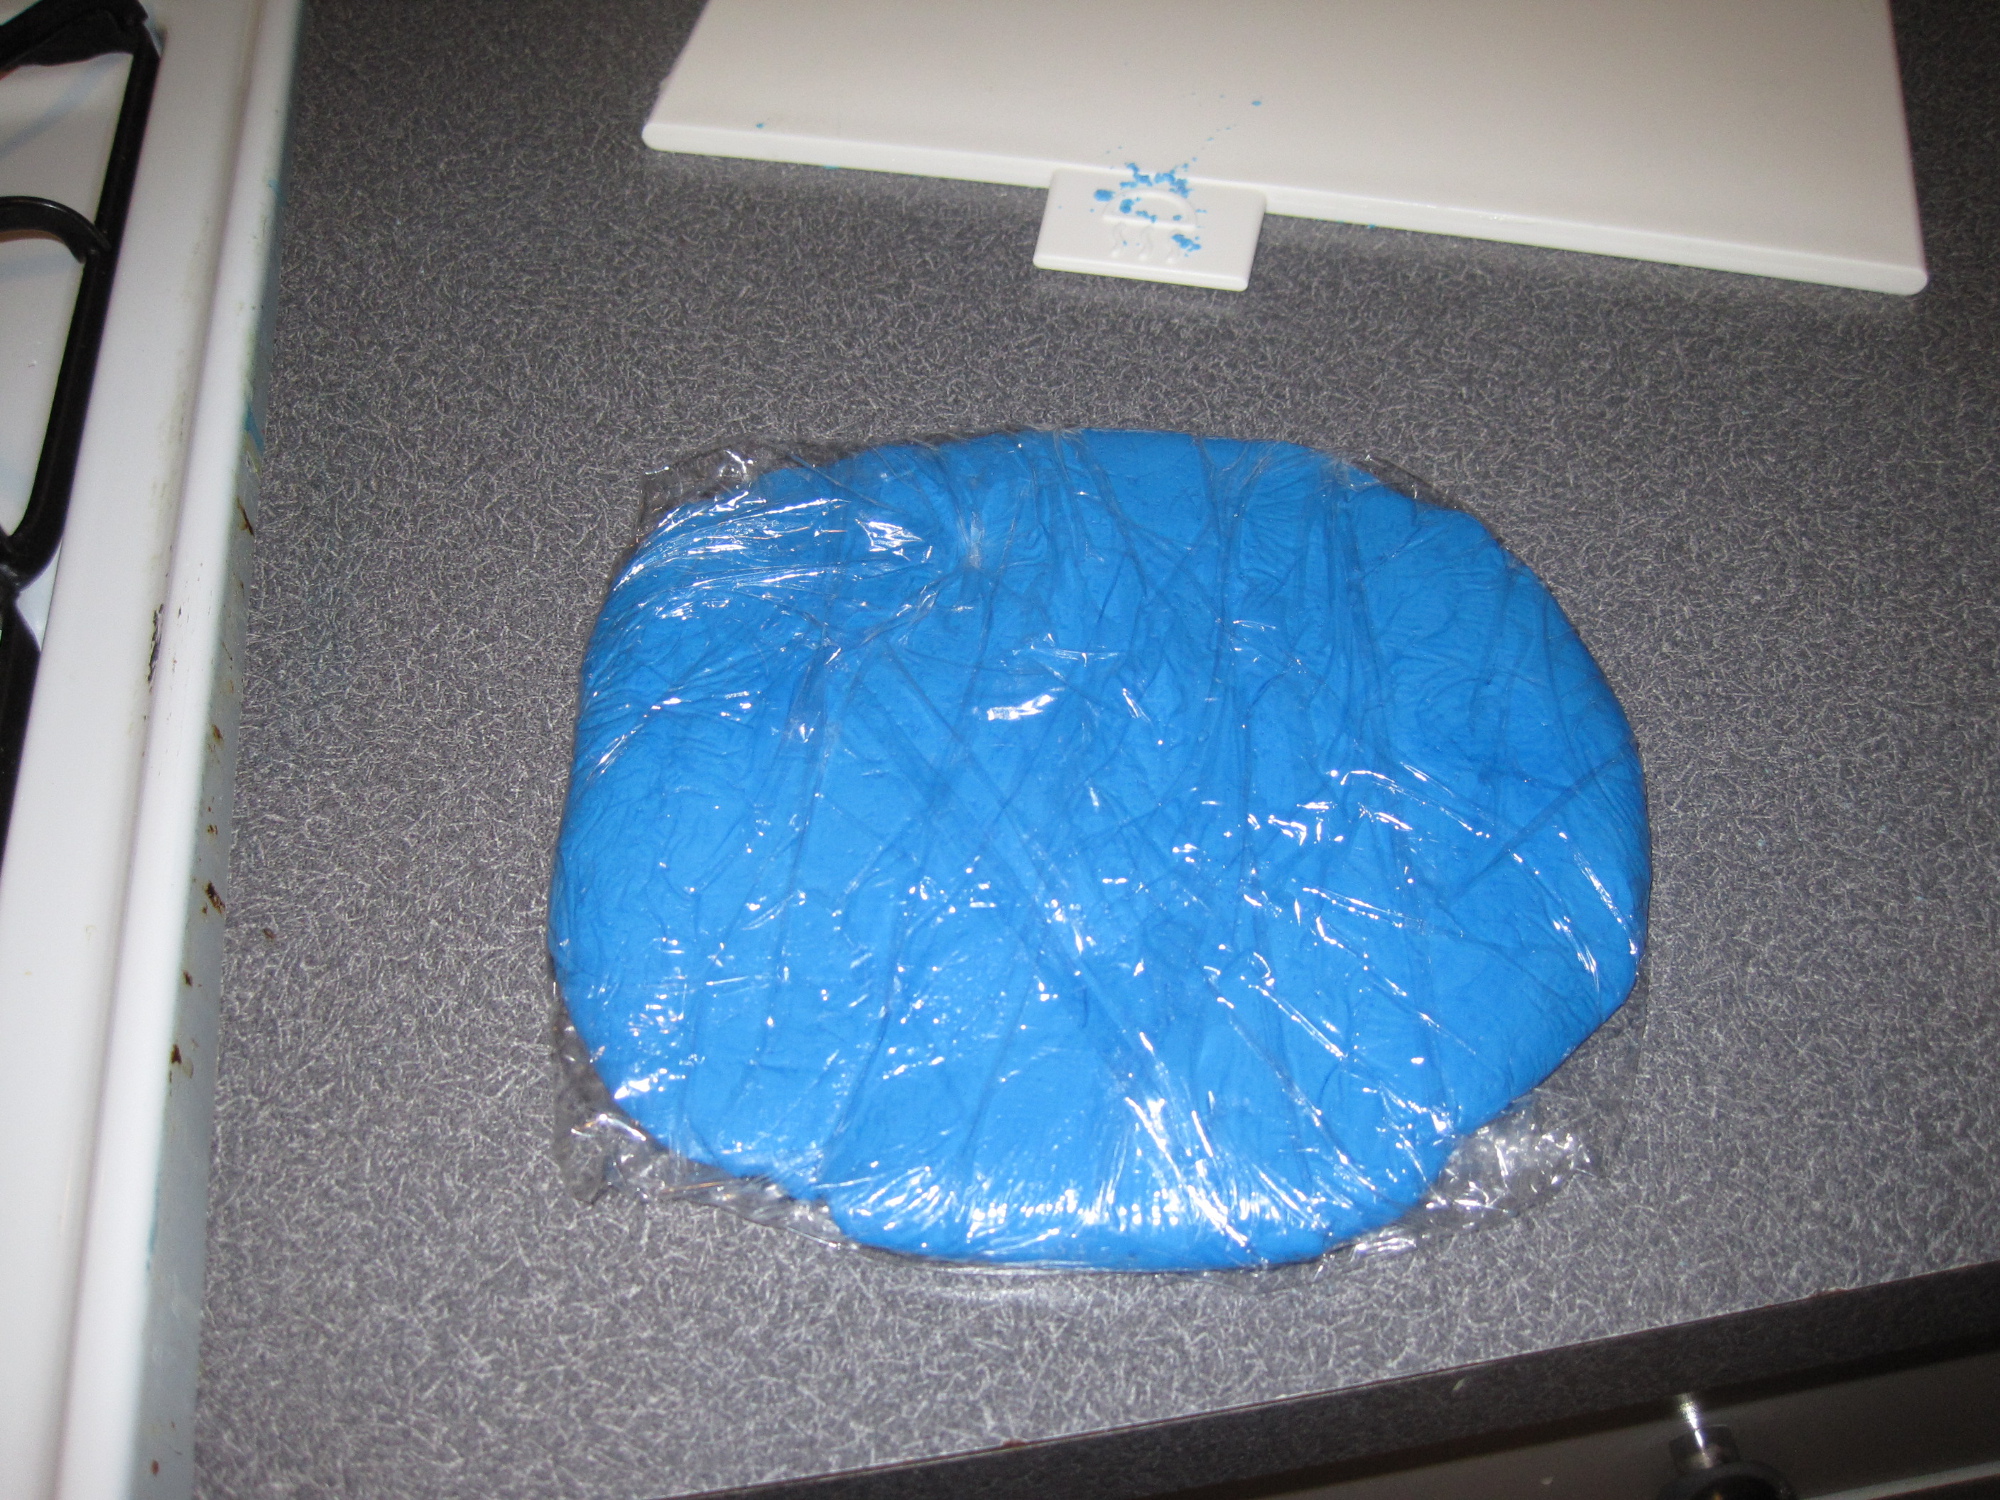
The remaining confectioners sugar will be used to cover the silicone mat you will use to roll out the fondant. I highly recommend getting a silicone mat and fondant rolling pin, as this makes it so much easier to get the fondant to your desired thickness. Remember to keep picking up the fondant after rolling it every so often so it does not stick to the mat.
