
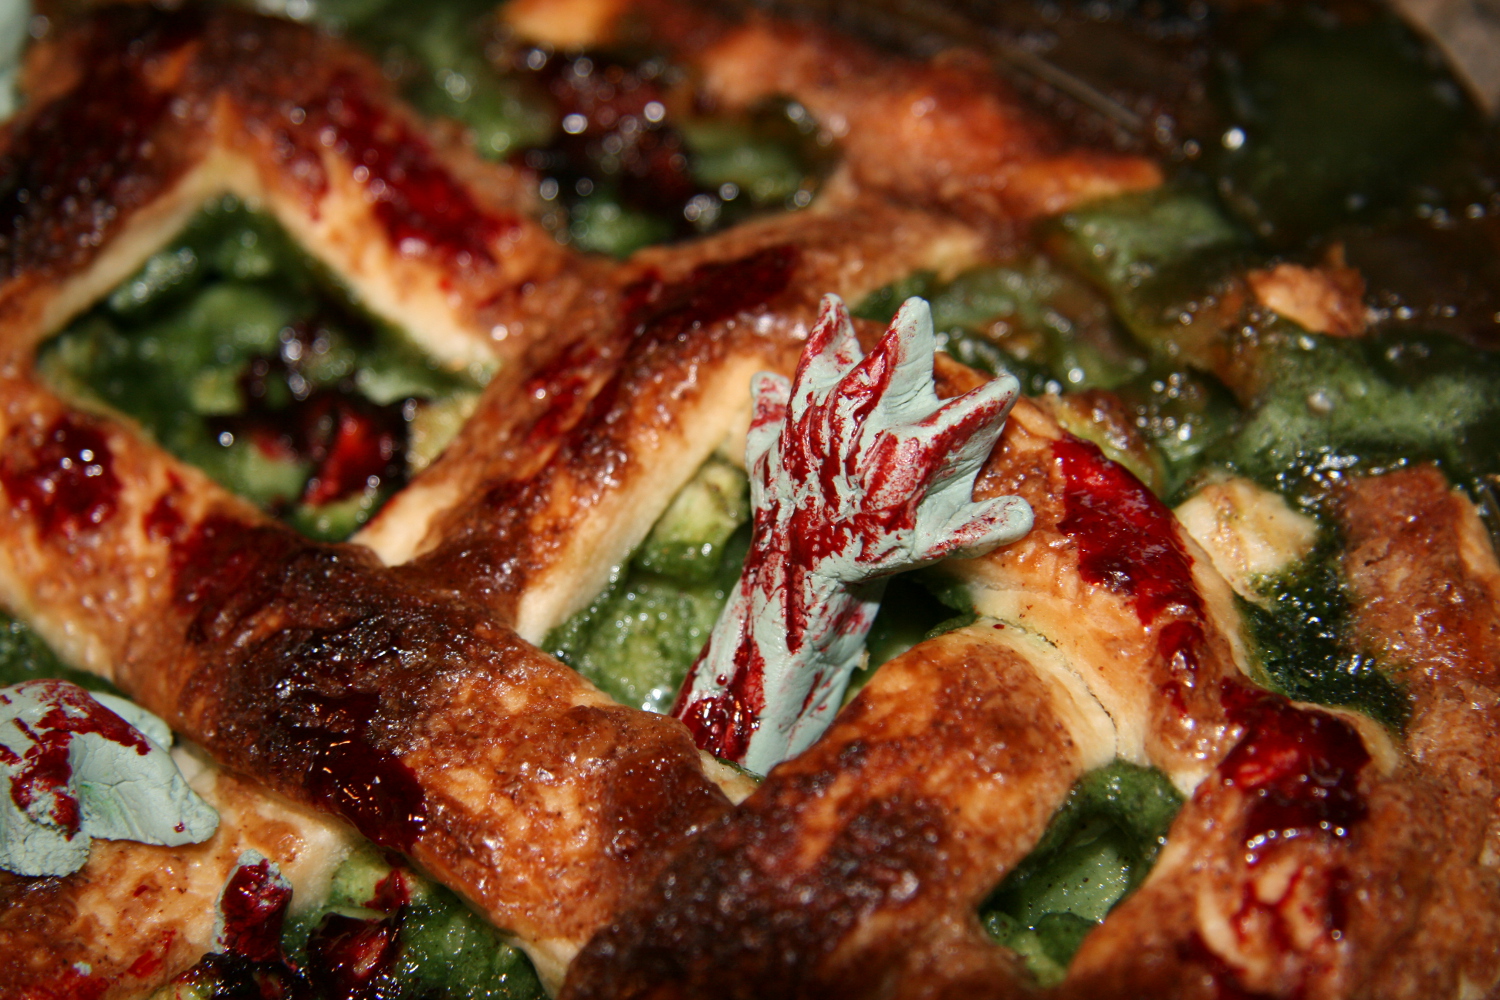
It is as it sounds…a pie with zombies in it!
 Now, why did I make a zombie pie? To celebrate Pi day! The reason why it has zombies crawling out of it is because I’m attending a game night tonight, and we’re playing Zombicide, a zombie board game. So I thought it would be appropriate to make a zombie-themed pie.
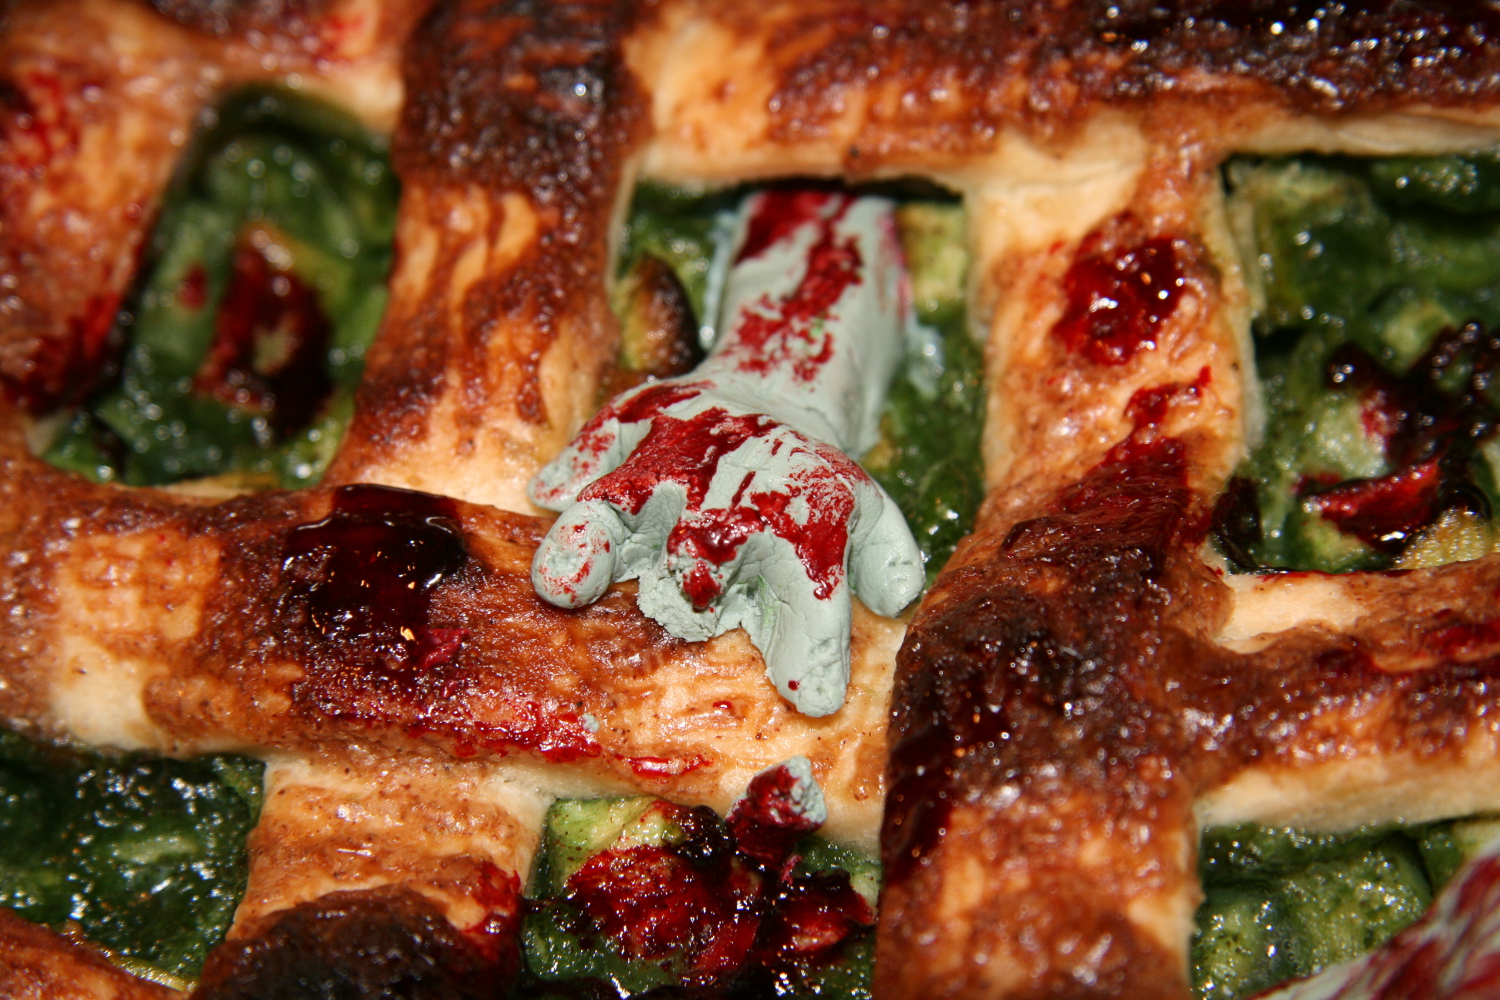
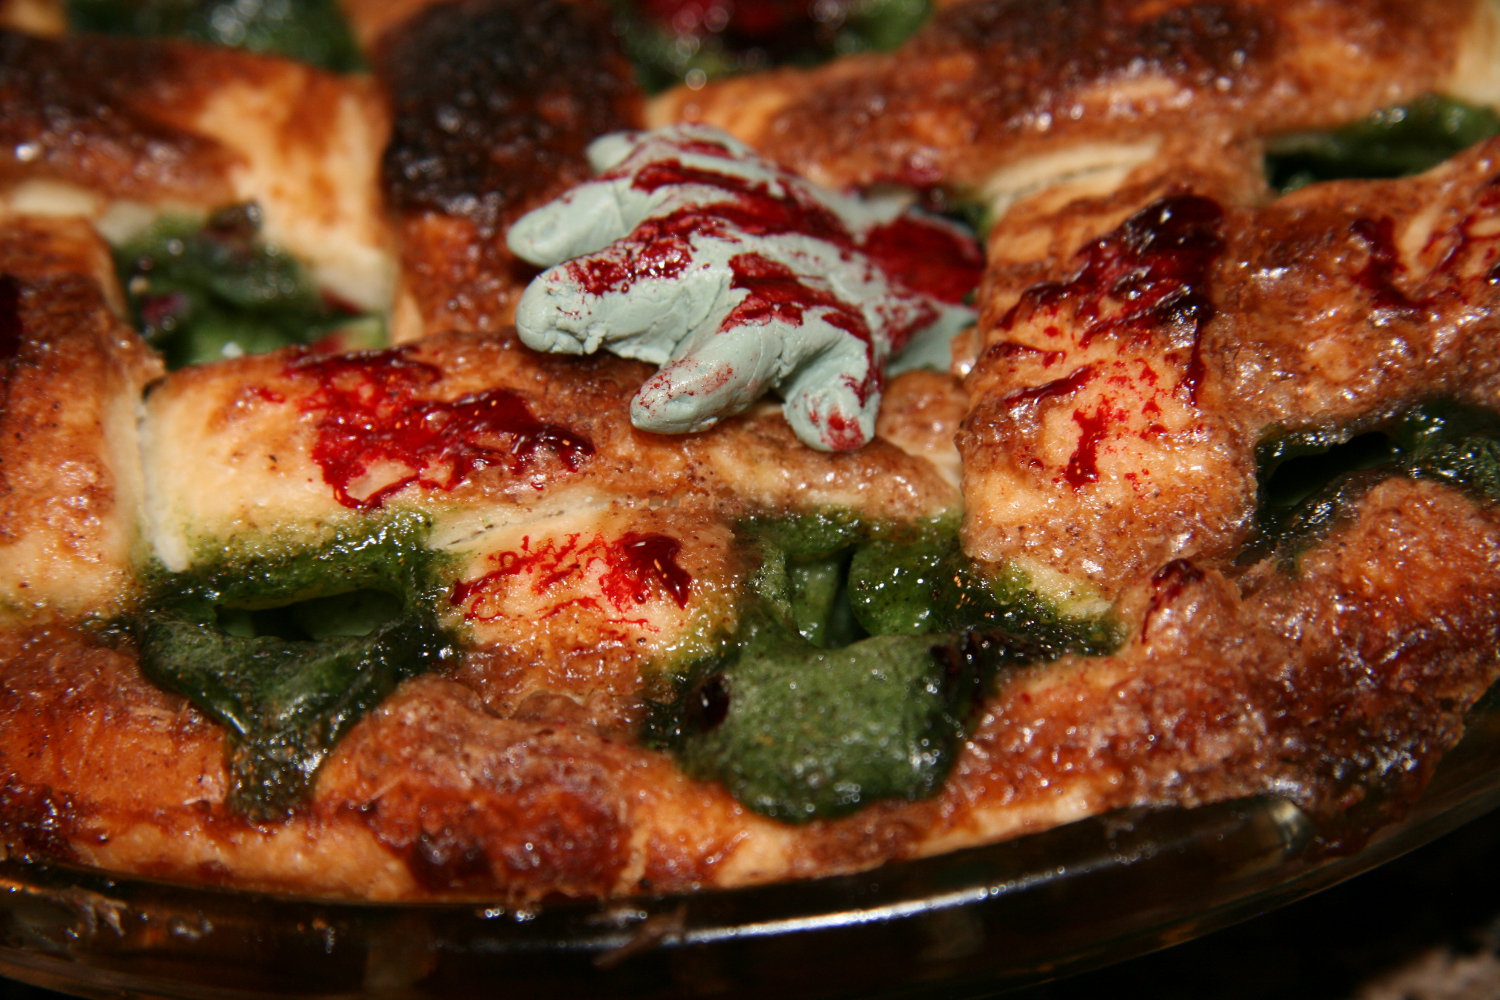
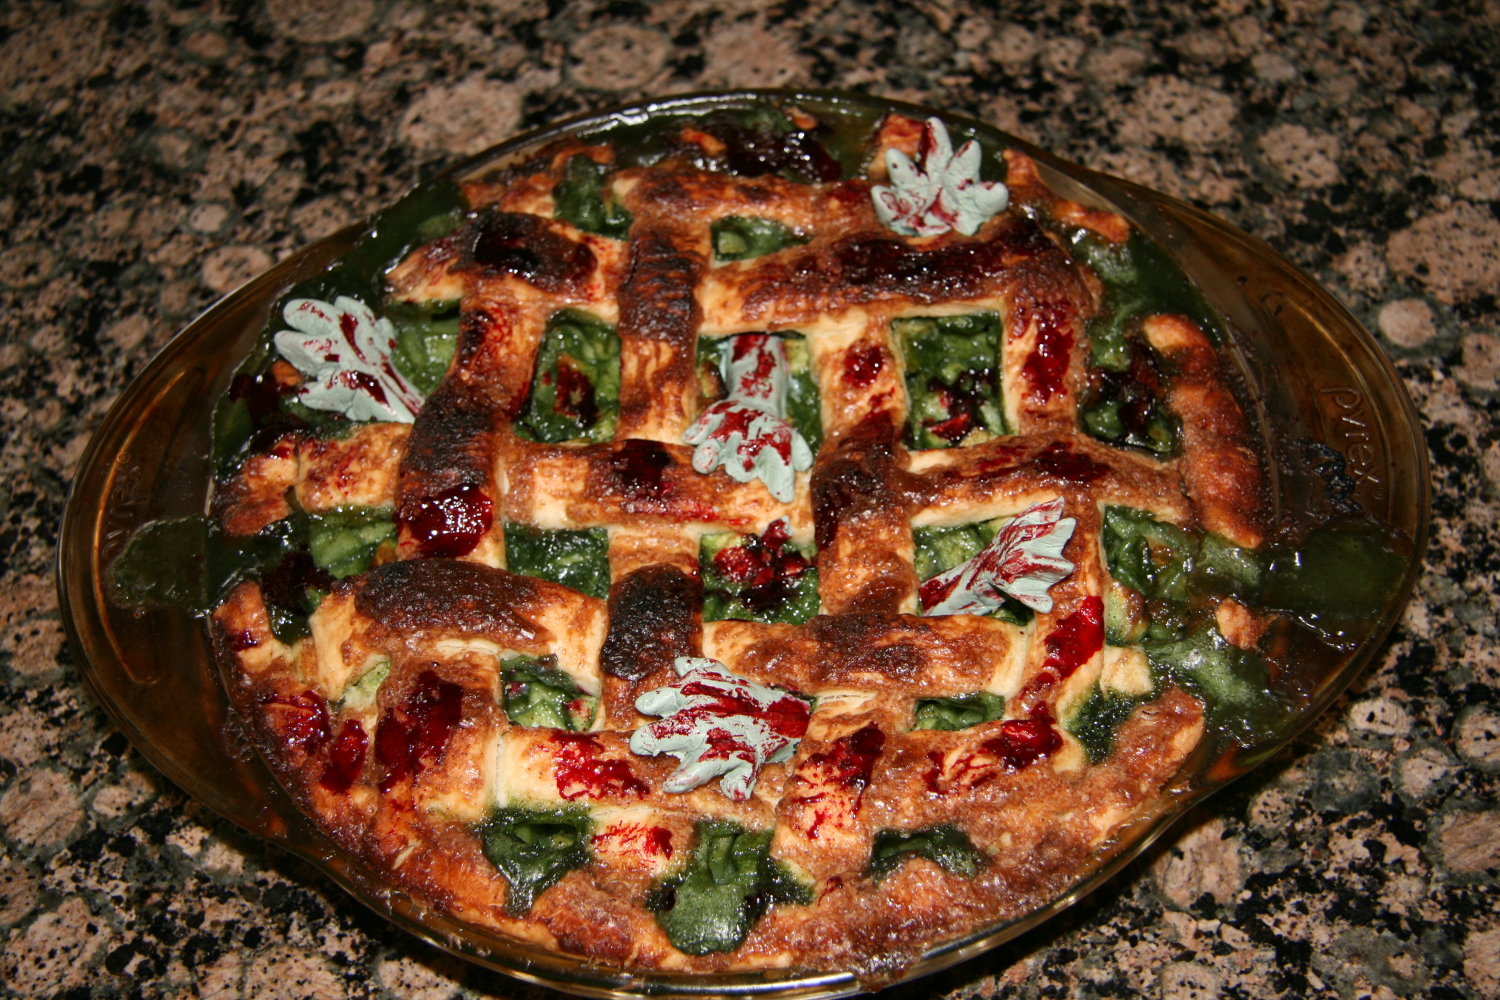
Really, it is just apple pie, with the filling dyed green, and modeling chocolate zombie hands reaching out. Oh yeah, and smeared with Wilton red gel color for blood. I had fun with that part 🙂
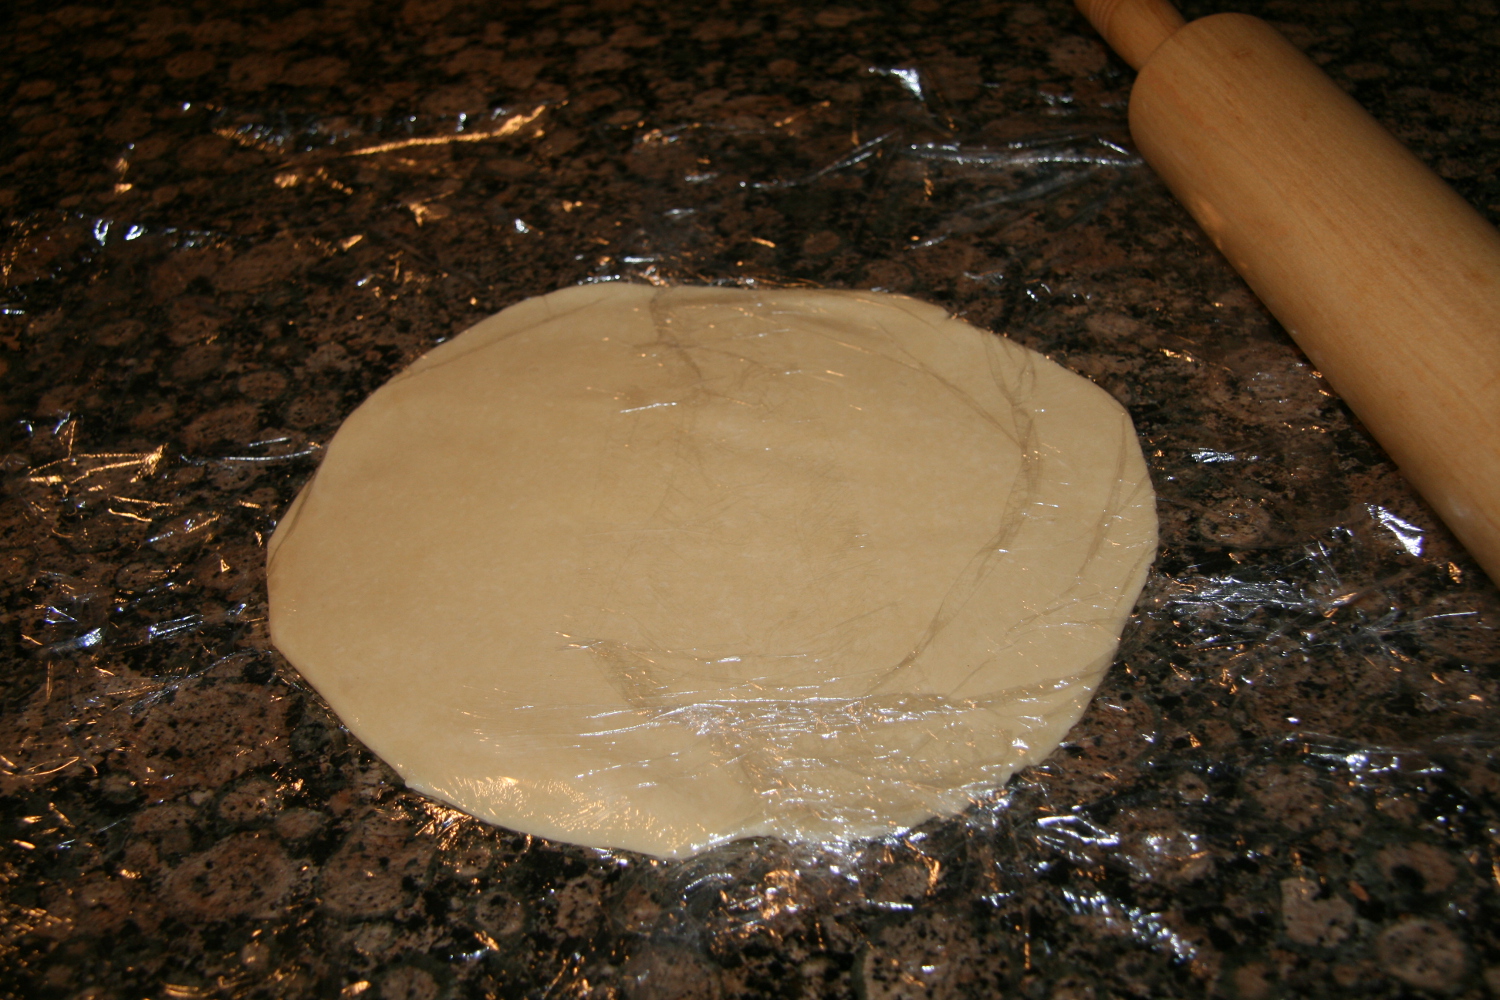
I found a recipe for apple pie on Pinterest, that claimed to be the Best Apple Pie EVER. I haven’t tasted it yet, but it certainly looks and smells like the best ever. It’s from a blog called Audrey’s Apron. She also gave the greatest tip ever for rolling out pie dough: roll it between 2 sheets of plastic wrap to prevent sticking. Genius! Worked like a charm.
 The other notable thing about her recipe is that you reserve 1/3 of the liquid pie filling and brush it on top of the lattice crust before baking.
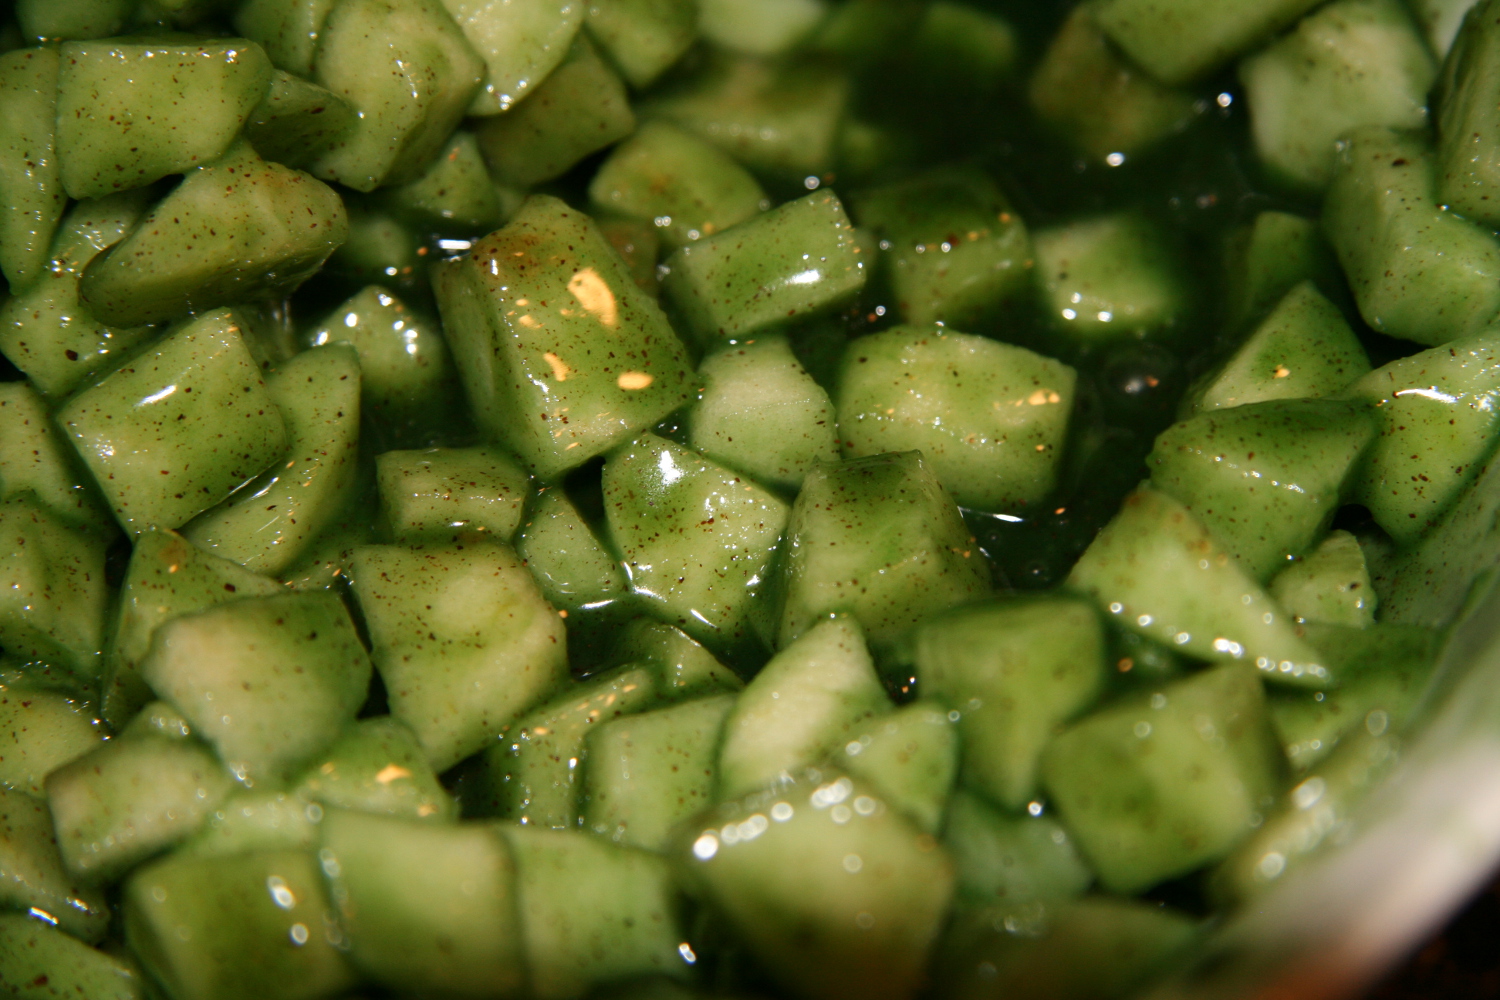
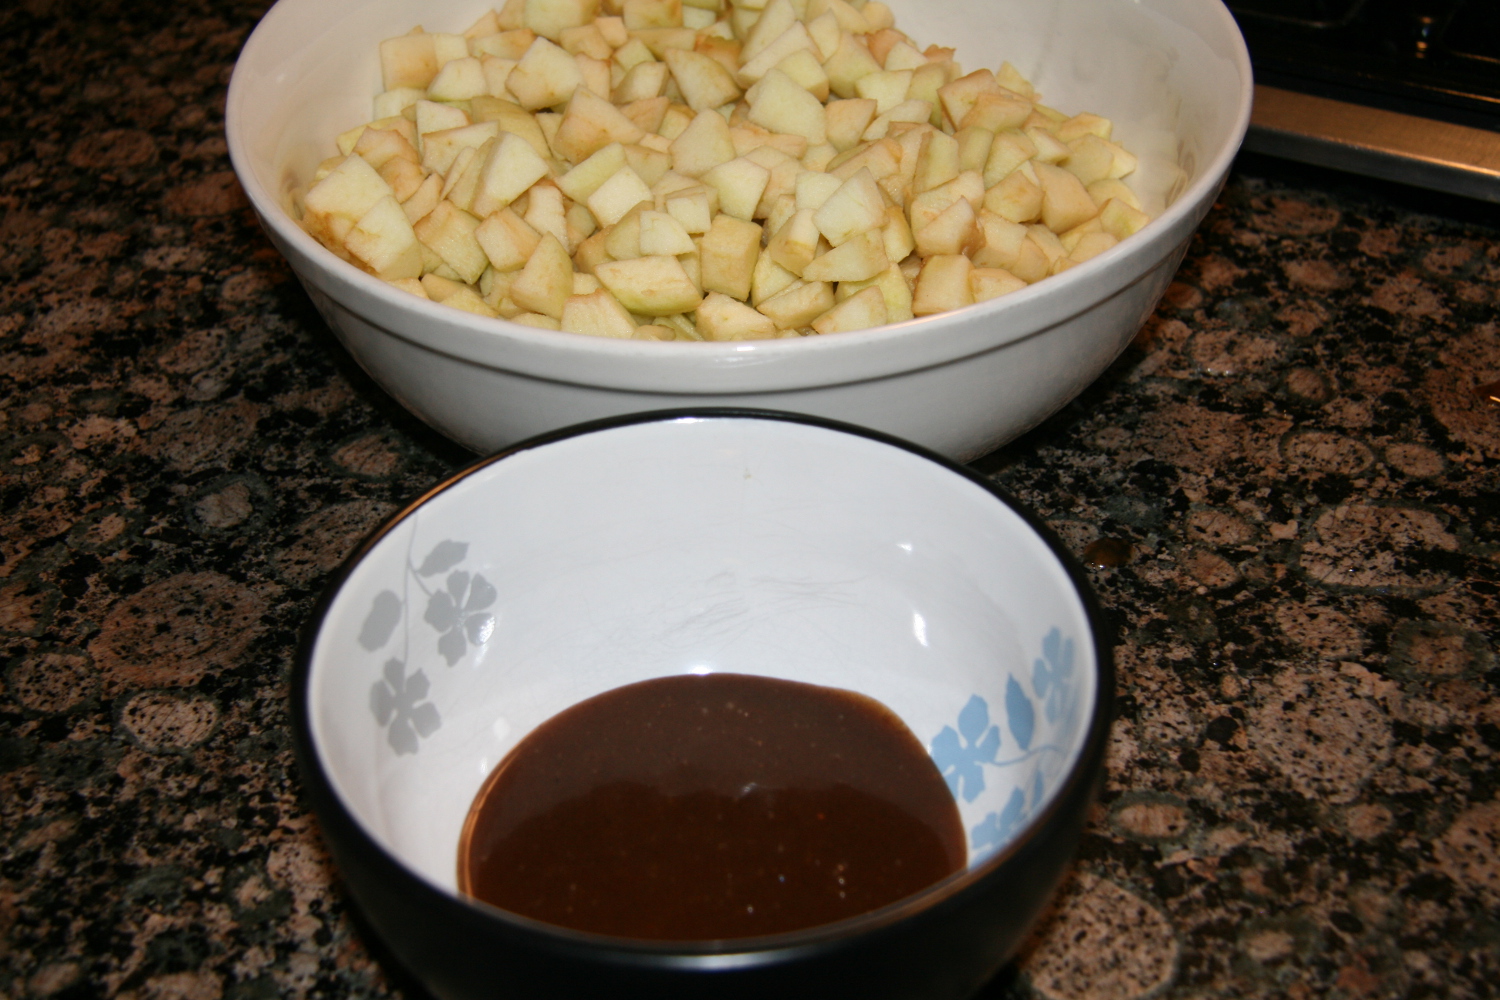 Since I didn’t want the WHOLE pie to be green, I took this part out before adding green food coloring to the remaining 2/3 of the filling and tossing it with the apples.
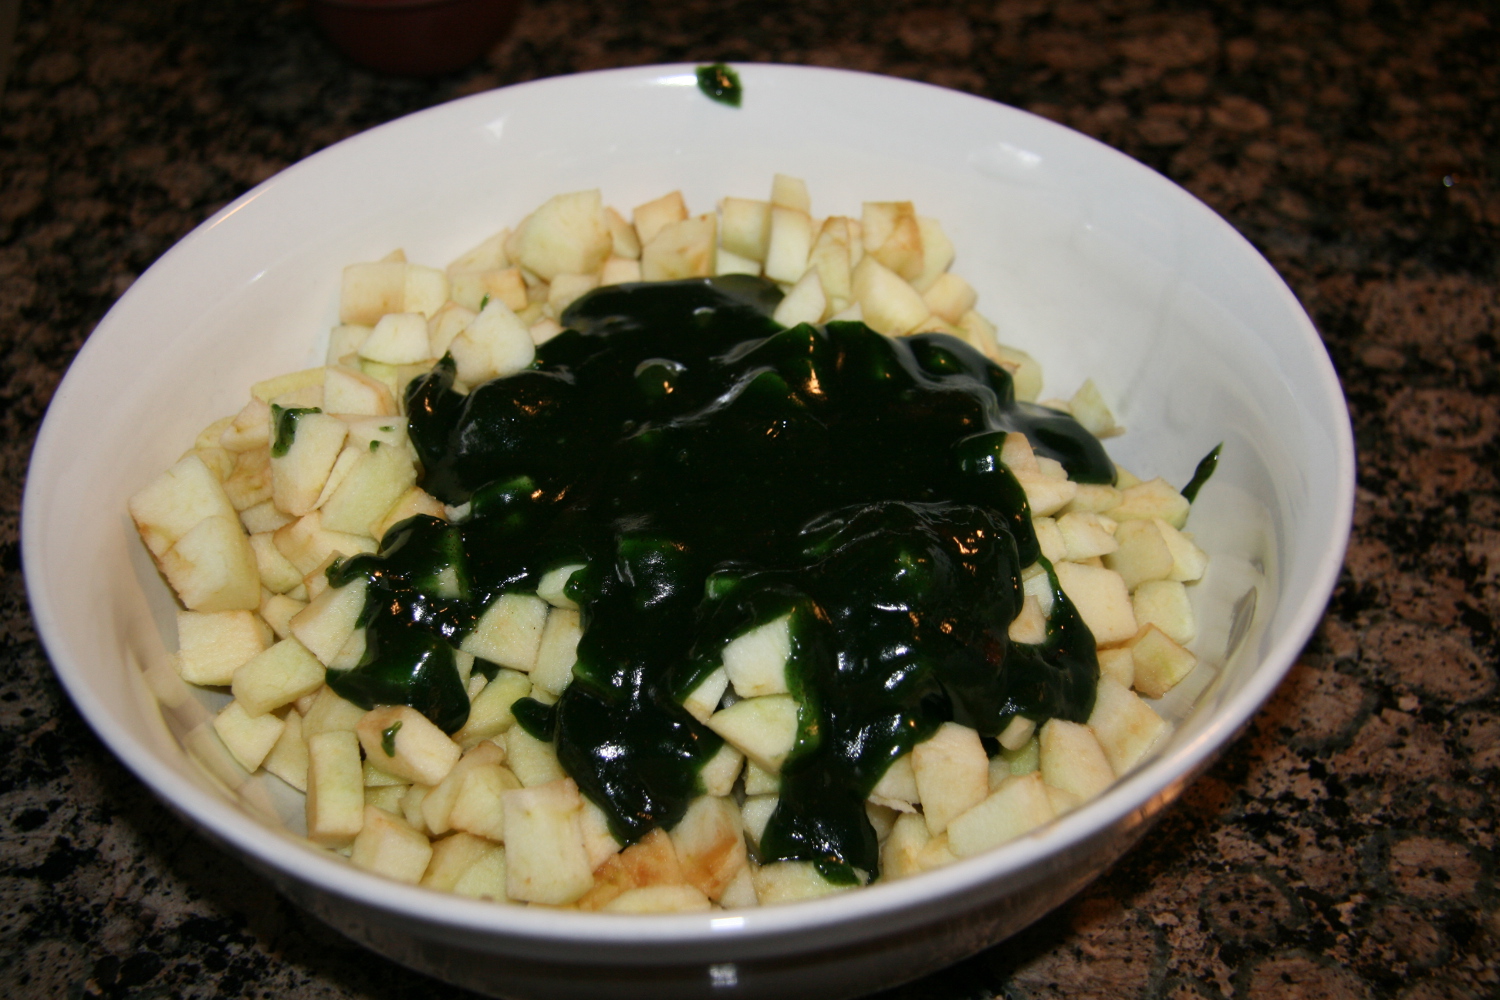 Gross, huh? That’s the point…
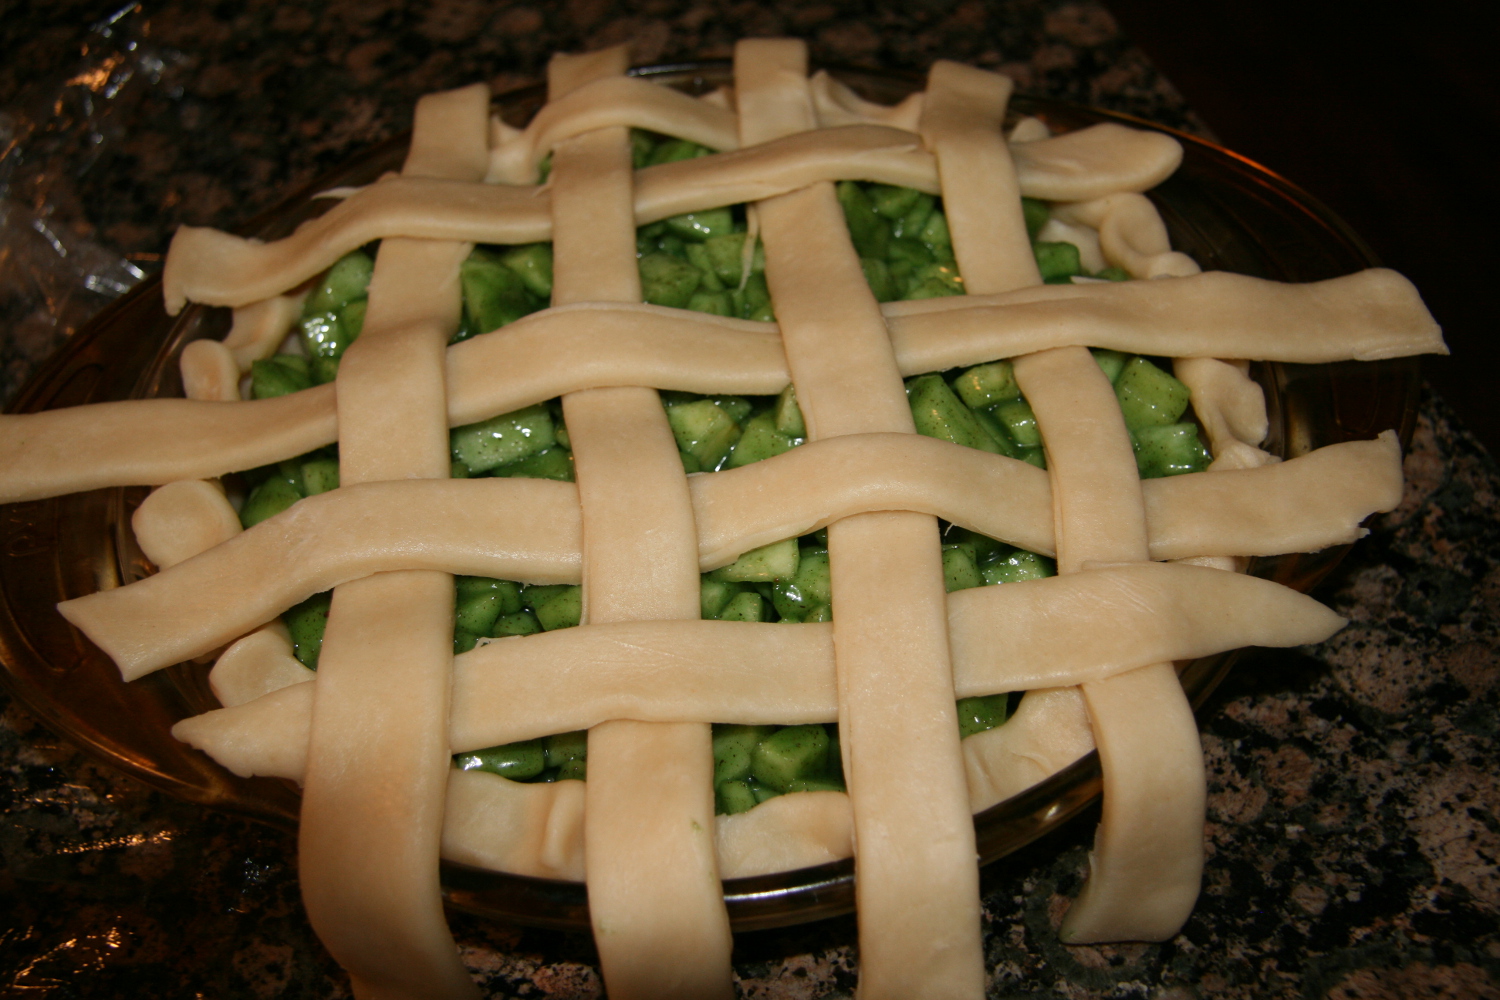
After filling the pie (overflowing so it would ooze out), I made a loose lattice with more dough. I wanted enough space so that I could easily stick zombie hands in between. I found great tutorial on how to do the lattice top here.
Trim the excess dough and tuck under the crust and you are all set to bake. Then I made the hands out of modeling chocolate, smeared them with blood, and stuck them in the pie, imagining they were trapped underneath and trying to get out. For the color of the hands, I used black and leaf green gel mixed with white modeling chocolate. Add a little at a time because a little goes a long way!
One final awesome thing I learned from Audrey’s Apron was about the beauty of pie crust shields. I always wondered why my crust would burn or get splashed with pie filling and how I could prevent that. You can make a shield out of foil, or you can buy a silicone one that is reusable. I think I’ll invest in one.
- For the dough (1 batch):
- 1 3/4 cups of flour
- 1 tsp sugar
- 1 1/2 sticks (12 TBSP) butter, cut into pieces
- 1/4 cup ice water
- For the filling:
- 7 or 8 small granny smith apples
- 1 stick of butter
- 3 TBSP flour
- 1/2 cup white sugar
- 1/2 cup brown sugar
- 1 tsp cinnamon (heaped)
- 1/4 tsp nutmeg
- 1 tsp vanilla
- (Can be done in a food processor, but I used my Kitchenaid mixer, so I will give instructions for that)
- Mix together the flour and sugar
- Add the butter a little at a time and mix until you have course crumbs
- Add the water slowly until the dough balls together. It will be pretty soft.
- Wrap in plastic wrap and refrigerate for at least 30 minutes, but can be left in the fridge overnight.
- Peel, core, and chop the granny smith apples and place aside in a large bowl.
- Melt the butter in a saucepan over medium heat. When completely melted, add the flour and mix until it thickens.
- Add the water, sugars, cinnamon, nutmeg, and vanilla.
- Let the mixture boil for one minute, and then turn down the heat and simmer for one minute.
- Reserve 1/3 of the mixture for the crust. Toss the remaining 2/3 with the apples.
- Spray a pie dish with Pam cooking spray. Roll out the bottom crust and place in the pie dish.
- Pour the apple mixture inside the crust and make sure the apples are level.
- Roll out the second crust and cut into strips (I did about an inch thick) with a pizza cutter or scissors.
- Place the trips on top of the pie in a lattice design and trim the excess dough.
- Tuck the down into the bottom crust and crimp around to make sure it is secure.
- Brush the top of the pie with the butter mixture you set aside, using a pastry brush.
- Cover the edges of the pie with a pie guard or foil. Bake at 350 degrees for 1 hour. Remove the foil and bake at 425 degrees another 10-15 minutes.
