

Each year, our family has a summer BBQ with a theme. This year, it was a hippie-themed party, with 60’s music and lots of tie dye. I tie dyed shirts for everyone (31 shirts to be exact!) and made these tie dye cupcakes. Lots of people have made these before me, but it was my first time making them. They are so much fun, and like real tie dye, it is very hard to mess up. You just have to make sure that the colors don’t get too mixed and muddled.
While not an interesting flavor combination, I found that using vanilla cupcakes with traditional buttercream frosting makes for the best looking cupcakes. The lighter the batter and frosting, the brighter the colors come out. I used the Wilton gel colors, and they provide vibrant colors without changing the consistency of the batter or frosting.
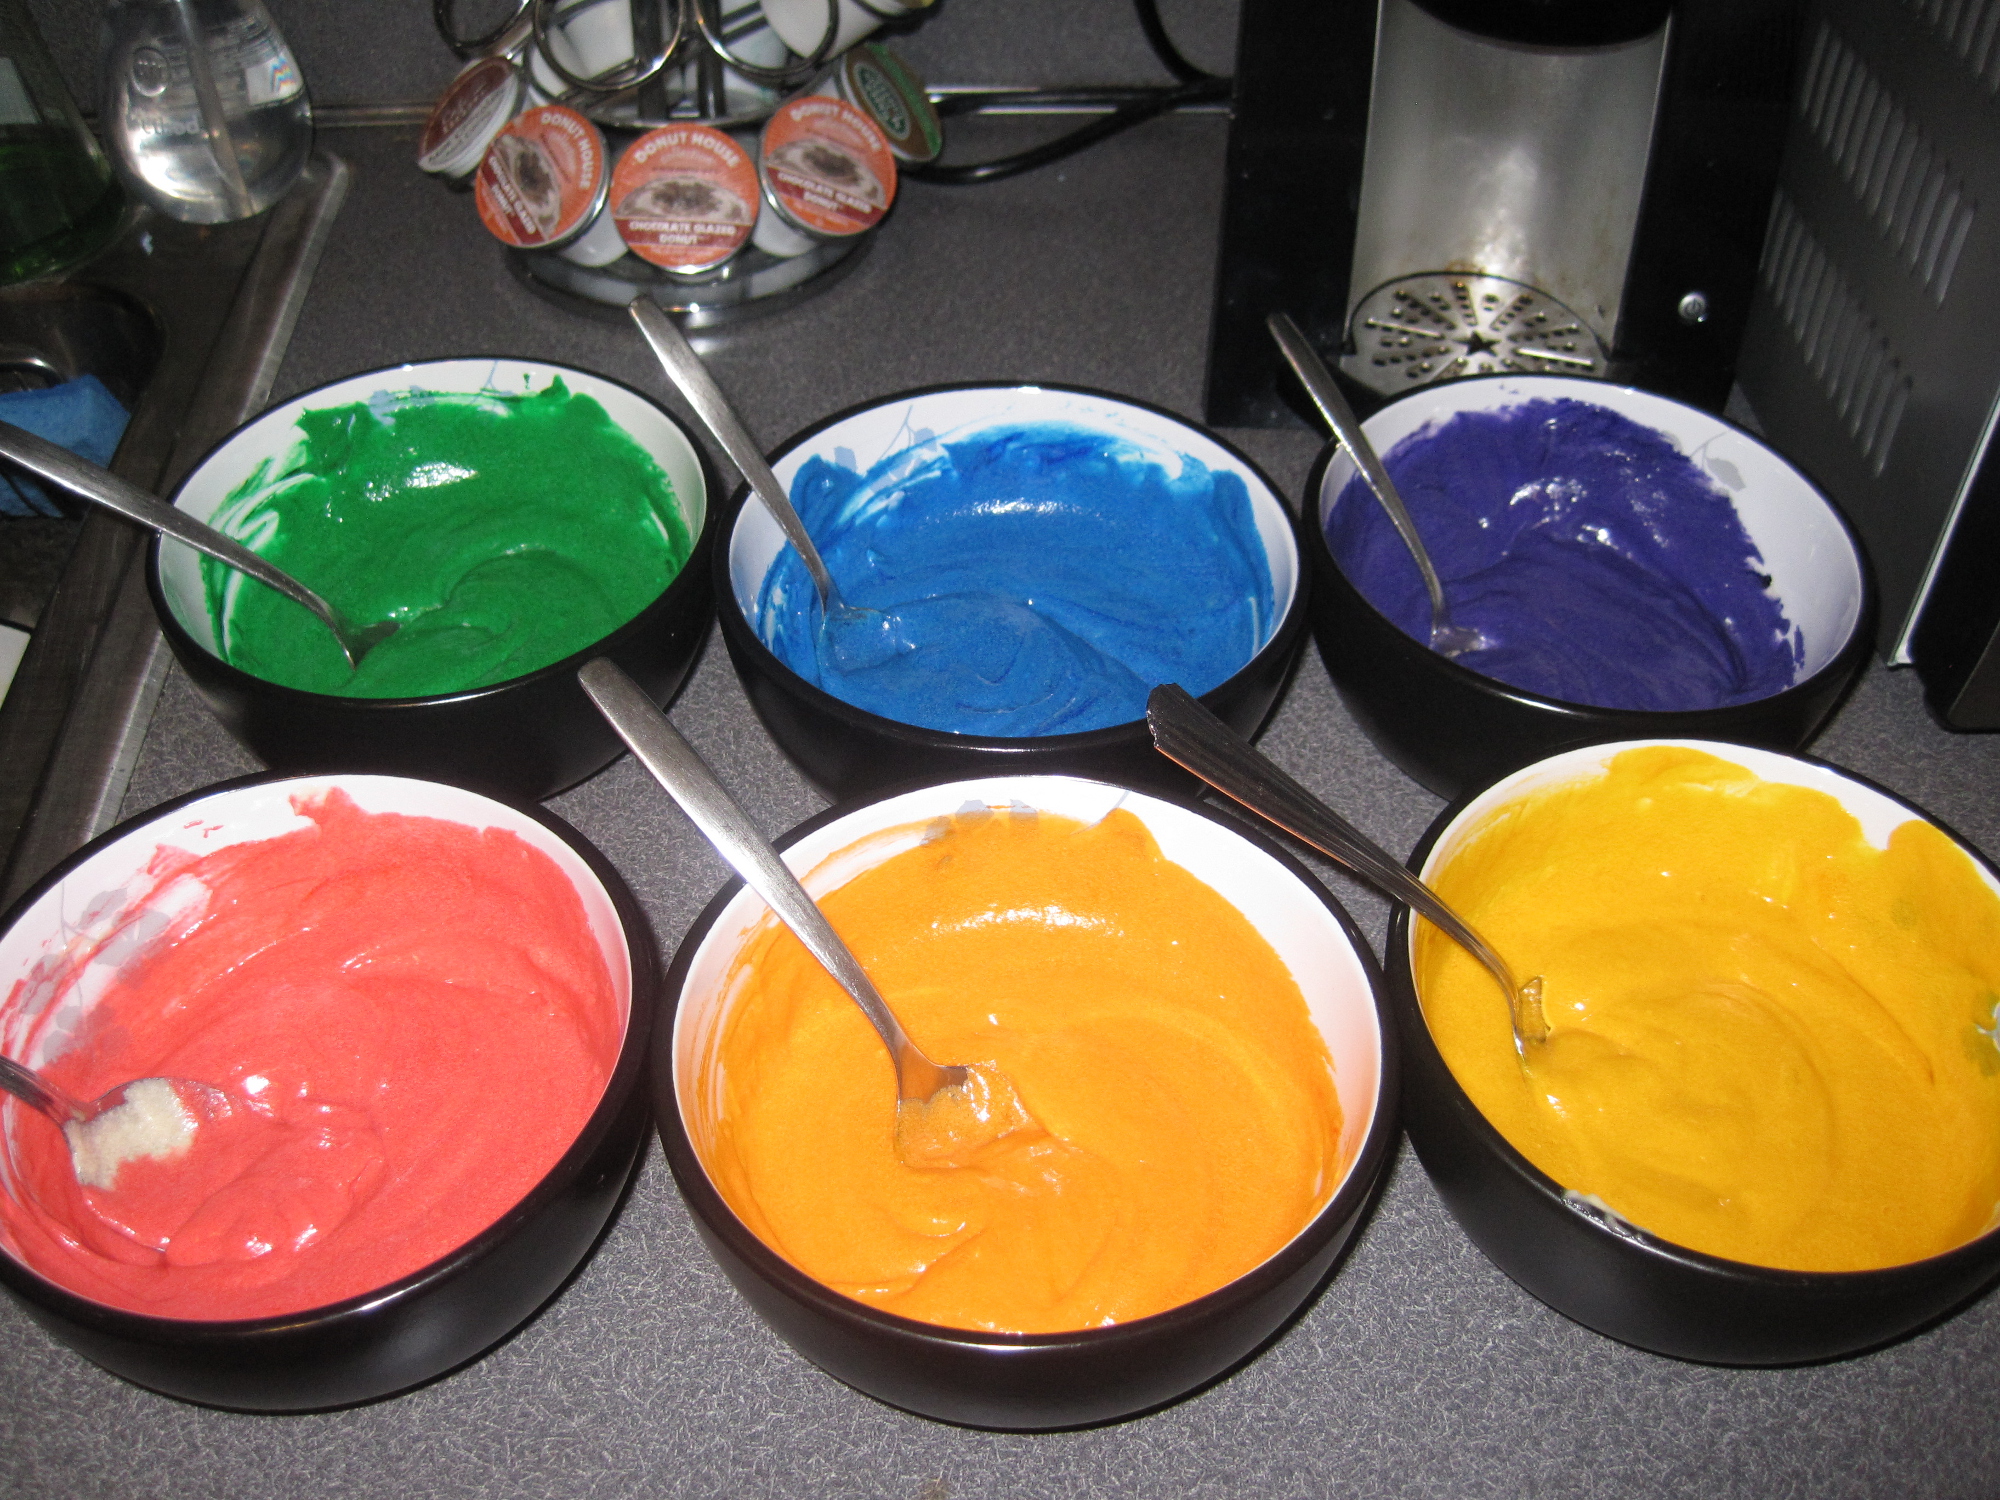
Basically you divide the cupcake batter into 6 bowls (or however many colors you decide to use) and dye each bowl a different color. I used red, orange, yellow, green, blue, and purple.
Then randomly spoon the colors into the cupcake liners, until you use up all the batter and the liners are 3/4 full. It works best if you use small spoonfuls so that you can use lots of different colors. After they are all filled, gently swirl the colors with a toothpick. Be sure to use a different toothpick for each cupcake. I was concerned that the colors would mix when baked, but they actually stayed fairly separate and the swirling pattern remained.
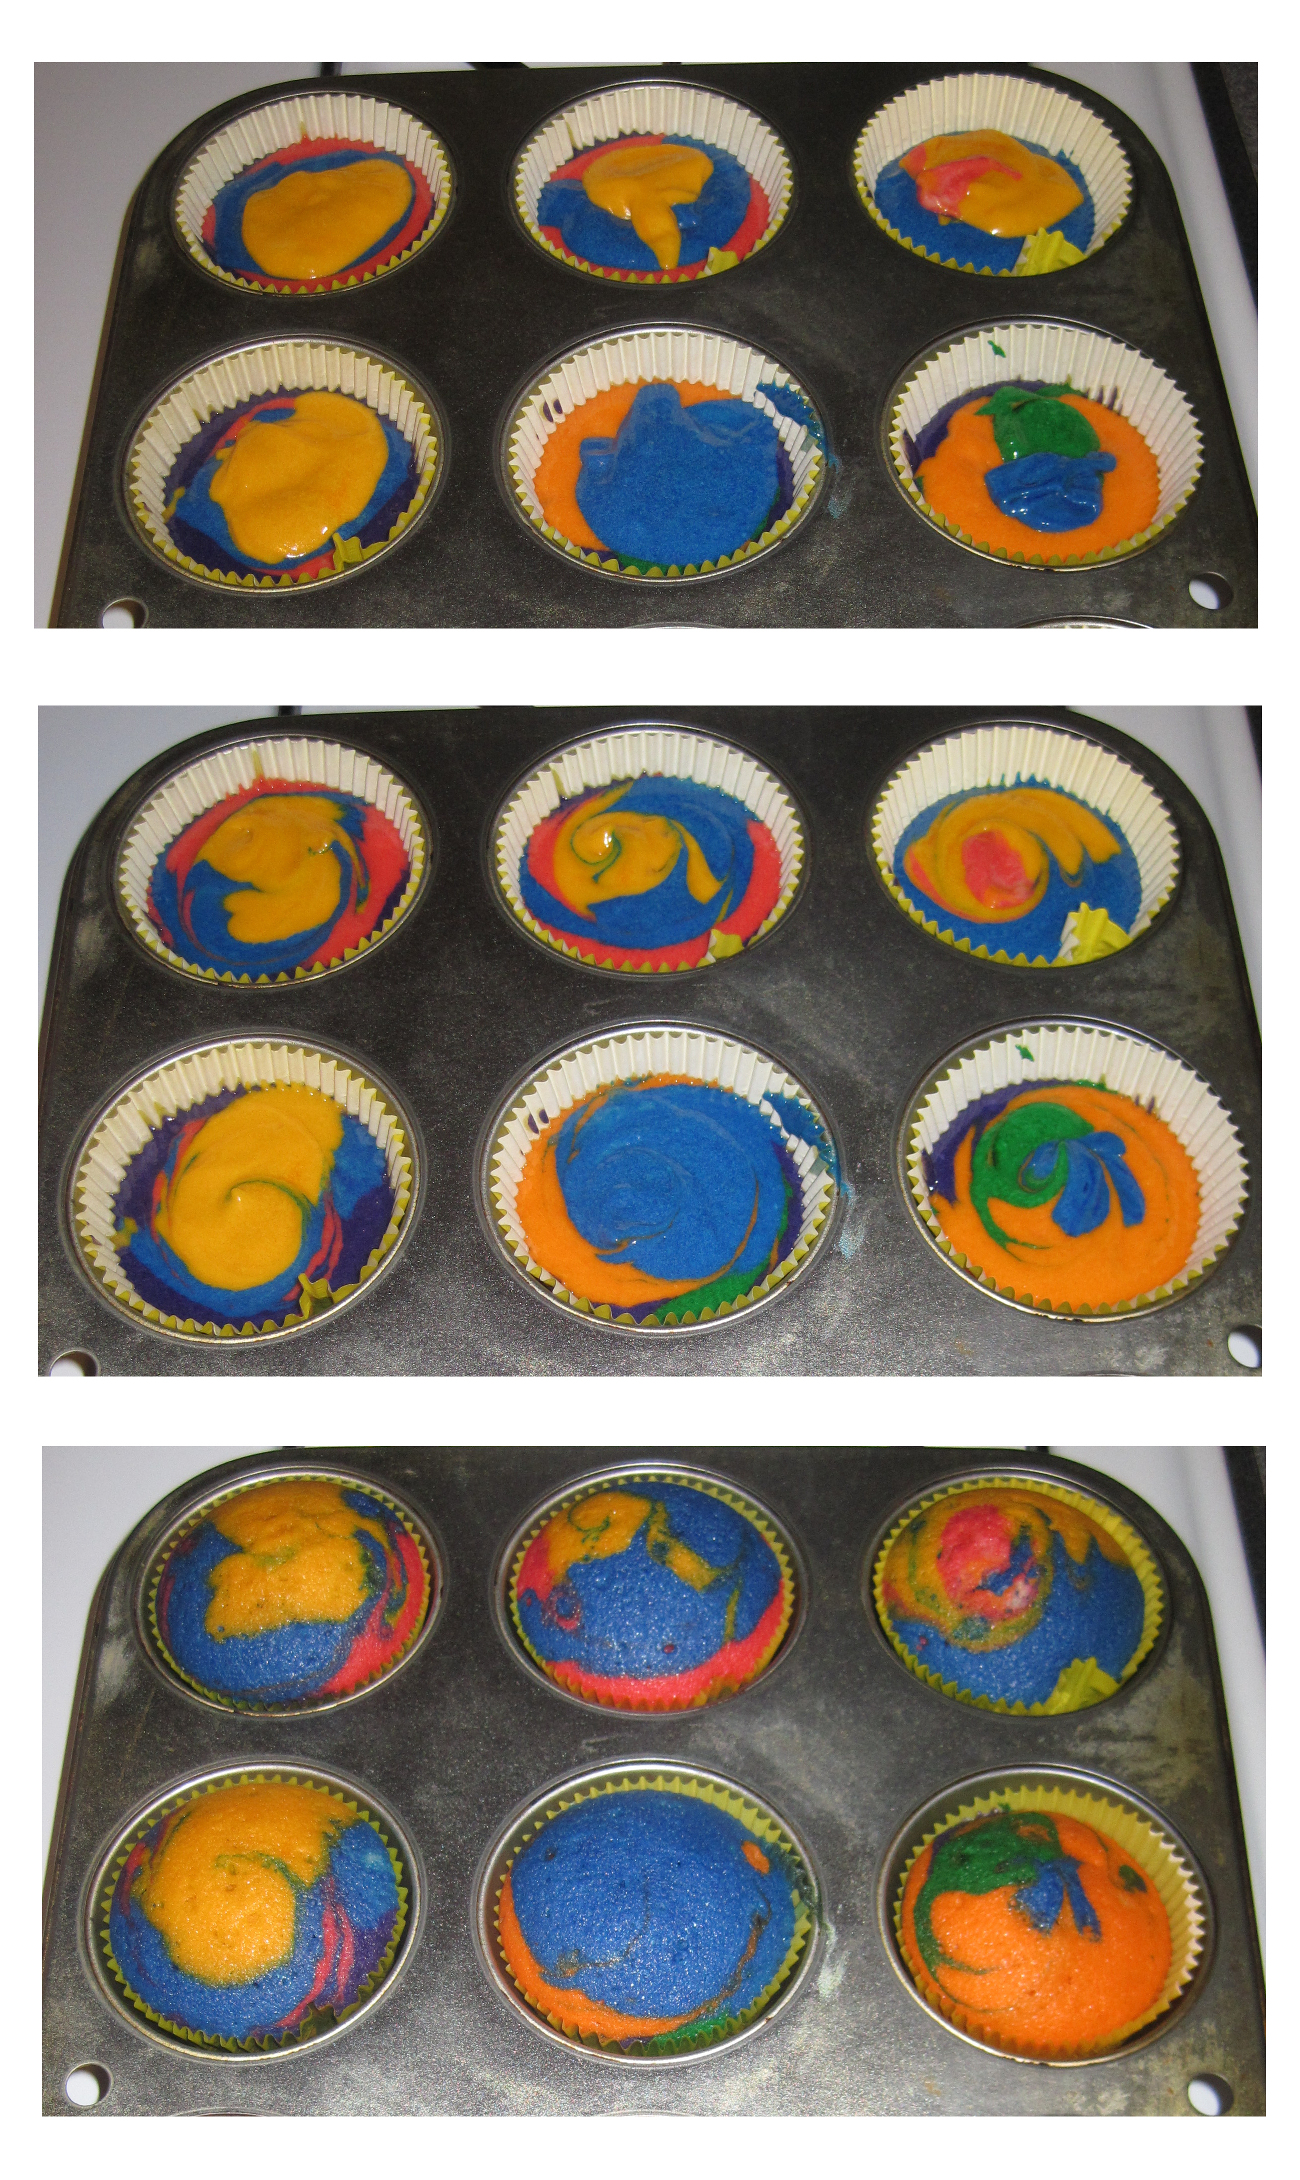
Batter spooned into liners (Top); After swirling the colors (Middle); Fully baked (Bottom)
For the frosting, it is easier for the colors to get muddled, so I just used four colors: red, yellow, green, and blue. Divide the frosting into 4 bowls, and add coloring until you have the desired colors.
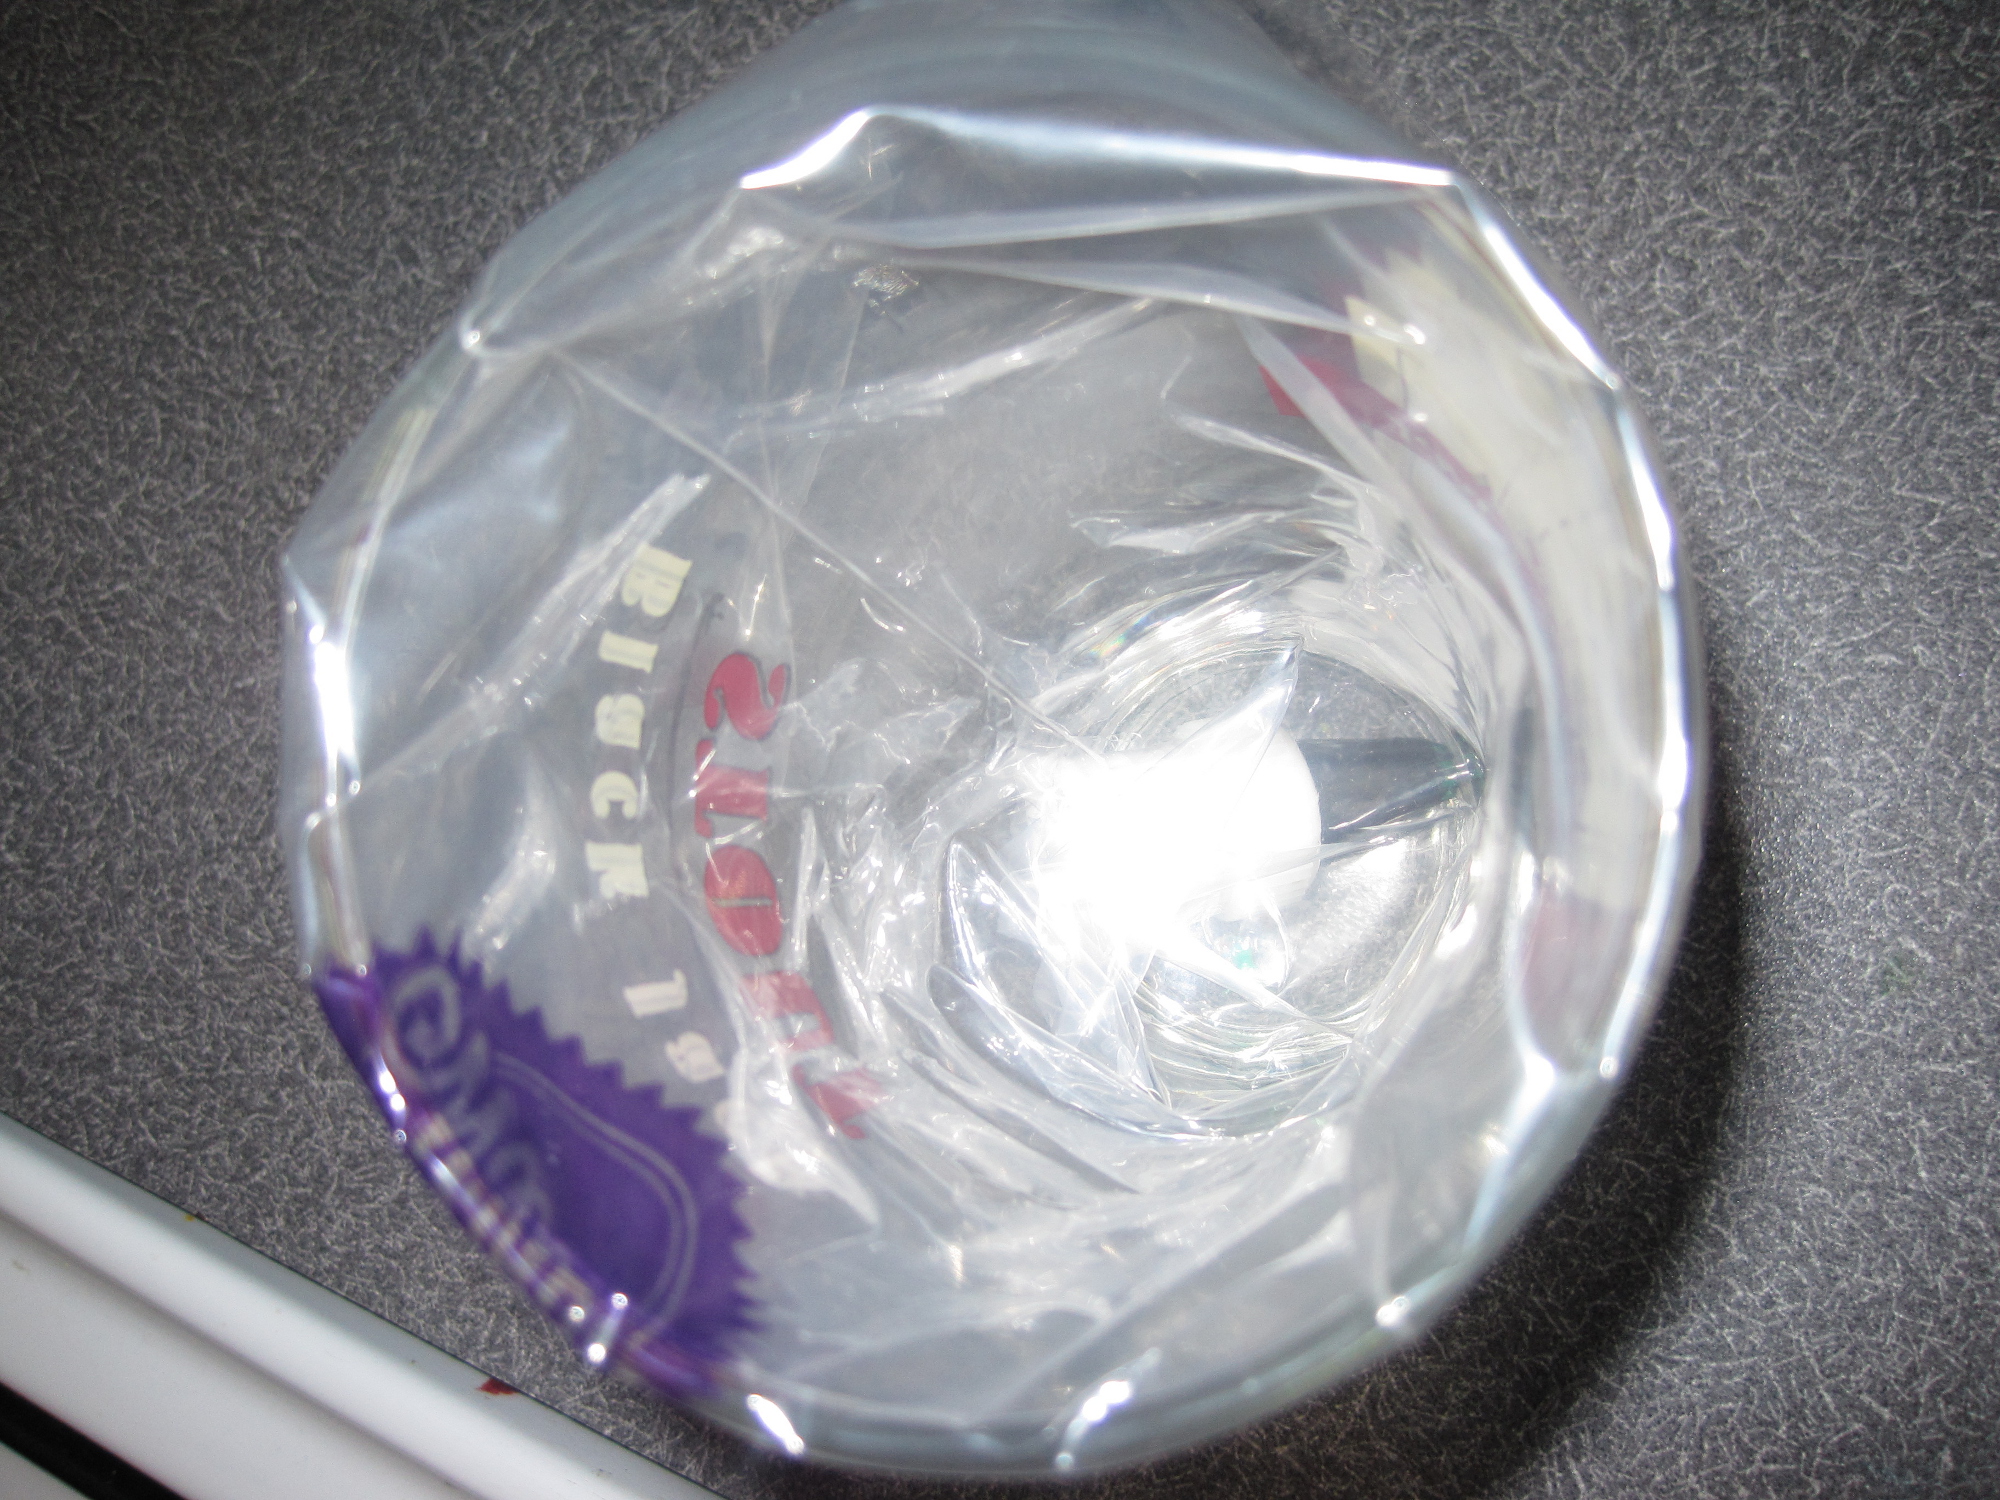
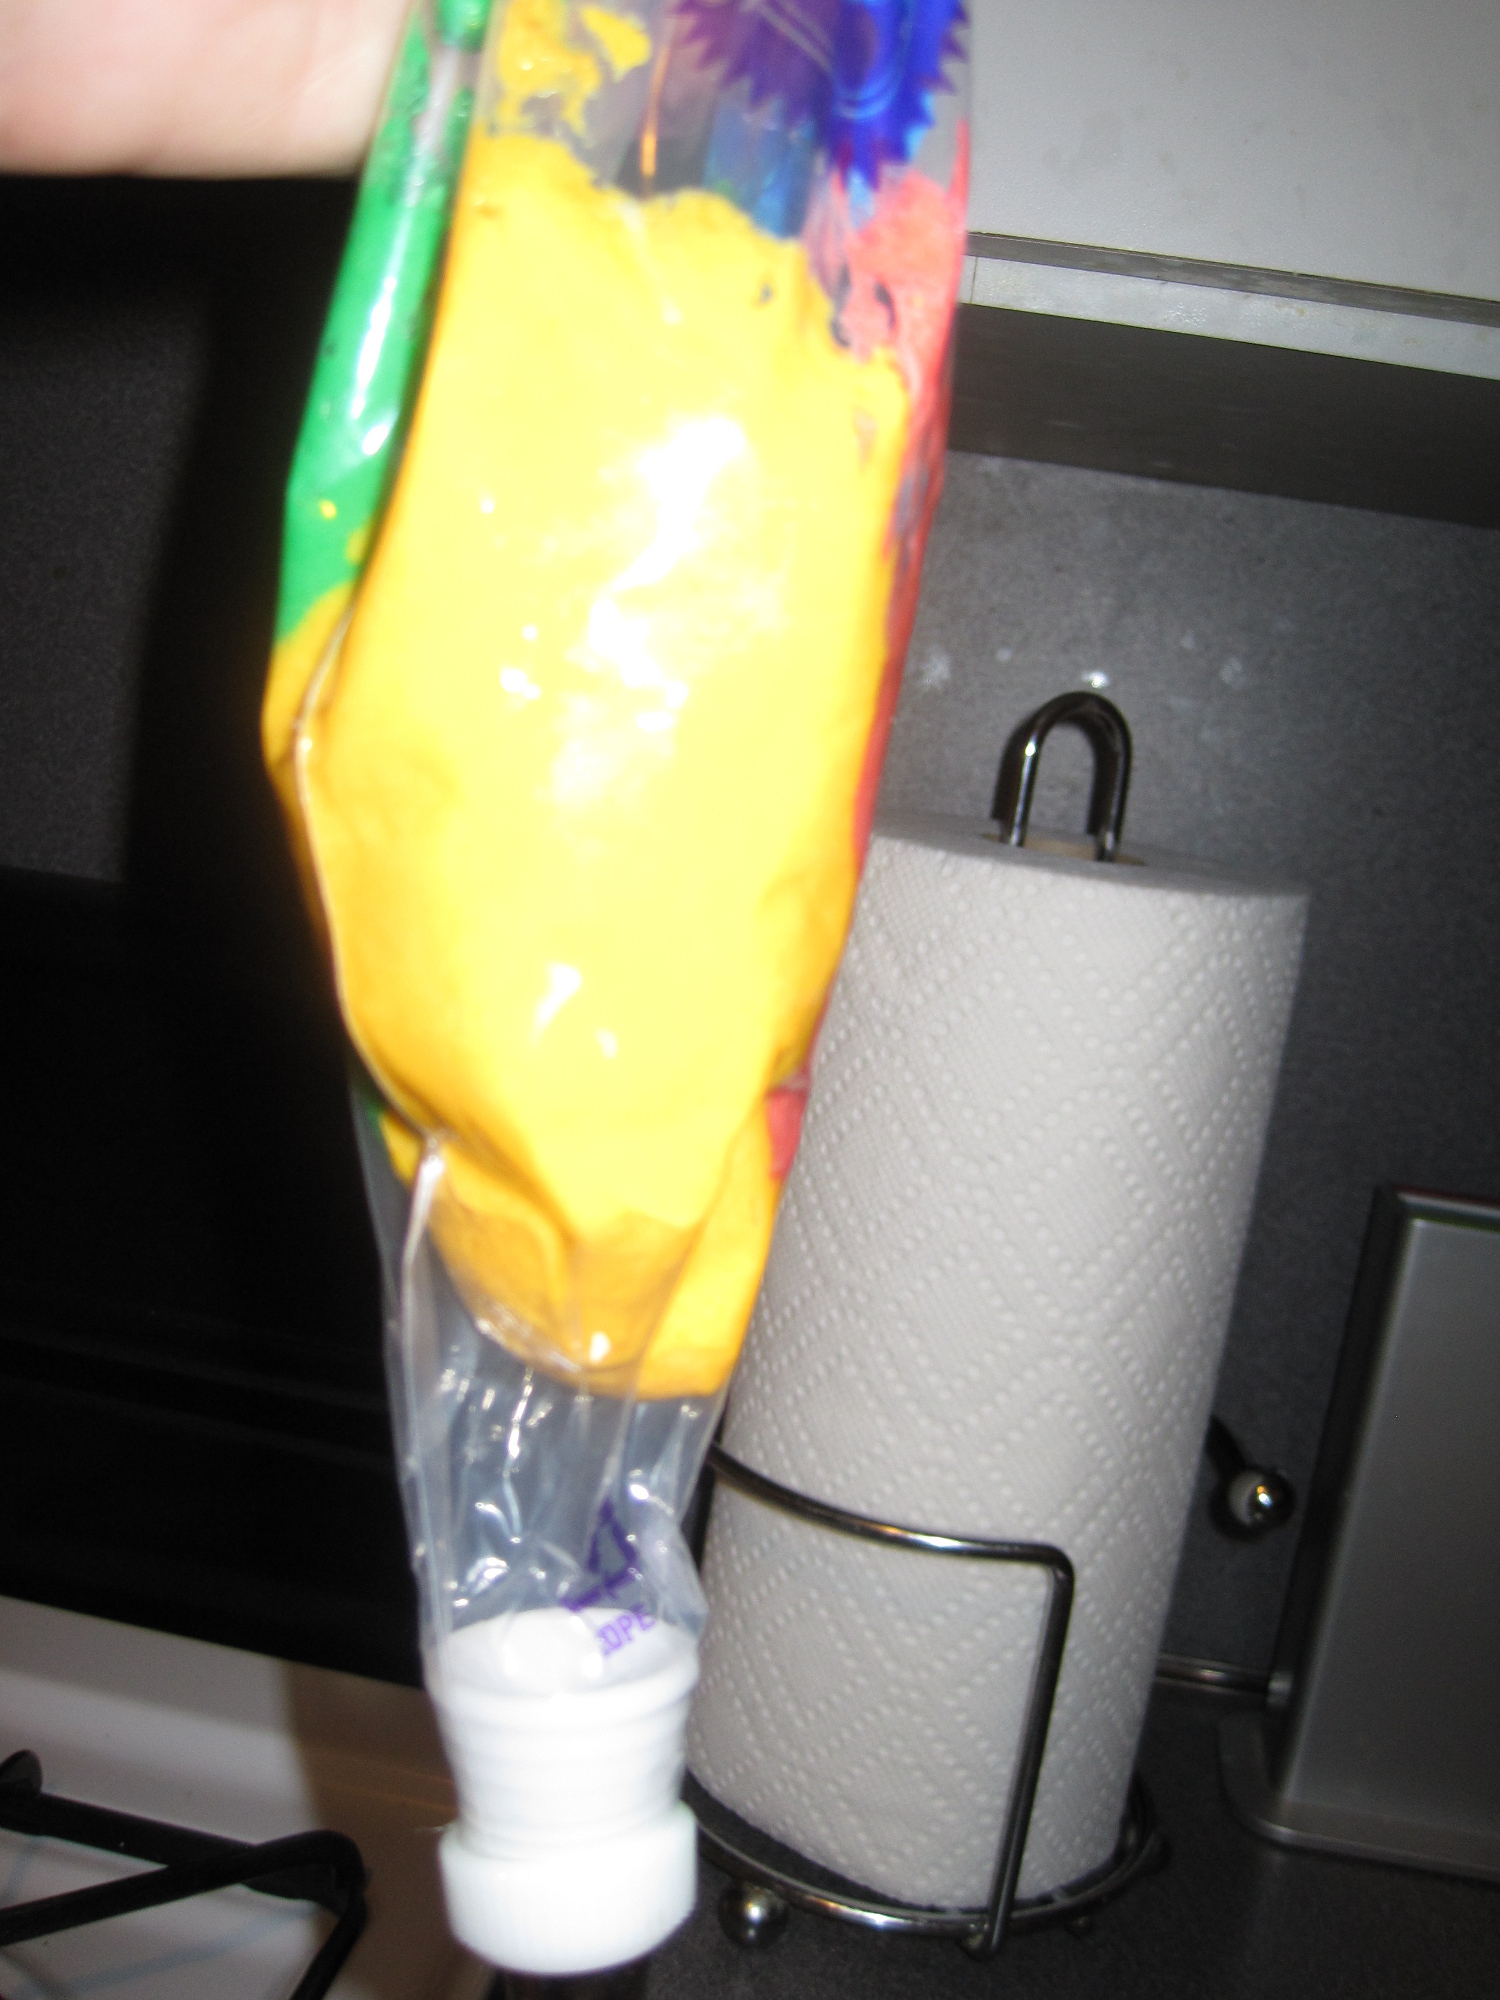
The next technique is really cool and like much of my useful knowledge, I learned from a YouTube video. To fill the bag with the four colors (or anytime you are piping frosting), place the pastry bag in a tall glass and fold the end of the bag around the top of the glass. This provides a nice big opening so you can the bag without making a mess.

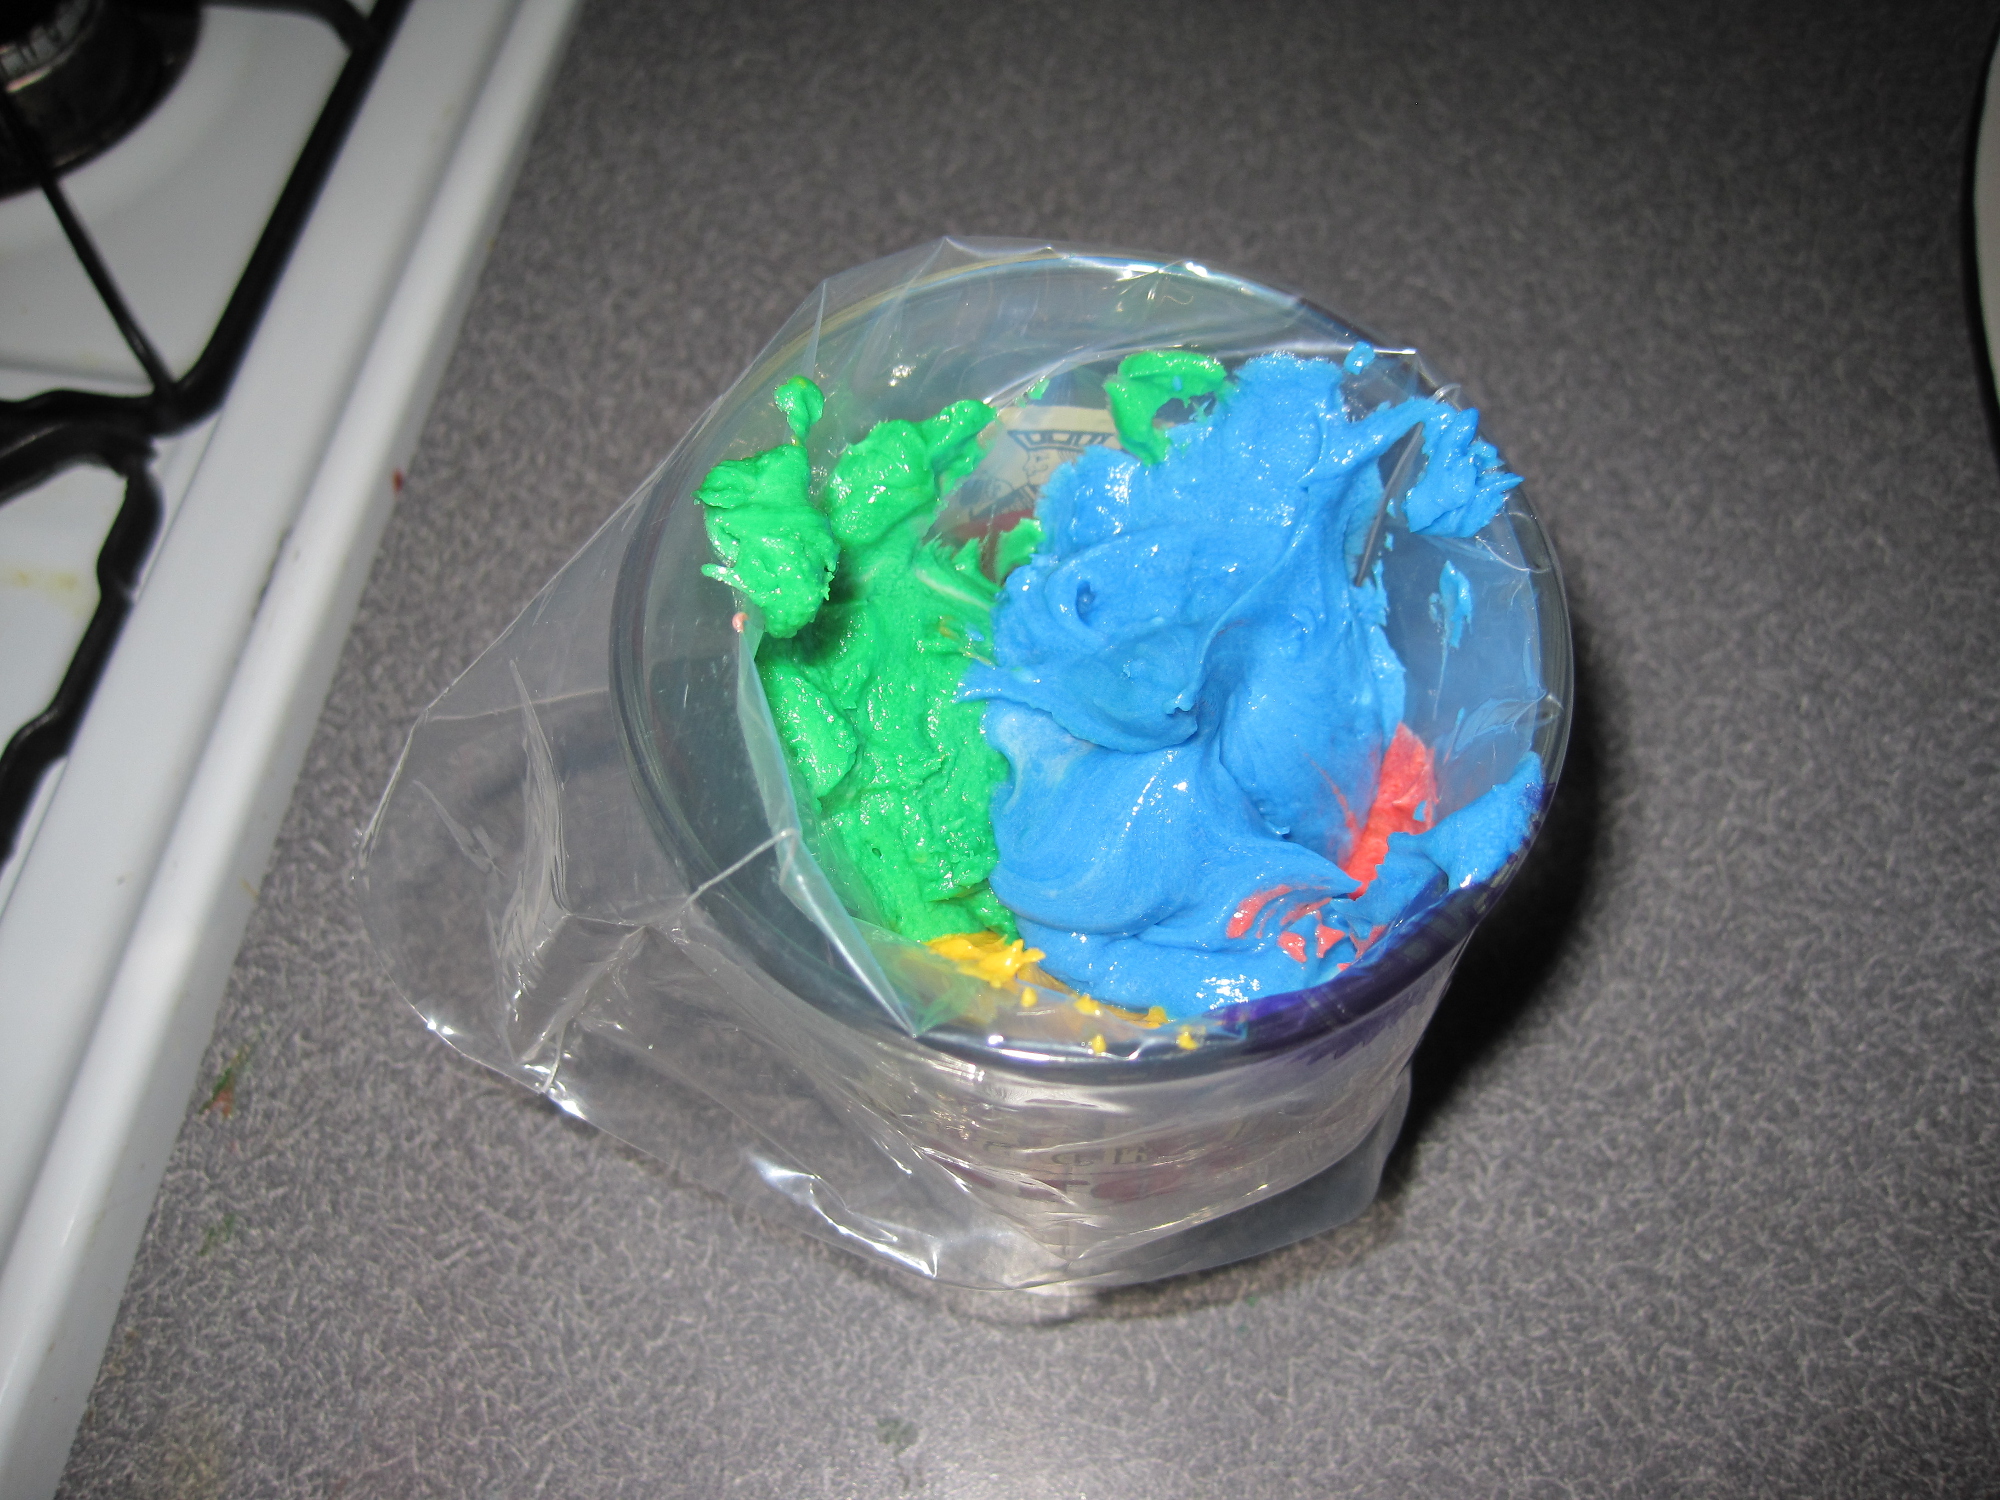
Then pick up the bag and you have all your colors added. Push the frosting down and start piping! You may start out with a single color, but soon the colors will swirl around and you will get a tie dye effect.
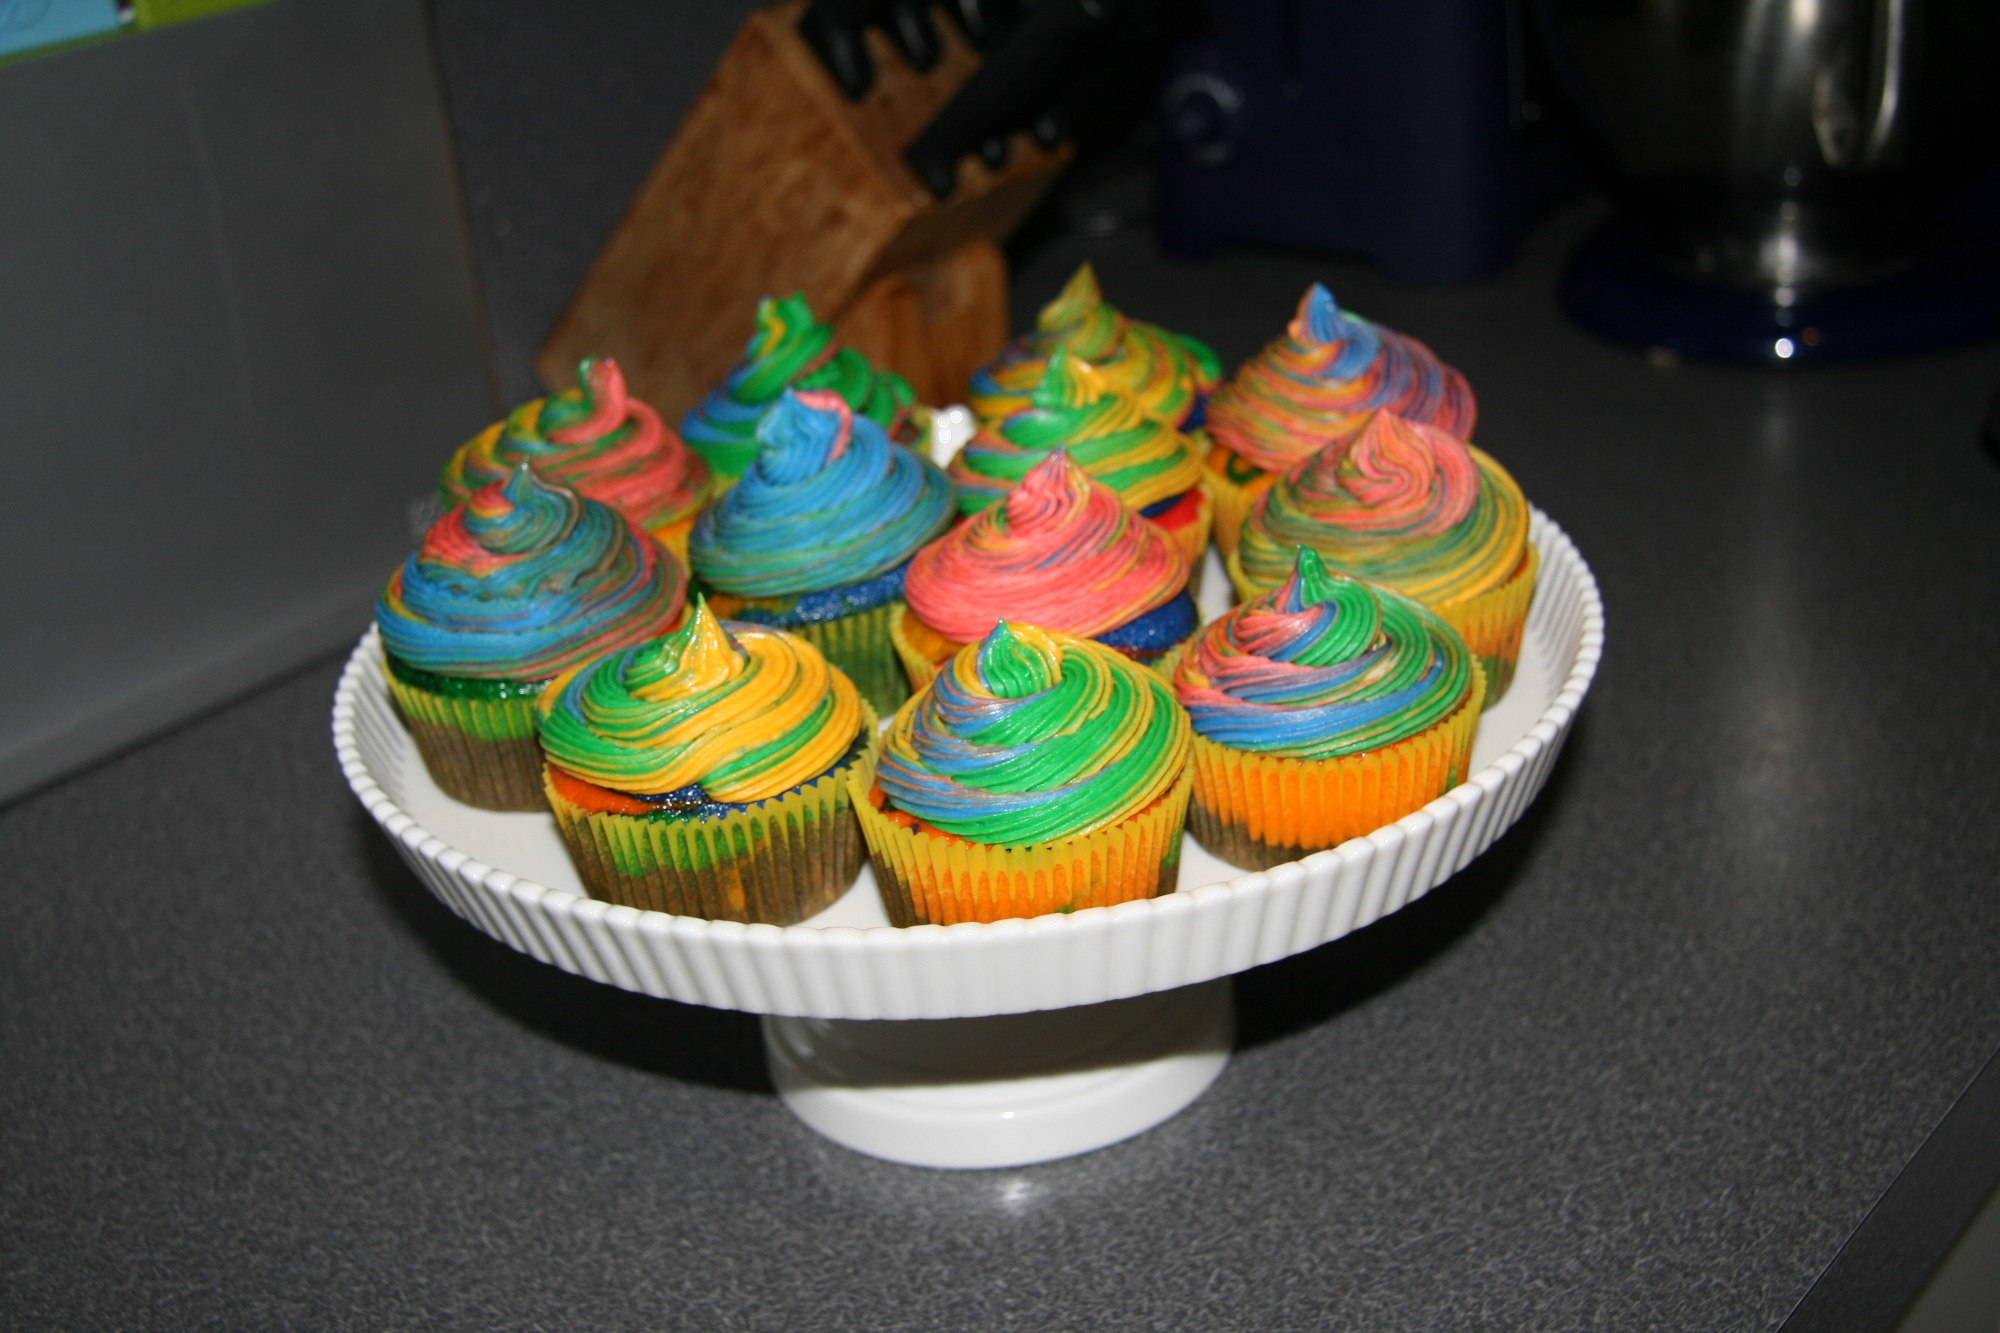
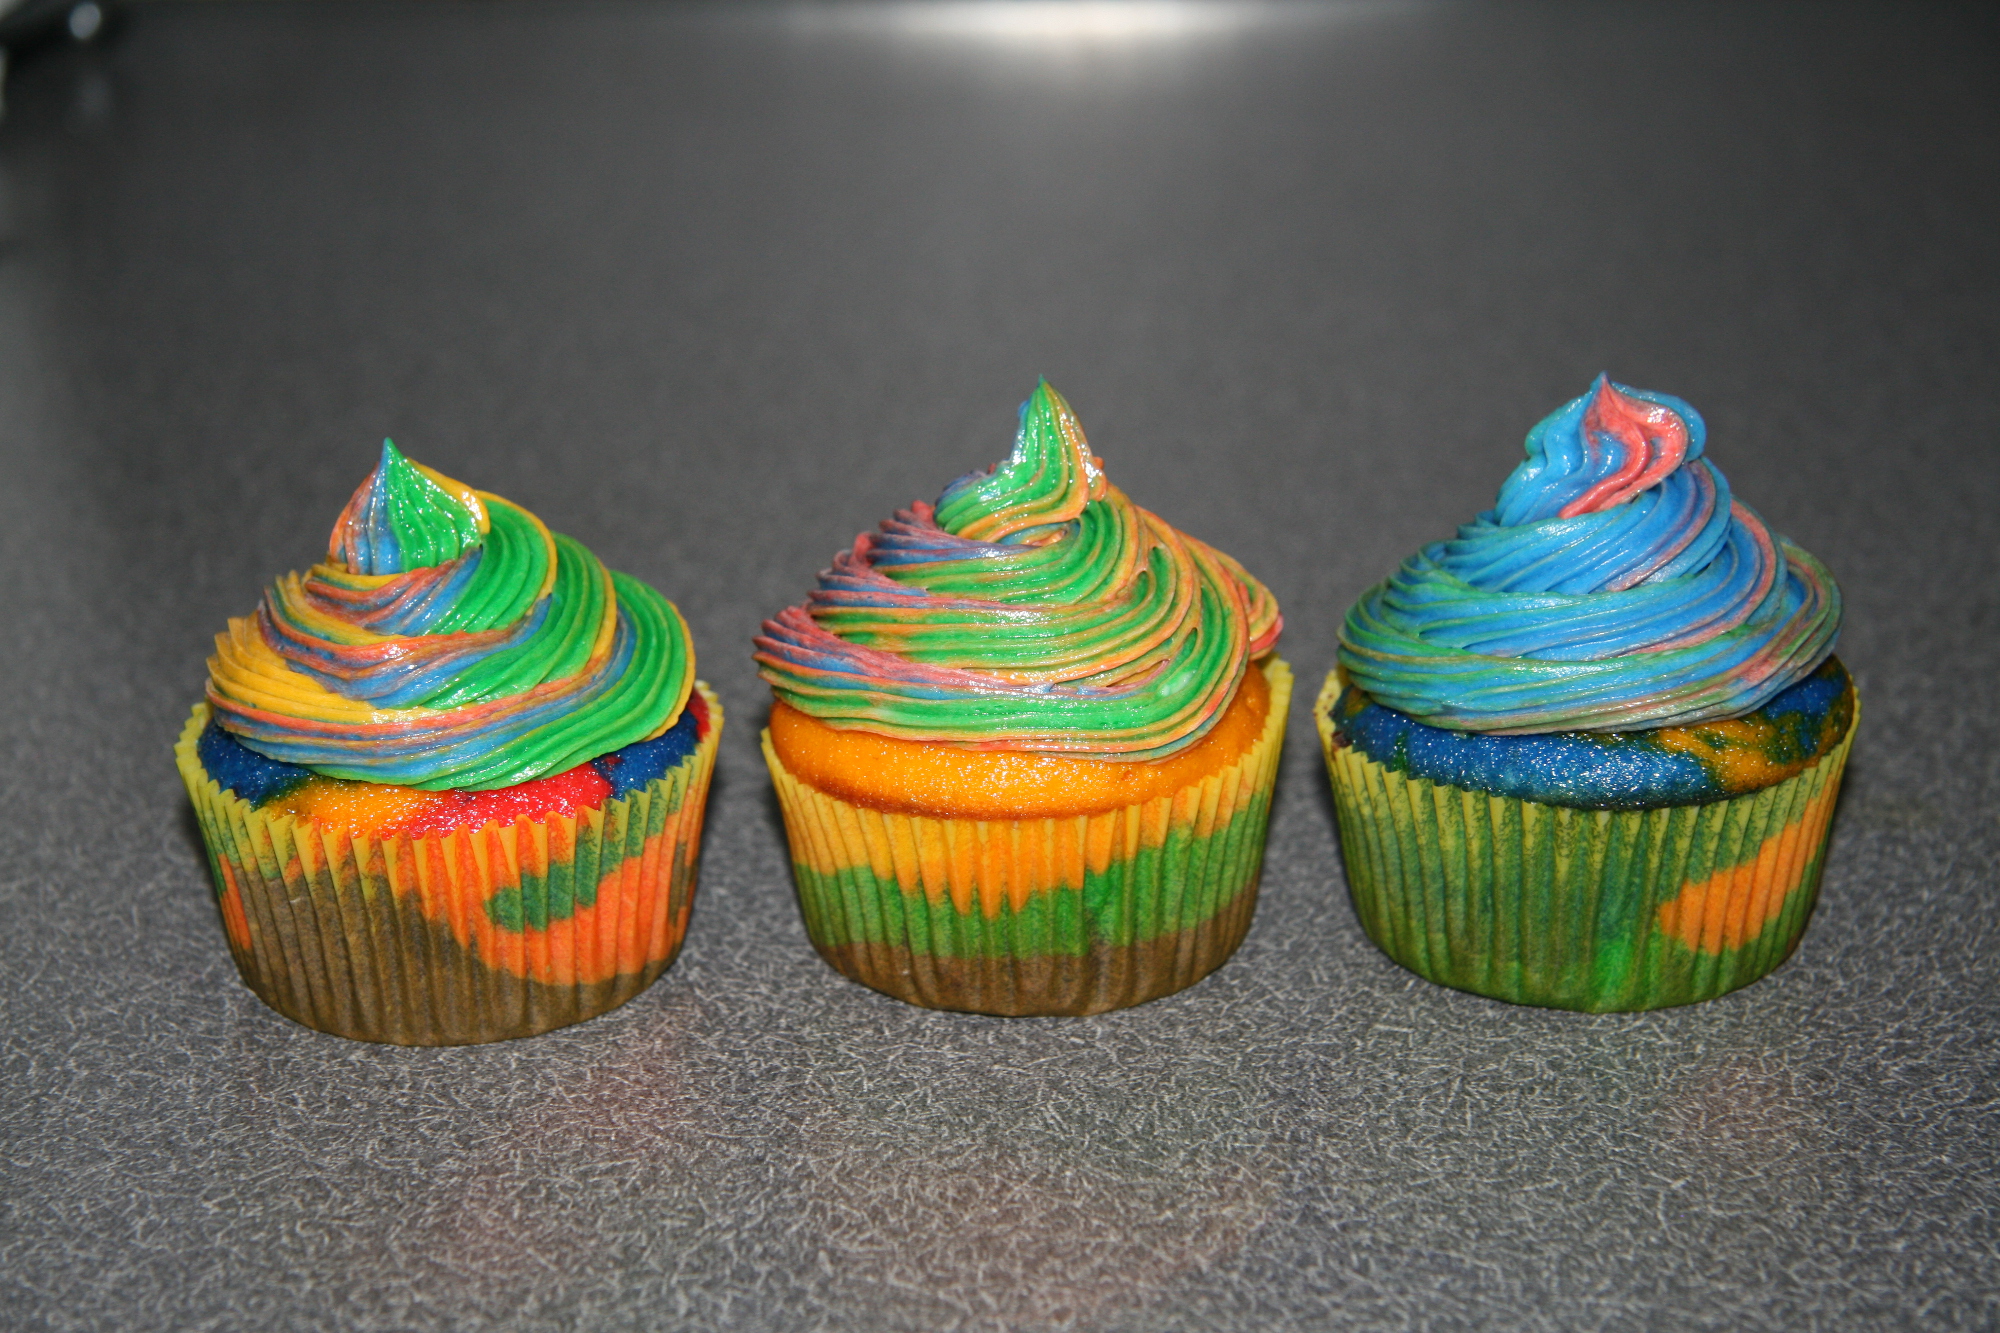
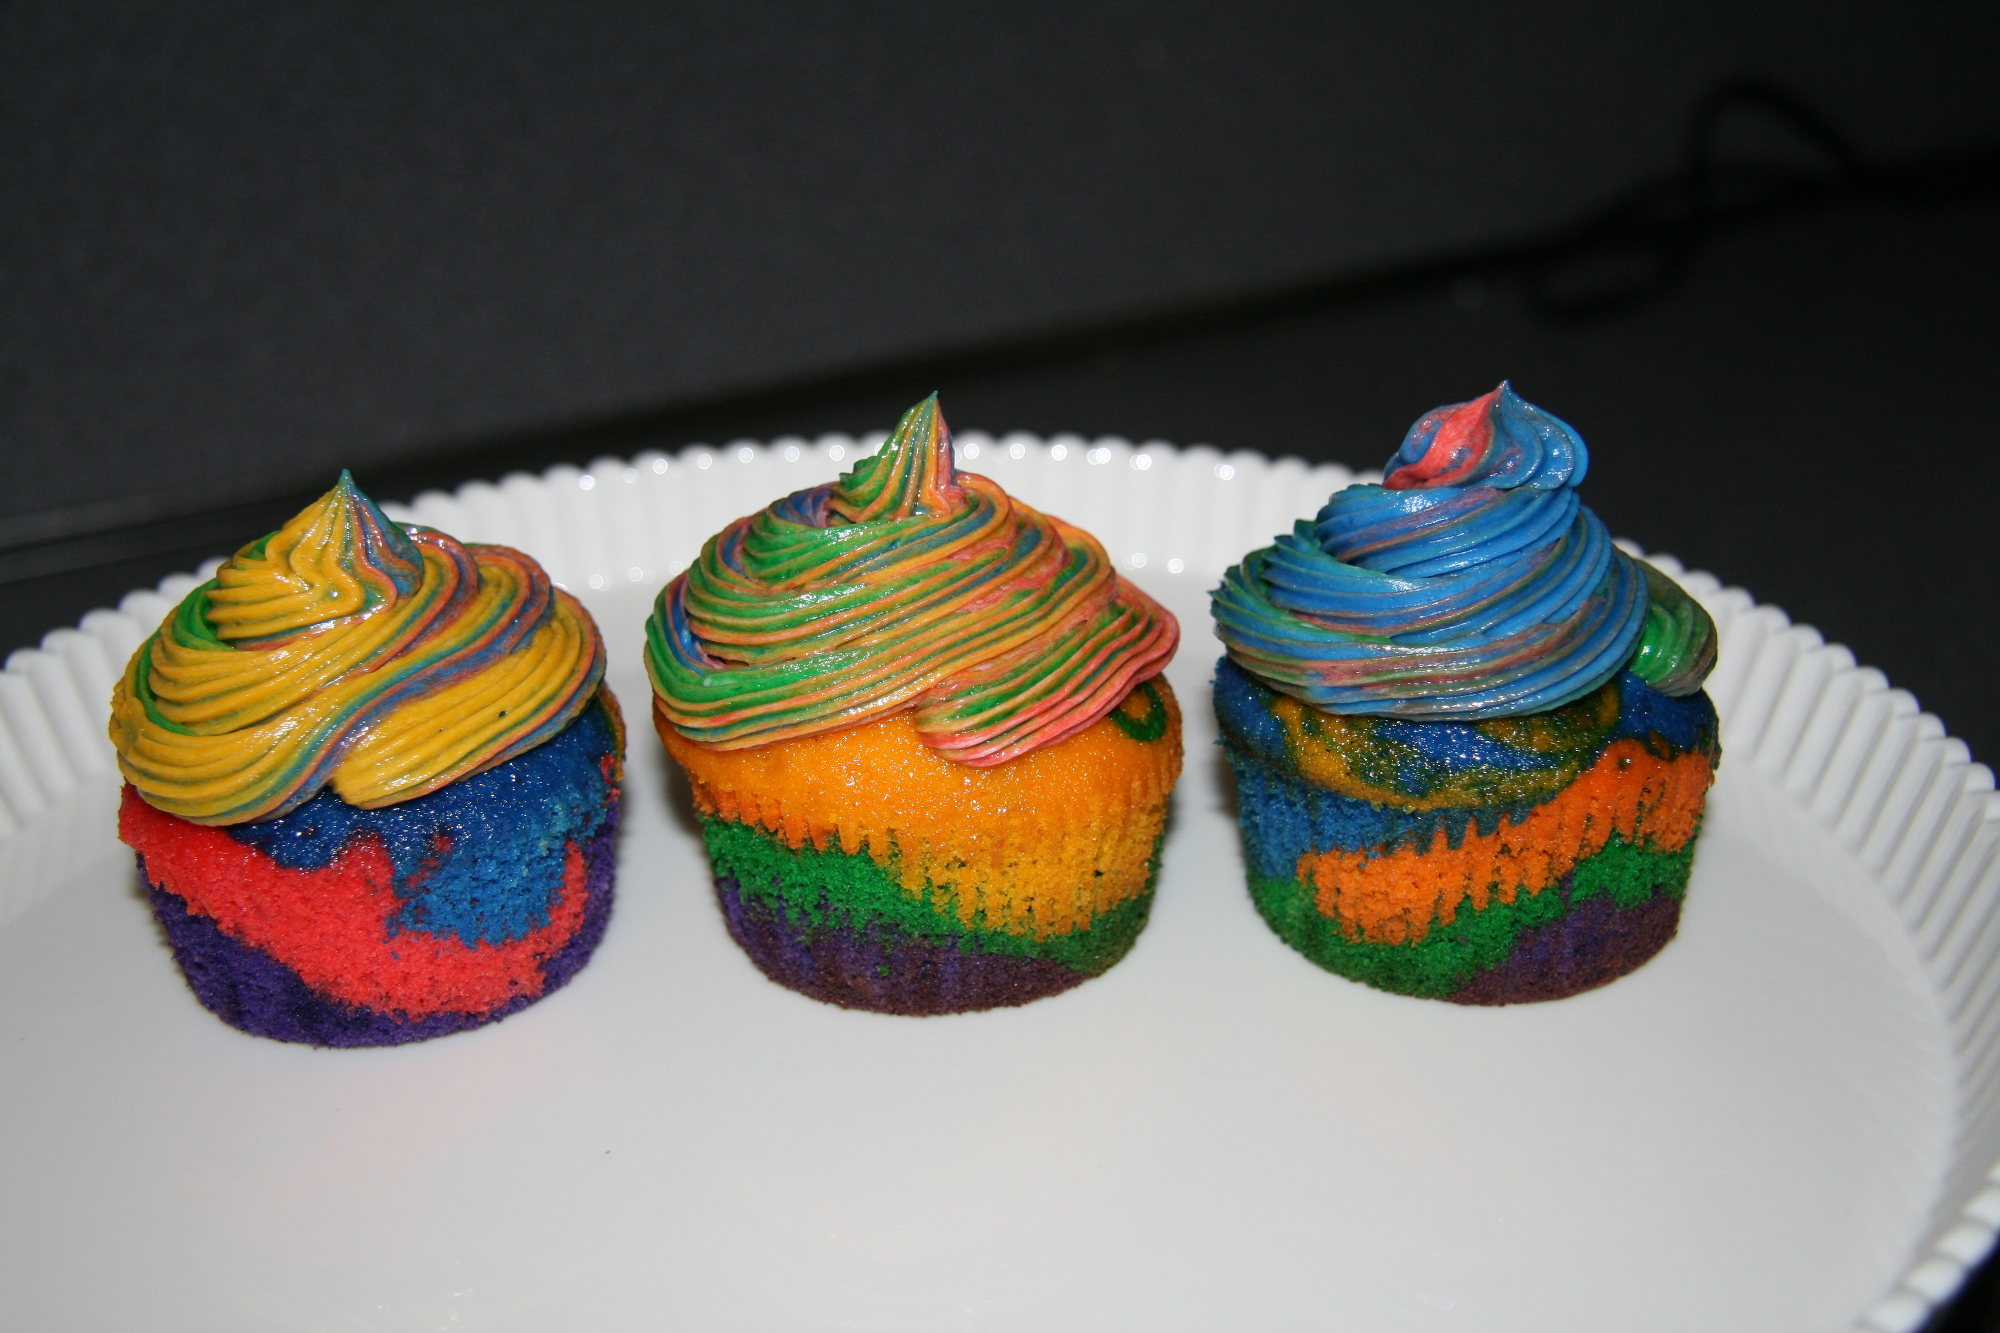
The best part is the every cupcake comes out unique. There is no way you will have two exact cupcakes.
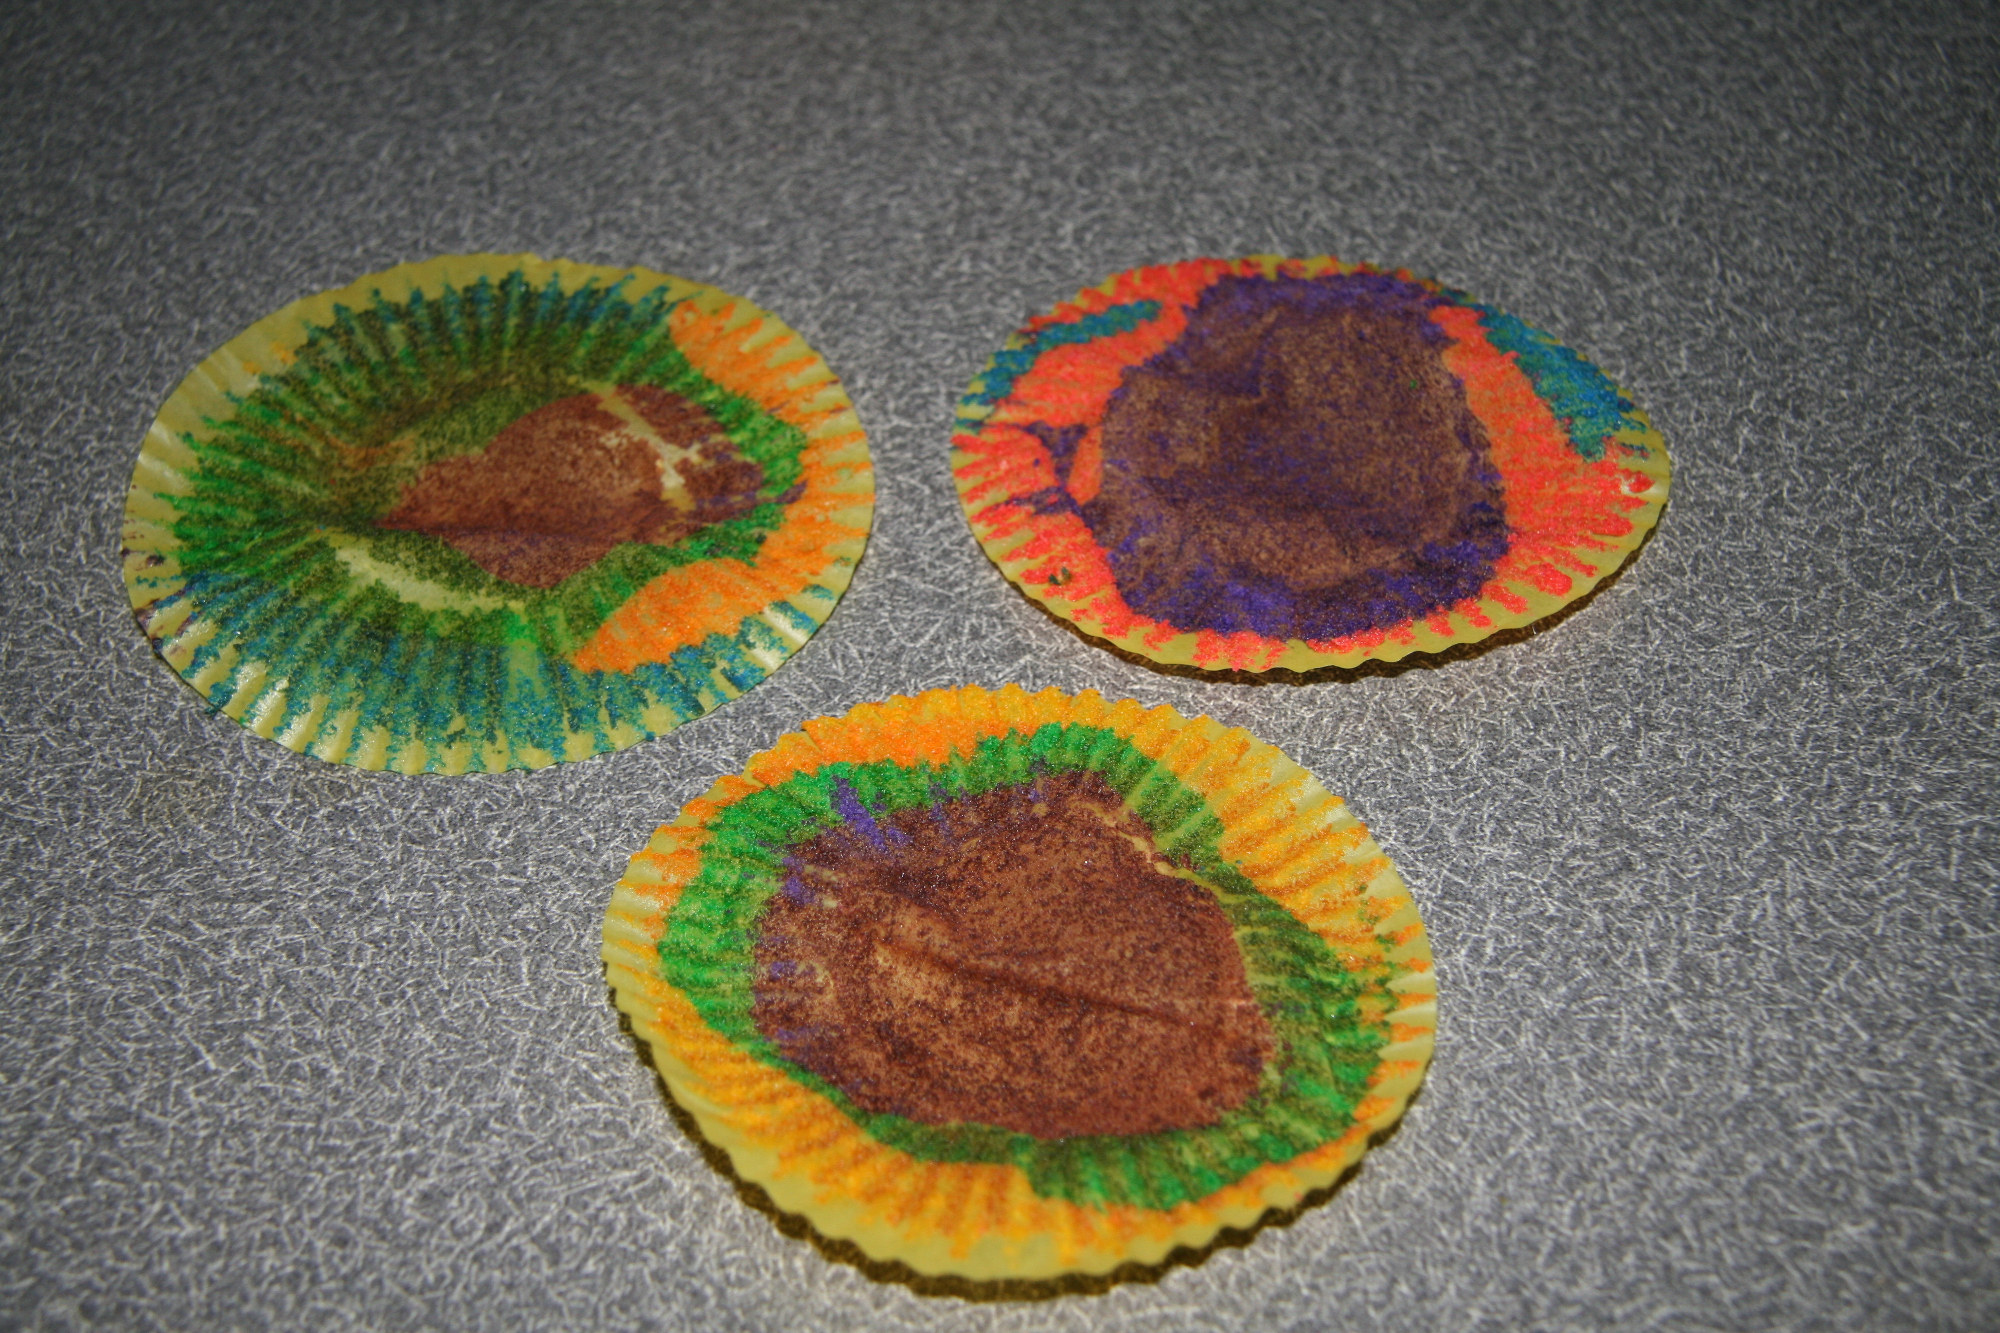
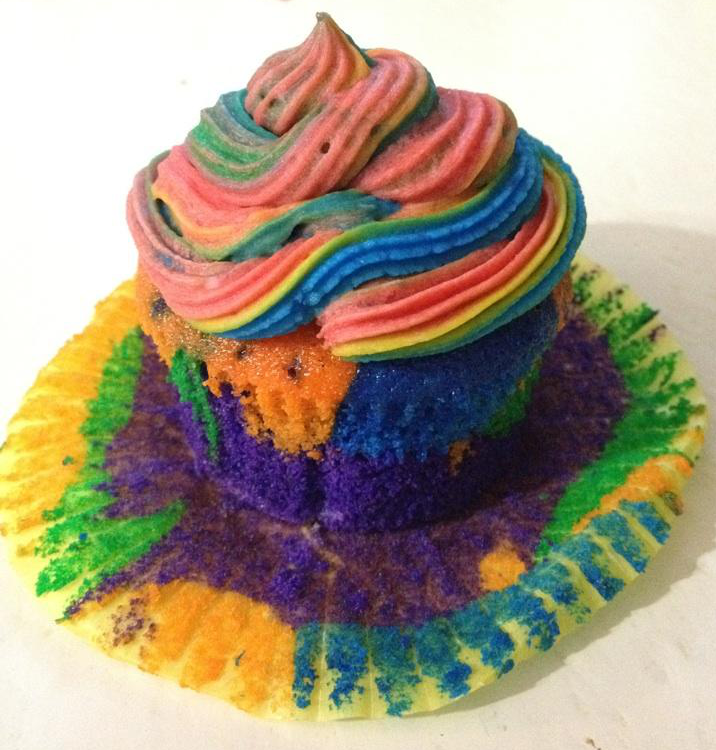
Even the cupcake wrappers have a cool tie dye pattern!
They look pretty on the outside…
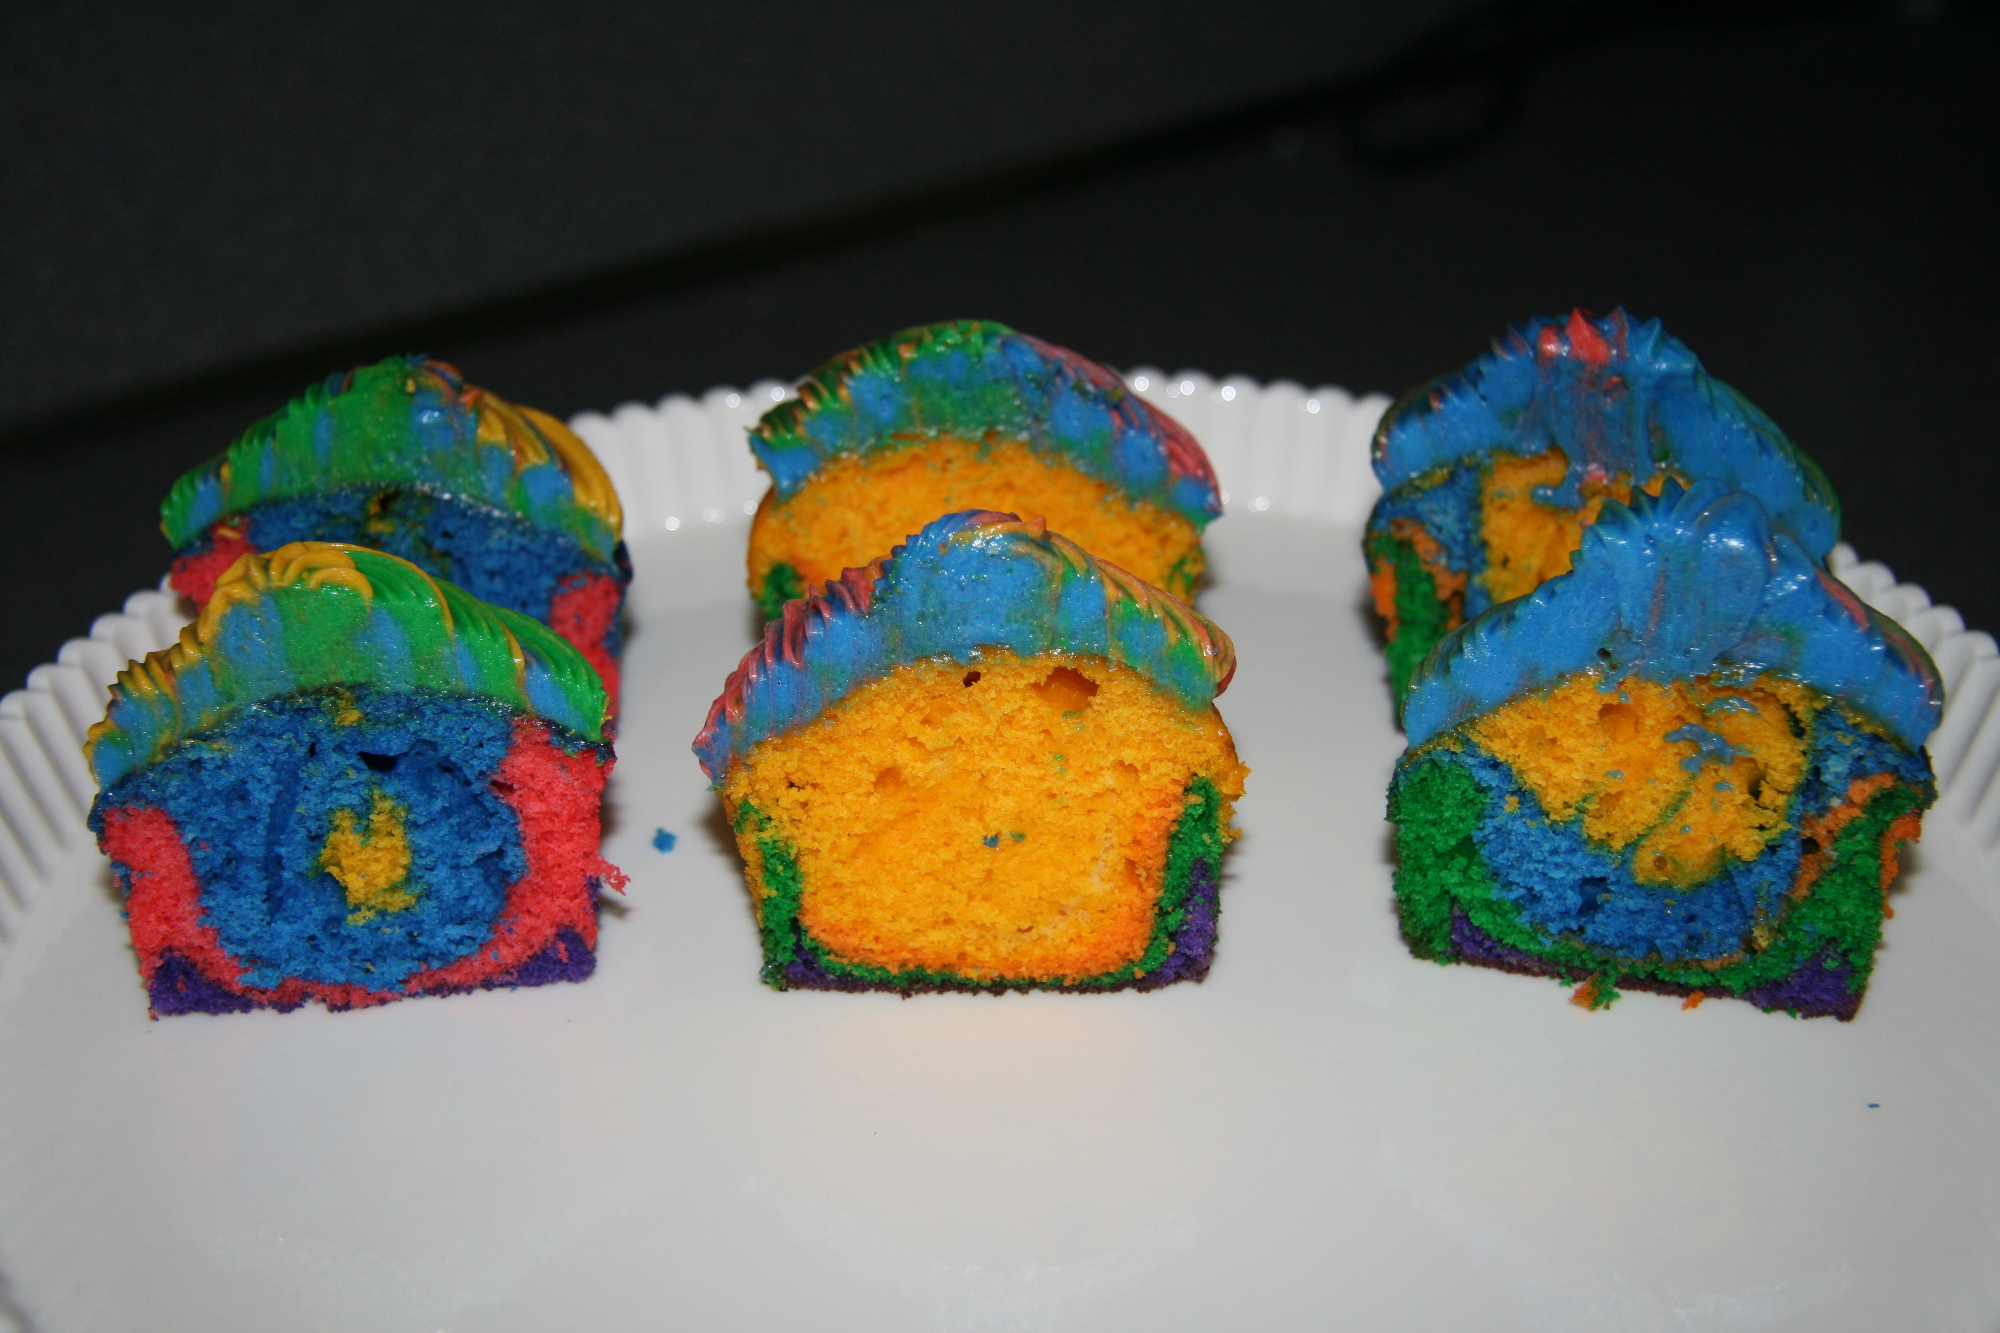
And even prettier on the inside!
Someone at our BBQ took this great picture, and was nice enough to let me use it for this blog post (thanks, Giselle!)
These cupcakes are fun to make, and super fun to eat. So give them a try and channel your free spirit!!

It is amazing how this is done. It seems a shame to eat them but they were delicious!! Love Arlene